Humax manual Installing Your HFA100

Models: HFA100

1 31
Download 31 pages 29.66 Kb
Page 11
Image 11

**

**

**

Installing Your HFA100

**

**

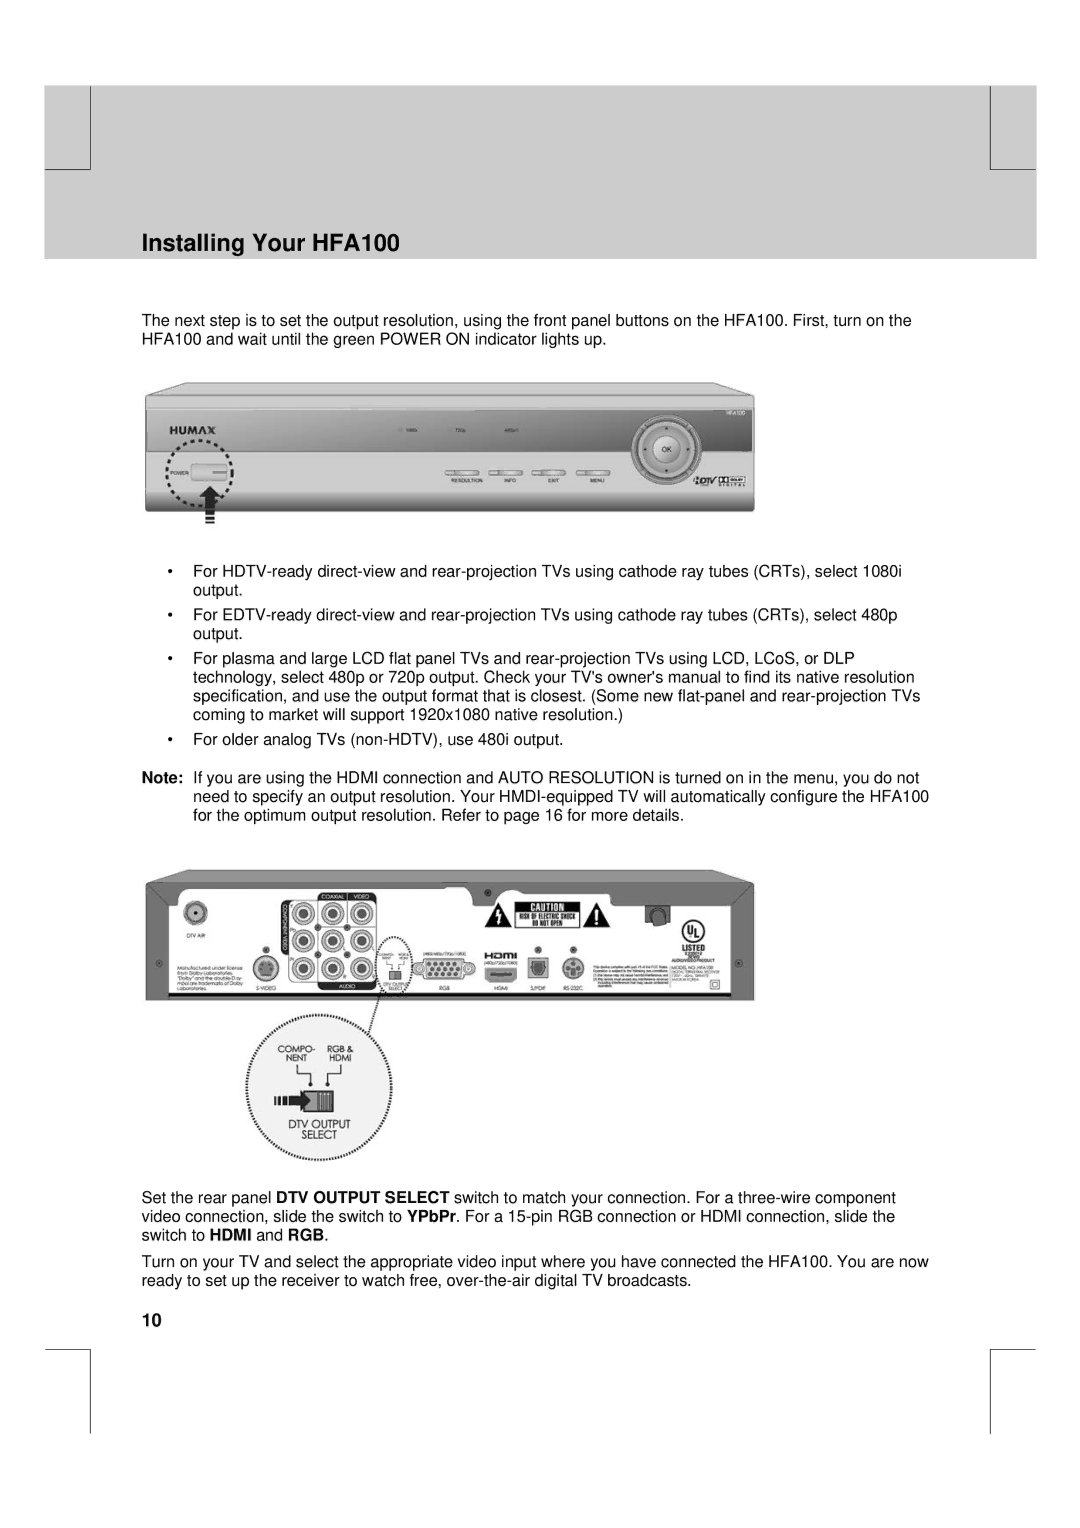
The next step is to set the output resolution, using the front panel buttons on the HFA100. First, turn on the HFA100 and wait until the green POWER ON indicator lights up.

**

**

**

For HDTV-ready direct-view and rear-projection TVs using cathode ray tubes (CRTs), select 1080i output.

For EDTV-ready direct-view and rear-projection TVs using cathode ray tubes (CRTs), select 480p output.

For plasma and large LCD flat panel TVs and rear-projection TVs using LCD, LCoS, or DLP technology, select 480p or 720p output. Check your TV's owner's manual to find its native resolution specification, and use the output format that is closest. (Some new flat-panel and rear-projection TVs coming to market will support 1920x1080 native resolution.)

For older analog TVs (non-HDTV), use 480i output.

Note: If you are using the HDMI connection and AUTO RESOLUTION is turned on in the menu, you do not need to specify an output resolution. Your HMDI-equipped TV will automatically configure the HFA100 for the optimum output resolution. Refer to page 16 for more details.

Set the rear panel DTV OUTPUT SELECT switch to match your connection. For a three-wire component video connection, slide the switch to YPbPr. For a 15-pin RGB connection or HDMI connection, slide the switch to HDMI and RGB.

Turn on your TV and select the appropriate video input where you have connected the HFA100. You are now ready to set up the receiver to watch free, over-the-air digital TV broadcasts.

10

**

**

**

**

**

Page 11
Image 11
Humax manual Installing Your HFA100