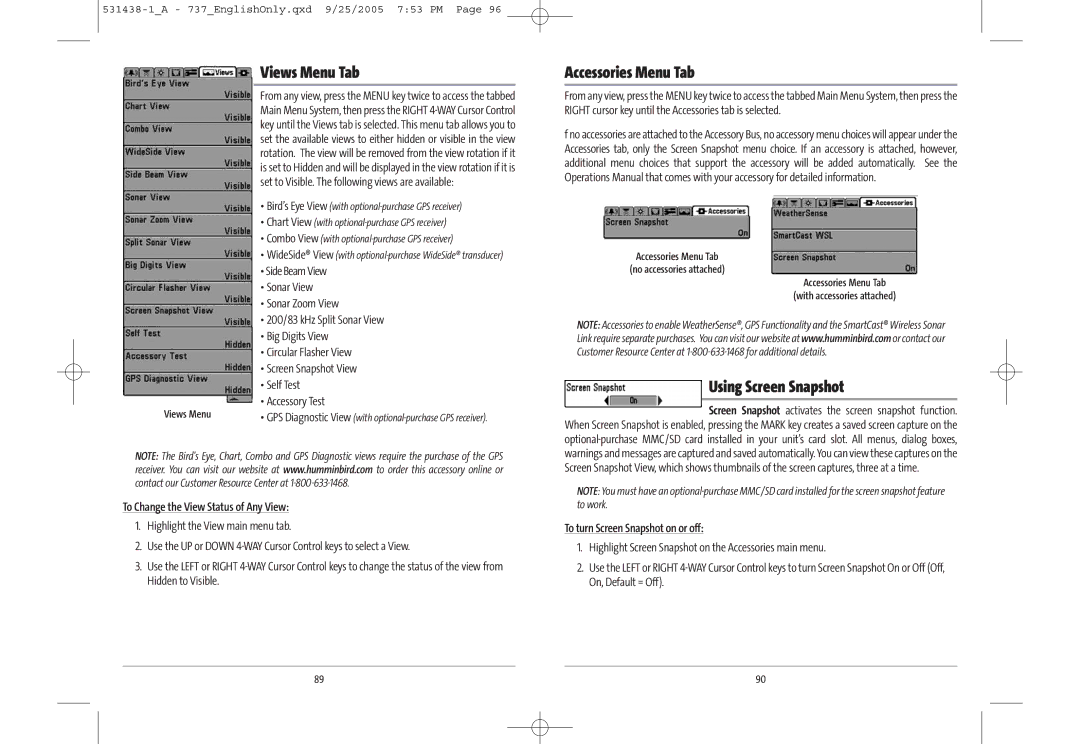
| Views Menu Tab | |
| From any view, press the MENU key twice to access the tabbed | |
| Main Menu System, then press the RIGHT | |
| key until the Views tab is selected. This menu tab allows you to | |
| set the available views to either hidden or visible in the view | |
| rotation. The view will be removed from the view rotation if it | |
| is set to Hidden and will be displayed in the view rotation if it is | |
| set to Visible. The following views are available: | |
| • Bird’s Eye View (with | |
| • Chart View (with | |
| • Combo View (with | |
| • WideSide® View (with | |
| • Side Beam View | |
| • Sonar View | |
| • Sonar Zoom View | |
| • 200/83 kHz Split Sonar View | |
| • Big Digits View | |
| • Circular Flasher View | |
| • Screen Snapshot View | |
| • Self Test | |
| • Accessory Test | |
Views Menu | ||
• GPS Diagnostic View (with |
NOTE: The Bird's Eye, Chart, Combo and GPS Diagnostic views require the purchase of the GPS receiver. You can visit our website at www.humminbird.com to order this accessory online or contact our Customer Resource Center at
To Change the View Status of Any View:
1.Highlight the View main menu tab.
2.Use the UP or DOWN
3.Use the LEFT or RIGHT
Accessories Menu Tab
From any view, press the MENU key twice to access the tabbed Main Menu System, then press the RIGHT cursor key until the Accessories tab is selected.
f no accessories are attached to the Accessory Bus, no accessory menu choices will appear under the Accessories tab, only the Screen Snapshot menu choice. If an accessory is attached, however, additional menu choices that support the accessory will be added automatically. See the Operations Manual that comes with your accessory for detailed information.
Accessories Menu Tab
(no accessories attached)
Accessories Menu Tab
(with accessories attached)
NOTE: Accessories to enable WeatherSense®, GPS Functionality and the SmartCast® Wireless Sonar Link require separate purchases. You can visit our website at www.humminbird.com or contact our Customer Resource Center at
Using Screen Snapshot
Screen Snapshot activates the screen snapshot function. When Screen Snapshot is enabled, pressing the MARK key creates a saved screen capture on the
NOTE: You must have an
To turn Screen Snapshot on or off:
1.Highlight Screen Snapshot on the Accessories main menu.
2.Use the LEFT or RIGHT
89 | 90 |
