www..reelschel matic..com
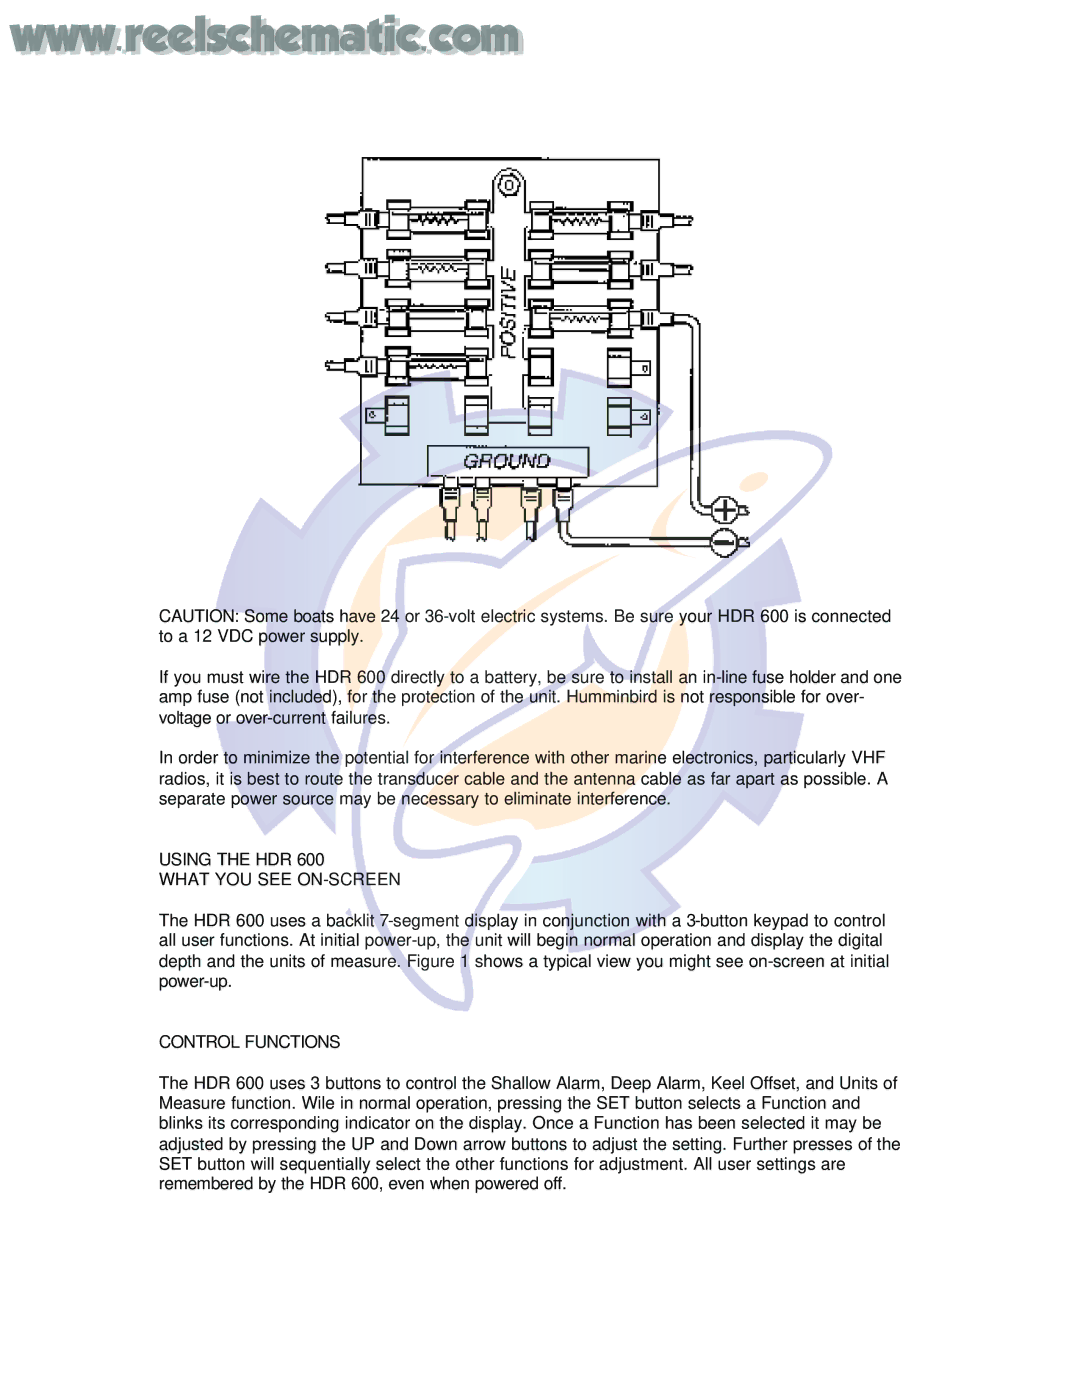
CAUTION: Some boats have 24 or
If you must wire the HDR 600 directly to a battery, be sure to install an
In order to minimize the potential for interference with other marine electronics, particularly VHF radios, it is best to route the transducer cable and the antenna cable as far apart as possible. A separate power source may be necessary to eliminate interference.
USING THE HDR 600
WHAT YOU SEE ON-SCREEN
The HDR 600 uses a backlit
CONTROL FUNCTIONS
The HDR 600 uses 3 buttons to control the Shallow Alarm, Deep Alarm, Keel Offset, and Units of Measure function. Wile in normal operation, pressing the SET button selects a Function and blinks its corresponding indicator on the display. Once a Function has been selected it may be adjusted by pressing the UP and Down arrow buttons to adjust the setting. Further presses of the SET button will sequentially select the other functions for adjustment. All user settings are remembered by the HDR 600, even when powered off.
