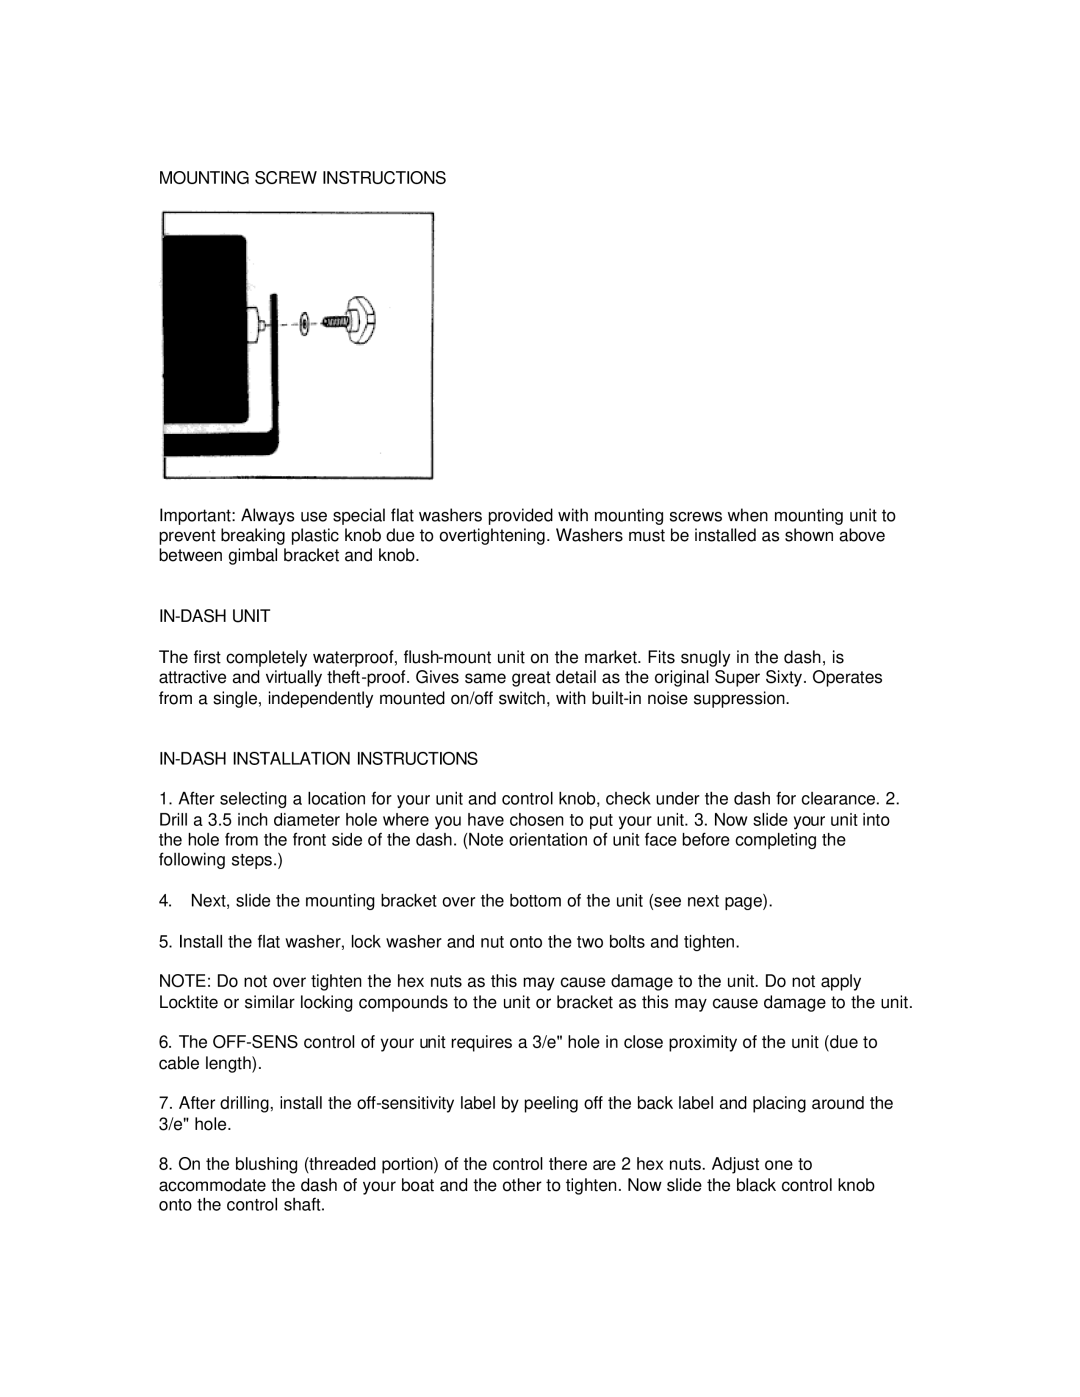
MOUNTING SCREW INSTRUCTIONS
Important: Always use special flat washers provided with mounting screws when mounting unit to prevent breaking plastic knob due to overtightening. Washers must be installed as shown above between gimbal bracket and knob.
IN-DASH UNIT
The first completely waterproof,
IN-DASH INSTALLATION INSTRUCTIONS
1.After selecting a location for your unit and control knob, check under the dash for clearance. 2. Drill a 3.5 inch diameter hole where you have chosen to put your unit. 3. Now slide your unit into the hole from the front side of the dash. (Note orientation of unit face before completing the following steps.)
4.Next, slide the mounting bracket over the bottom of the unit (see next page).
5.Install the flat washer, lock washer and nut onto the two bolts and tighten.
NOTE: Do not over tighten the hex nuts as this may cause damage to the unit. Do not apply Locktite or similar locking compounds to the unit or bracket as this may cause damage to the unit.
6.The
7.After drilling, install the
8.On the blushing (threaded portion) of the control there are 2 hex nuts. Adjust one to accommodate the dash of your boat and the other to tighten. Now slide the black control knob onto the control shaft.