WARNING: Fan may fall if not assembled as directed in these installation instructions.
You can assemble your fan for standard or angled mounting as shown in steps 3-1 – 3-4 on the previous page. For low profile mounting (ceilings less than 8 feet high), see steps 3-5 – 3-11 on this page.
For Low Profile Mounting:
Note: For low profile mounting, the downrod is replaced with the low profile washer.
3-5. Unbundle the wires from the fan.
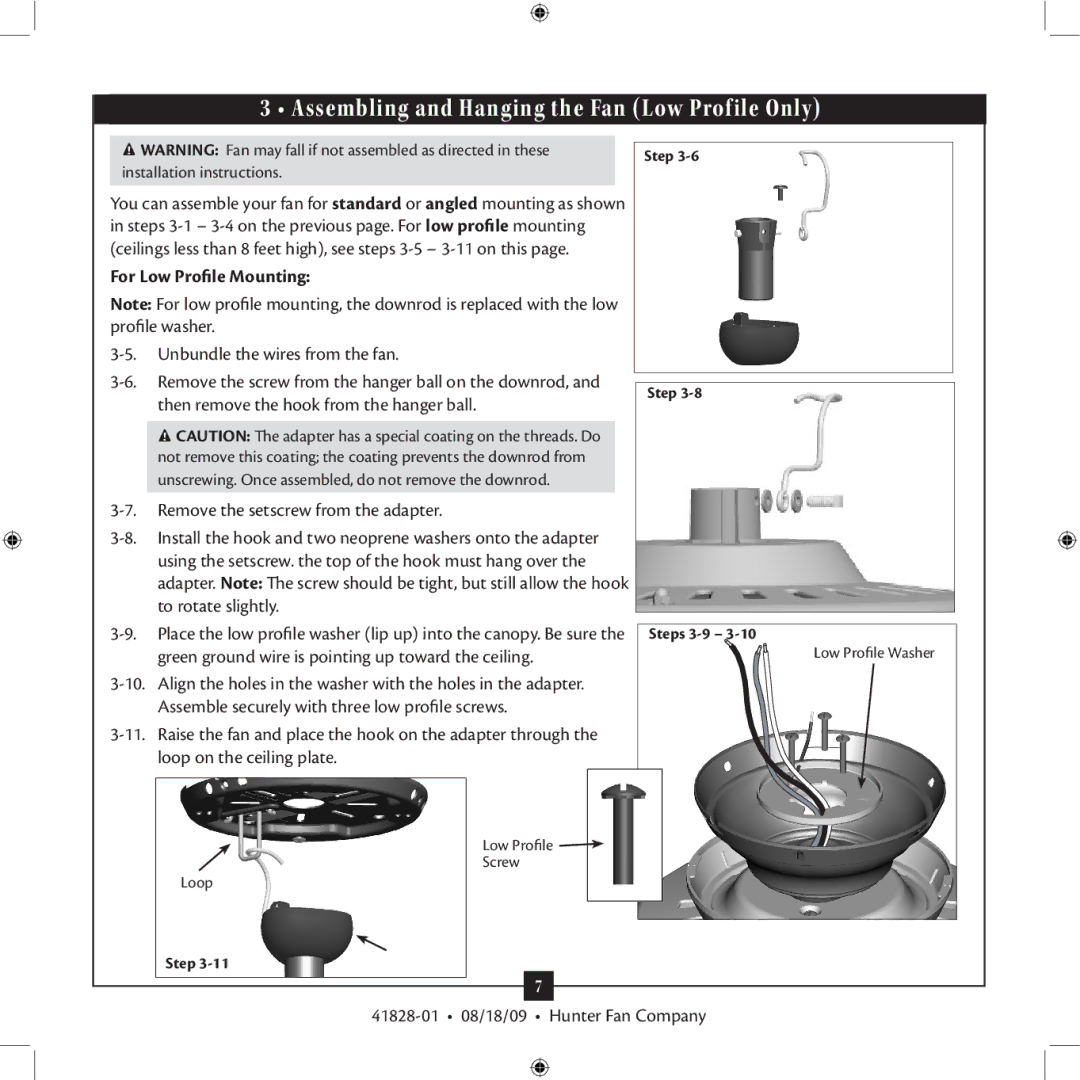
3-6. Remove the screw from the hanger ball on the downrod, and then remove the hook from the hanger ball.
 CAUTION: The adapter has a special coating on the threads. Do not remove this coating; the coating prevents the downrod from unscrewing. Once assembled, do not remove the downrod.
3-7. Remove the setscrew from the adapter.
3-8. Install the hook and two neoprene washers onto the adapter using the setscrew. the top of the hook must hang over the adapter. Note: The screw should be tight, but still allow the hook to rotate slightly.
3-9. Place the low profile washer (lip up) into the canopy. Be sure the green ground wire is pointing up toward the ceiling.
3-10. Align the holes in the washer with the holes in the adapter. Assemble securely with three low profile screws.
3-11. Raise the fan and place the hook on the adapter through the loop on the ceiling plate.
Low Profile 
Screw
Loop
Step 3-11
7