
42737-01 specifications
The Hunter Fan 42737-01 is a stylish and functional ceiling fan designed to enhance any living space. This model boasts a modern aesthetic that easily complements various decor styles, making it a versatile choice for homeowners looking to improve their interior design while maintaining comfort.One of the standout features of the Hunter Fan 42737-01 is its powerful motor. Equipped with a WhisperWind motor, this fan delivers exceptional airflow without producing excessive noise. This technology ensures a peaceful environment, making it ideal for bedrooms, living rooms, or office spaces where concentration is key. Additionally, the fan offers multiple speed settings, allowing users to customize airflow based on their preferences.
The Hunter Fan 42737-01 also includes energy-efficient LED lighting, providing bright illumination while consuming less energy than traditional bulbs. The integrated light kit features a sleek design, enhancing the fan's overall appearance. With adjustable brightness settings, users can create the perfect ambiance, whether for a cozy evening or a lively gathering.
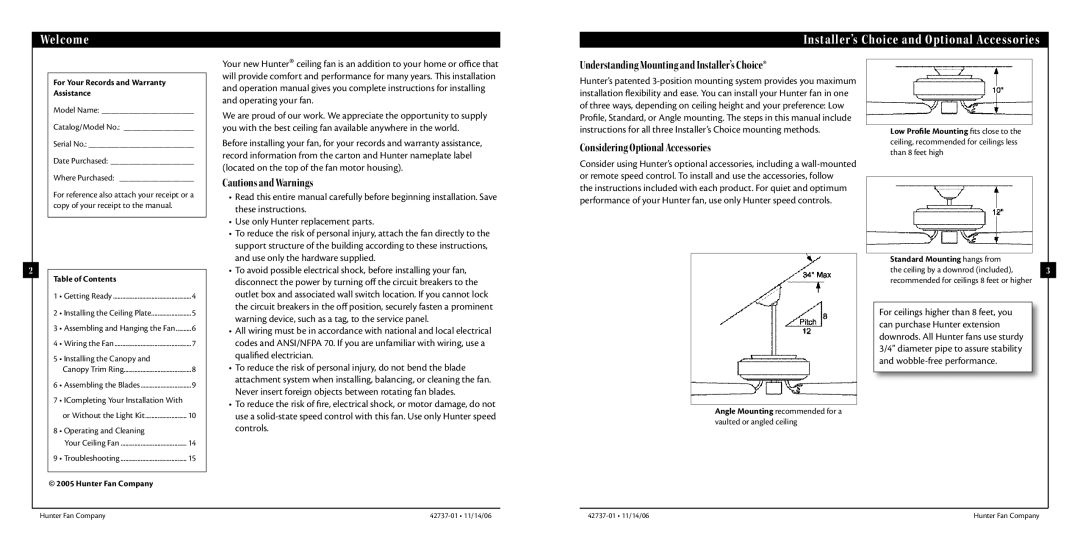
Another noteworthy characteristic of the Hunter Fan 42737-01 is its easy installation process. This fan comes with a straightforward mounting system, making it accessible even for those without extensive DIY experience. Additionally, the fan is compatible with a variety of ceiling heights, thanks to its versatile downrod options, allowing homeowners to achieve optimal airflow and aesthetics.
The construction of the Hunter Fan 42737-01 emphasizes durability and quality. Made with premium materials, this ceiling fan is designed to withstand the test of time. The fan blades are engineered for maximum performance and efficiency, ensuring that it operates smoothly and reliably.
For added convenience, the Hunter Fan 42737-01 offers remote control functionality, allowing users to adjust the speed and lighting from anywhere in the room. This feature adds an extra layer of comfort, enabling seamless operation without the need to get up.
In conclusion, the Hunter Fan 42737-01 stands out for its combination of style, performance, and technology. With its WhisperWind motor, energy-efficient LED lighting, and user-friendly features, it is a fantastic addition to any home. Whether you're looking to enhance your living space or improve comfort levels, this ceiling fan is a reliable choice that will meet your needs for years to come.