7 • Completing Your Installation With or Without a Light Fixture (continued)

8 • Operating and Cleaning Your Ceiling Fan

Step Title

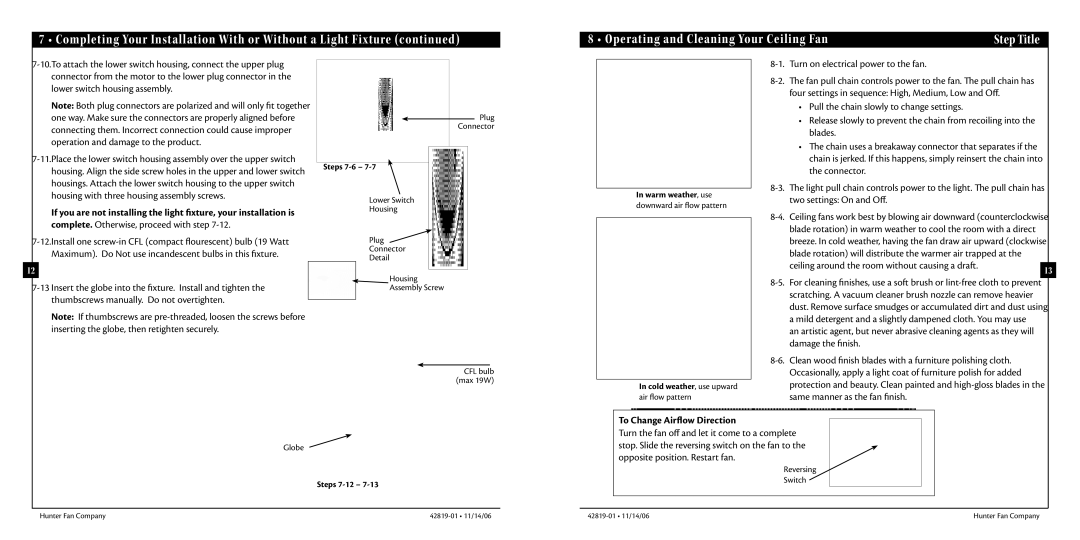
7-10.To attach the lower switch housing, connect the upper plug connector from the motor to the lower plug connector in the lower switch housing assembly.

Note: Both plug connectors are polarized and will only fit together one way. Make sure the connectors are properly aligned before connecting them. Incorrect connection could cause improper operation and damage to the product.

7-11.Place the lower switch housing assembly over the upper switch housing. Align the side screw holes in the upper and lower switch housings. Attach the lower switch housing to the upper switch housing with three housing assembly screws.

Plug

Connector

Steps 7-67-7

Lower Switch

In warm weather, use downward air flow pattern

8-1. Turn on electrical power to the fan.

8-2. The fan pull chain controls power to the fan. The pull chain has four settings in sequence: High, Medium, Low and Off.

Pull the chain slowly to change settings.

Release slowly to prevent the chain from recoiling into the blades.

The chain uses a breakaway connector that separates if the chain is jerked. If this happens, simply reinsert the chain into the connector.

8-3. The light pull chain controls power to the light. The pull chain has two settings: On and Off.

If you are not installing the light fixture, your installation is complete. Otherwise, proceed with step 7-12.

7-12.Install one screw-in CFL (compact flourescent) bulb (19 Watt Maximum). Do Not use incandescent bulbs in this fixture.

12

7-13 Insert the globe into the fixture. Install and tighten the thumbscrews manually. Do not overtighten.

Note: If thumbscrews are pre-threaded, loosen the screws before inserting the globe, then retighten securely.

Housing

Plug

Connector

Detail

Housing

Assembly Screw

8-4. Ceiling fans work best by blowing air downward (counterclockwise

blade rotation) in warm weather to cool the room with a direct


breeze. In cold weather, having the fan draw air upward (clockwise

blade rotation) will distribute the warmer air trapped at the


ceiling around the room without causing a draft.

13


8-5. For cleaning finishes, use a soft brush or lint-free cloth to prevent scratching. A vacuum cleaner brush nozzle can remove heavier dust. Remove surface smudges or accumulated dirt and dust using a mild detergent and a slightly dampened cloth. You may use

an artistic agent, but never abrasive cleaning agents as they will damage the finish.

CFL bulb (max 19W)

In cold weather, use upward

air flow pattern

To Change Airflow Direction

8-6. Clean wood finish blades with a furniture polishing cloth. Occasionally, apply a light coat of furniture polish for added protection and beauty. Clean painted and high-gloss blades in the same manner as the fan finish.

Globe

Steps 7-127-13

Turn the fan off and let it come to a complete stop. Slide the reversing switch on the fan to the opposite position. Restart fan.

Reversing

Switch

Hunter Fan Company

42819-01 • 11/14/06

42819-01 • 11/14/06

Hunter Fan Company

Page 7
Image 7
Hunter Fan 42819-01 Turn on electrical power to the fan, To Change Airflow Direction, Steps 7-6, Cold weather, use upward

42819-01 specifications

The Hunter Fan 42819-01 is a stylish and functional ceiling fan that seamlessly combines modern design with advanced technology. Designed for both indoor and outdoor spaces, this fan is a perfect addition to various settings, whether it is in a living room, porch, or patio.

One of the main features of the Hunter Fan 42819-01 is its powerful, quiet motor, which ensures efficient airflow while maintaining a serene environment. The fan operates with three-speed settings, allowing users to customize the level of comfort to their liking. This versatility makes it suitable for different climates, whether it's to cool down during hot summer days or circulate warm air during the colder months.

The fan boasts a sleek, contemporary design with a polished finish that complements a variety of interior styles. This aesthetic appeal makes it not just a functional appliance but also a stylish centerpiece in any room. The fan blades are designed with a unique shape, providing optimal airflow while minimizing noise, allowing for a peaceful atmosphere.

Additionally, the Hunter Fan 42819-01 is equipped with LED lighting. This integrated feature not only enhances brightness but also contributes to energy efficiency, reducing electricity costs over time. The LED light can offer various color temperatures, allowing users to customize their lighting experience and create the perfect ambiance.

Another highlight of this ceiling fan is its easy installation process. The fan comes with all necessary hardware and a detailed instruction manual, making it convenient for homeowners to set up without the need for professional assistance. The fan is also designed for easy maintenance, as the blades can be easily cleaned to ensure optimal performance.

The Hunter Fan 42819-01 is also compatible with smart home technology, allowing users to integrate it into their existing smart systems. This feature enables remote access and control through smartphones or voice-activated assistants, enhancing user convenience and modern living.

In summary, the Hunter Fan 42819-01 combines aesthetics, advanced technology, and energy efficiency in a single unit. Its powerful, quiet motor, adjustable speed settings, integrated LED lighting, and compatibility with smart home systems make it an ideal choice for those looking to enhance their living space.