Type specifications
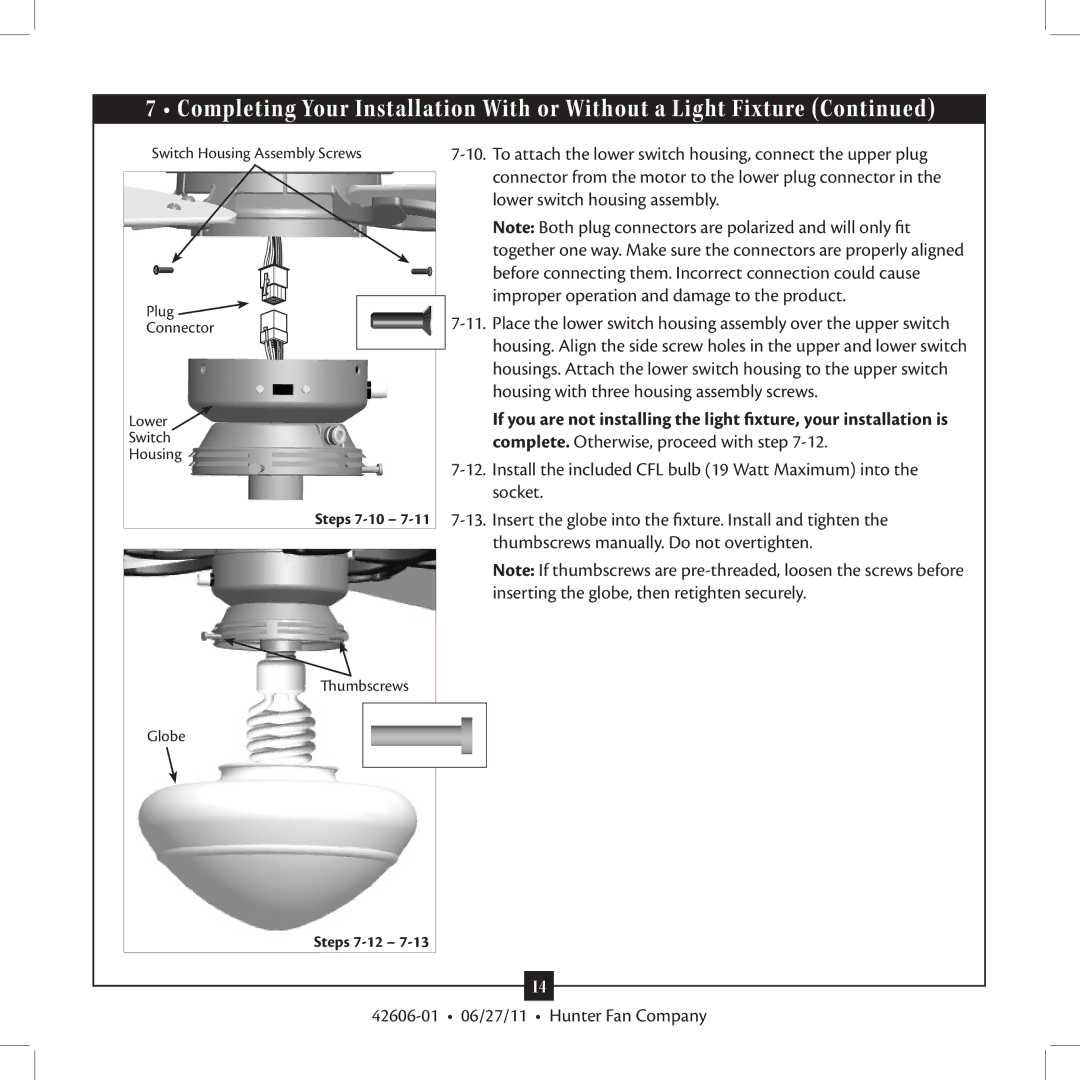
Hunter Fan Company, established in 1886, is a renowned name in the world of ceiling fans. Known for its commitment to quality, innovation, and style, Hunter fans have become a staple in homes and businesses alike. One standout is the Hunter Fan Type, a versatile line of ceiling fans that blends form, function, and advanced technology.One of the key features of Hunter fans is their motor design. The fans often utilize WhisperWind technology, which allows for powerful air movement with minimal noise. This is particularly beneficial for residential spaces where silence is golden, such as bedrooms and nurseries. The fan's ability to operate quietly ensures that it can provide comfort without disruption, making it a popular choice for various settings.
Another significant characteristic of Hunter Fan Type is its energy efficiency. Many models are designed to be Energy Star certified, which means they meet strict energy efficiency guidelines set by the U.S. Environmental Protection Agency. This not only helps homeowners save on electricity bills but also contributes to a more sustainable environment.
In terms of design, Hunter fans come in a vast array of styles, finishes, and sizes to accommodate different décor preferences and room dimensions. From sleek modern designs to traditional wooden finishes, there is a Hunter fan that can seamlessly integrate into any interior. The versatility in design ensures that these fans are not merely functional but also enhance the aesthetic appeal of a space.
Some models also feature Hunter's proprietary SureSpeed Technology, which guarantees high-speed cooling and airflow, even in larger spaces. This technology is combined with a robust blade design that optimizes air movement, ensuring comfort throughout the room during hot summer months.
Smart technology integration is another notable characteristic of Hunter fans. Many models can be controlled via mobile apps or smart home systems, allowing users to adjust speed, lighting, and even set schedules from anywhere. This convenience adds to the modern appeal of Hunter fans and caters to the growing demand for smart home devices.
In summary, the Hunter Fan Type exemplifies a perfect blend of style, efficiency, and advanced technology. With features such as WhisperWind motors, energy efficiency, diverse design options, SureSpeed Technology, and smart home compatibility, Hunter fans are well-equipped to meet the needs of contemporary living spaces. Their enduring reputation continues to make them a preferred choice for those seeking quality and reliability in ceiling fans.

