
HA 110, HA 110 specifications
The Husqvarna HA 110 is a versatile and efficient tool designed for professionals and enthusiasts alike. It stands out in the market due to its well-engineered features, advanced technology, and user-friendly design, making it an ideal choice for a wide range of applications.One of the main features of the HA 110 is its powerful 2-stroke engine, which provides high performance while maintaining fuel efficiency. The engine is designed to offer superior torque and consistent power delivery, enabling users to tackle demanding tasks with ease. This ensures that whether you are cutting through tough materials or performing sustained operations, the HA 110 delivers reliable performance.
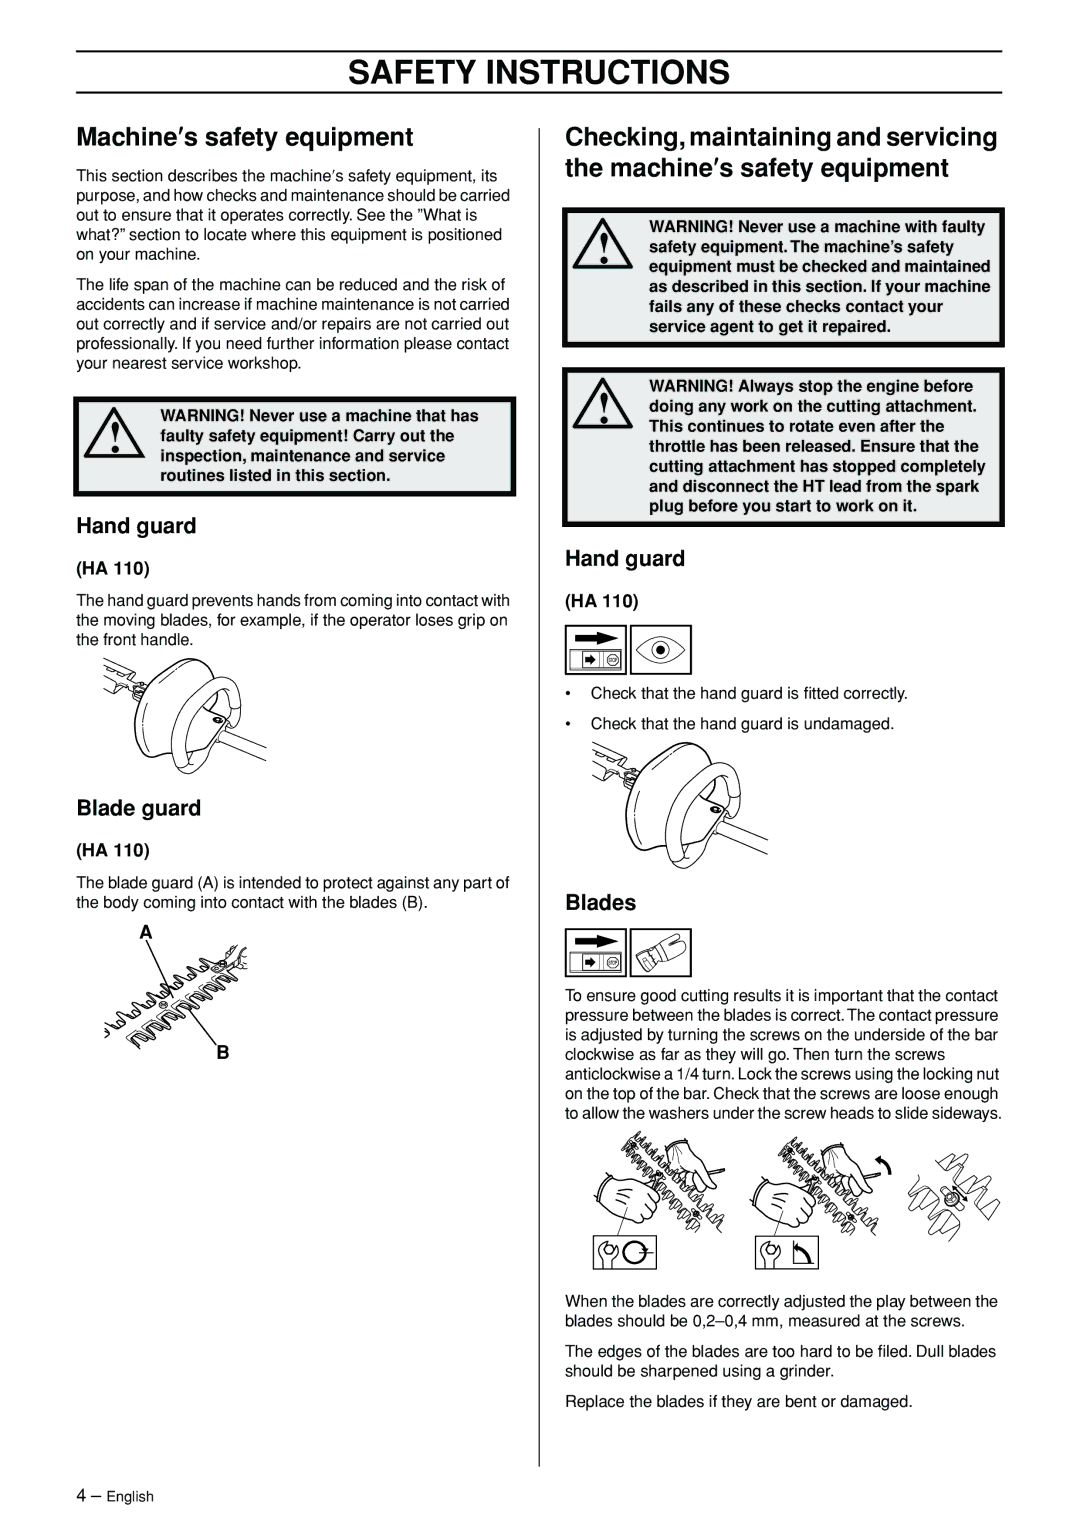
The HA 110 comes equipped with a robust cutting system that enhances its cutting capabilities. The state-of-the-art blade design facilitates smooth and precise cutting, reducing the risk of jamming or snagging. This feature not only enhances productivity but also prolongs the life of the tool, making it a smart investment for professionals who rely on continuous performance.
Comfort and ergonomics are also key considerations in the design of the Husqvarna HA 110. It features an adjustable handle that allows users to customize the grip angle, ensuring optimal comfort during extended use. The lightweight construction of the tool further minimizes fatigue, enabling users to work longer without compromising performance.
Additionally, the HA 110 incorporates advanced vibration dampening technology. This system significantly reduces vibrations transmitted to the user, enhancing comfort and control while minimizing strain during operation. A reduced vibration level allows for prolonged use without discomfort, making the HA 110 a preferred choice for tasks that require precision and detail.
Safety is a top priority with the Husqvarna HA 110. It is designed with several safety features, including a secure switch for easy operation and a protective shield that safeguards users from debris and accidents. These safety considerations ensure that the tool can be operated confidently, even in challenging environments.
In summary, the Husqvarna HA 110 is a cutting-edge tool that combines power, efficiency, and safety. Its strong engine, advanced cutting system, ergonomic design, and safety features make it suitable for various applications, ensuring that it meets the demands of professionals and DIY enthusiasts alike. Whether used for landscaping, construction, or maintenance tasks, the HA 110 is a dependable choice that delivers exceptional results.