Trim frame installation
To install the trim frame, press it to the unit body and push it to fix it in place. This should be done before installing the front panel; otherwise you are not able to install the trim frame. When the trim frame being installed, the side with the groove should face down and fixed first.
2. DIN REAR-MOUNT (Method B)
For this method, use the screw holes in the lateral sides of the unit. Fix the unit with the help of the factory radio mounting brackets.
1.Select a position in which the screw holes of the brackets (3) are aligned with the screw holes in the unit body, and screw in two screws (2) in each side.
2.Screw.
3.Factory radio mounting brackets.
4.Vehicle dashboard.
5.Lock (remove this part).
Note: The outer trim frame and mounting sleeve are not used for method of installation.
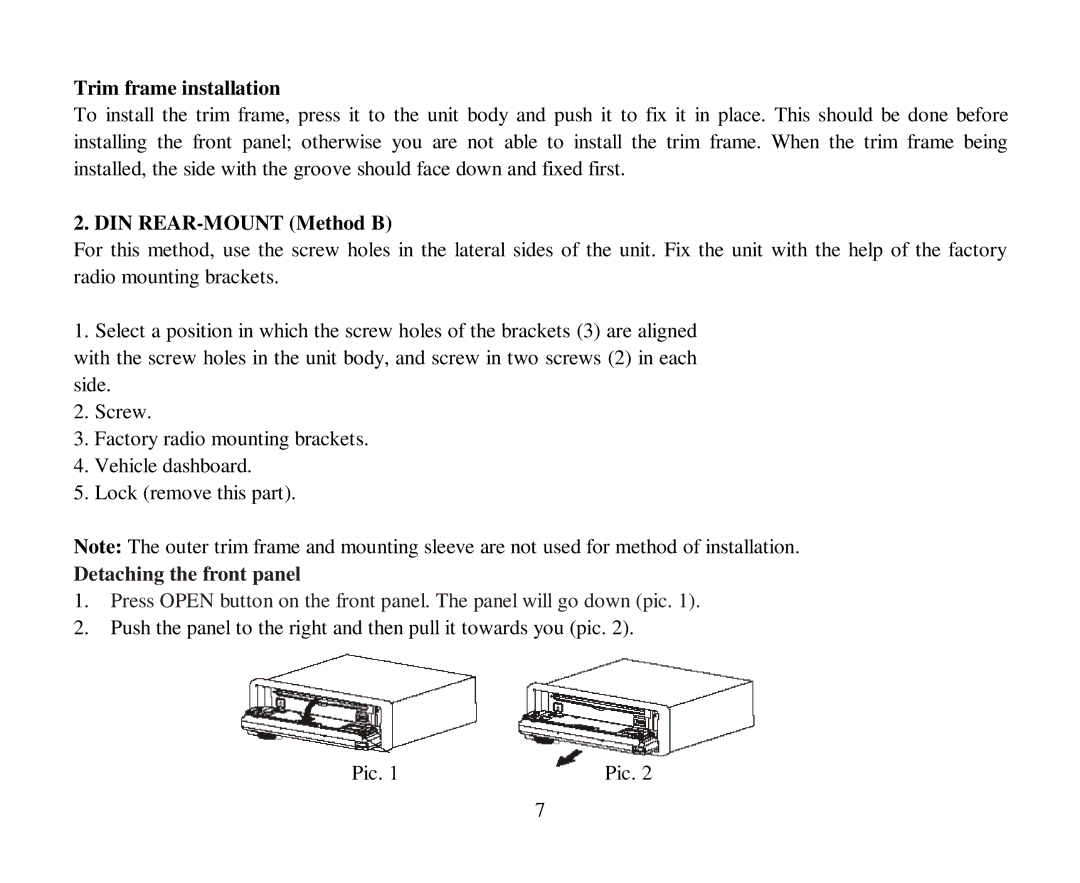
Detaching the front panel
1.Press OPEN button on the front panel. The panel will go down (pic. 1).
2.Push the panel to the right and then pull it towards you (pic. 2).
Pic. 1 | Pic. 2 |
7