3.Disconnect the signal and power cables from the rear of the optical drive.
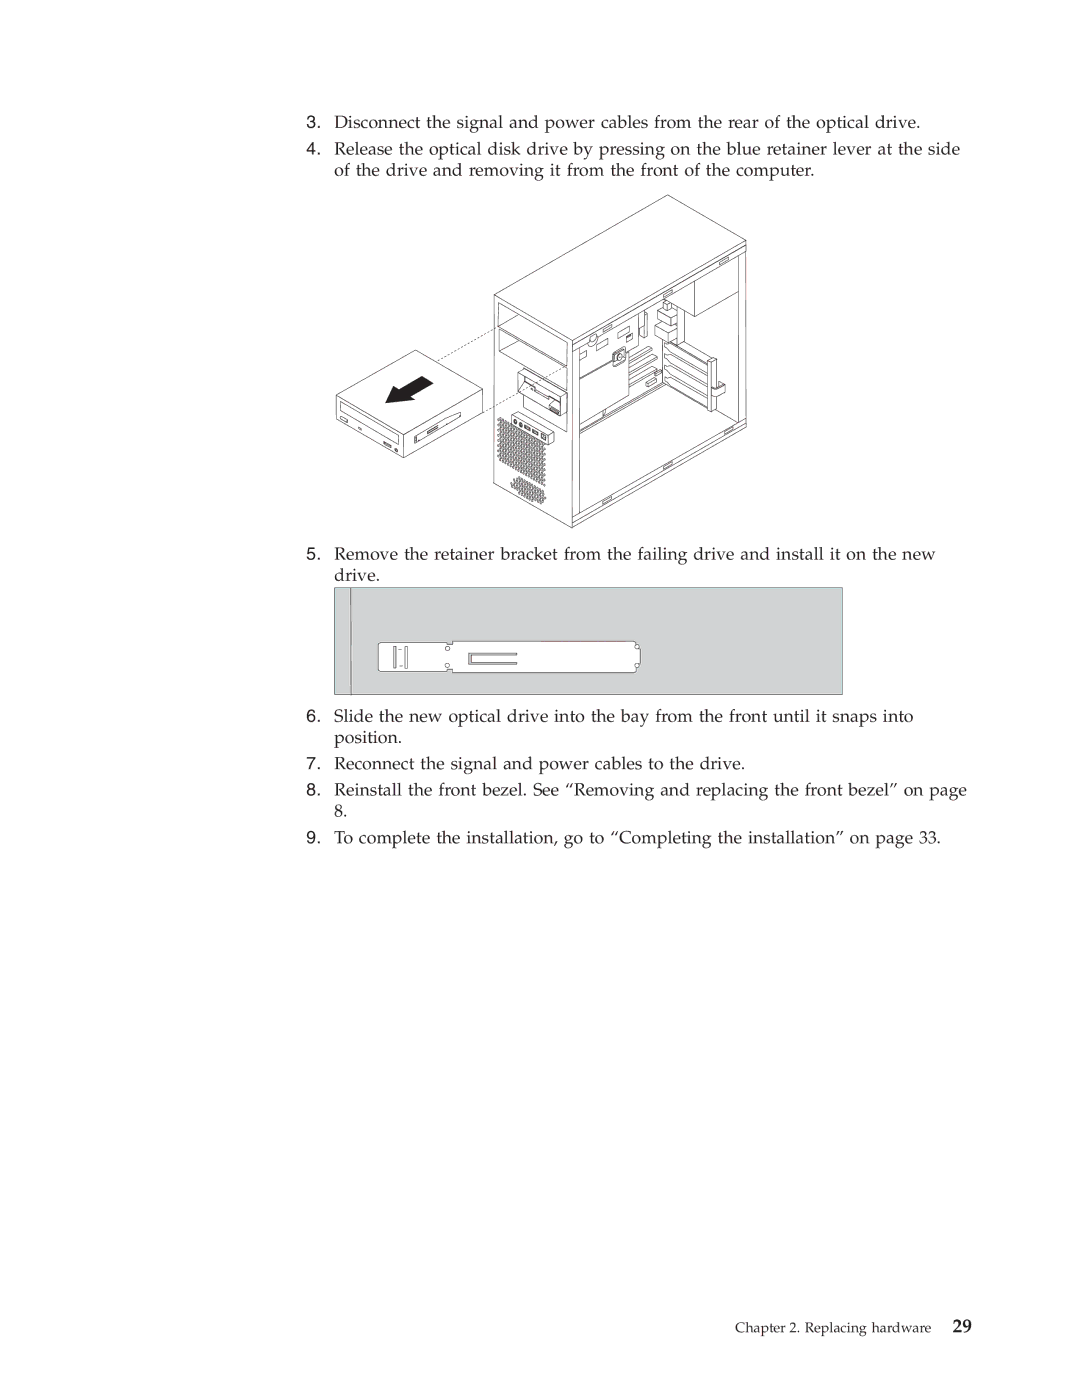
4.Release the optical disk drive by pressing on the blue retainer lever at the side of the drive and removing it from the front of the computer.
5.Remove the retainer bracket from the failing drive and install it on the new drive.
6.Slide the new optical drive into the bay from the front until it snaps into position.
7.Reconnect the signal and power cables to the drive.
8.Reinstall the front bezel. See “Removing and replacing the front bezel” on page 8.
9.To complete the installation, go to “Completing the installation” on page 33.
