Using iP16
Setting the Time
Install AC Adaptor
Connect the AC adaptor cable plug into the jack on the back of the iP16, then plug the AC adaptor into the wall outlet.
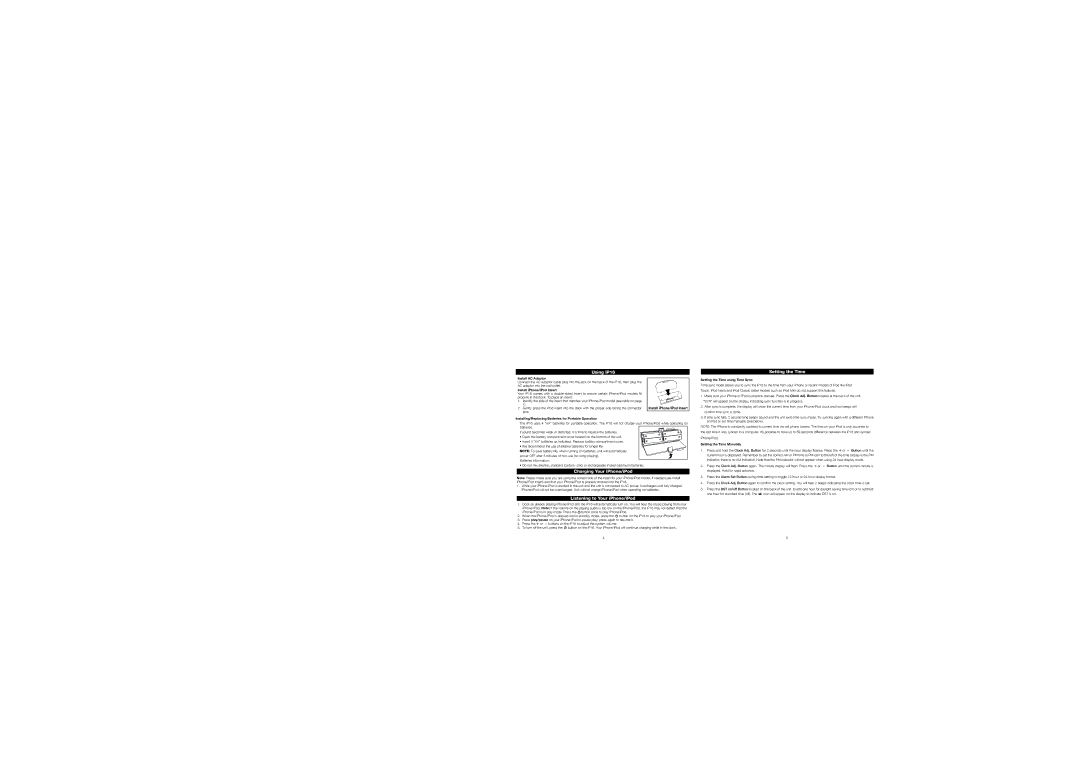
Install iPhone/iPod Insert
Your iP16 comes with a
1.Identify the side of the insert that matches your iPhone/iPod model (see table on page 1).
2.Gently press the iPod insert into the dock with the proper side facing the connector pins.
Installing/Replacing Batteries for Portable Operation
Install iPhone/iPod Insert
Setting the Time using Time Sync
Time sync mode allows you to sync the iP16 to the time from your iPhone or recent models of iPod like iPod Touch, iPod Nano and iPod Classic (older models such as iPod Mini do not support this feature).
1. | Make sure your iPhone or iPod is properly docked. Press the Clock Adj. Button located at the back of the unit. |
| “SYN” will appear on the display, indicating sync function is in progress. |
2. | After sync is complete, the display will show the current time from your iPhone/iPod clock and two beeps will |
| confirm time sync is done. |
3. | If time sync fails, 2 second long beeps sound and the unit exits time sync mode. Try syncing again with a different iPhone |
| or iPod or set time manually (see below). |
The iP16 uses 4 “AA” batteries for portable operation. The iP16 will not charge your iPhone/iPod while operating on batteries.
If sound becomes weak or distorted, it is time to replace the batteries.
• Open the battery compartment cover located on the bottom of the unit.
• Insert 4 “AA” batteries as indicated. Replace battery compartment cover.
• We recommend the use of alkaline batteries for longer life.
NOTE: To save battery life, when running on batteries, unit will automatically power OFF after 3 minutes of
Batteries information:
• Do not mix alkaline, standard (carbon
Charging Your iPhone/iPod
Note: Please make sure you are using the correct side of the insert for your iPhone/iPod model, if needed (see Install iPhone/iPod Insert) and that your iPhone/iPod is properly docked into the iP16.
1.While your iPhone/iPod is docked in the unit and the unit is connected to AC power, it recharges until fully charged. iPhone/iPod will not be overcharged. Unit will not charge iPhone/iPod when operating on batteries.
Listening to Your iPhone/iPod
1.Dock an already playing iPhone/iPod and the iP16 will automatically turn on. You will hear the music playing from your iPhone/iPod. Note: If the volume on the playing audio is too low on the iPhone/iPod, the iP16 may not detect that the iPhone/iPod is in play mode. Press the ![]() button once to play iPhone/iPod.
button once to play iPhone/iPod.
2.When the iPhone/iPod is docked and in standby mode, press the ![]() button on the iP16 to play your iPhone/iPod.
button on the iP16 to play your iPhone/iPod.
3.Press play/pause on your iPhone/iPod to pause play; press again to resume it.
4. Press the or |
| buttons on the iP16 to adjust the system volume. |
|
5.To turn off the unit, press the ![]() button on the iP16. Your iPhone/iPod will continue charging while in the dock. 4
button on the iP16. Your iPhone/iPod will continue charging while in the dock. 4
NOTE: The iPhone is constantly updated to current time via cell phone towers. The time on your iPod is only accurate to the last time it was synced to a computer. It’s possible to have up to 59 seconds difference between the iP16 and synced iPhone/iPod.
Setting the Time Manually
1. | Press and hold the Clock Adj. Button for 2 seconds until the hour display flashes. Press the or |
| Button until the | ||
| |||||
| current hour is displayed. Remember to set the correct AM or PM time (a PM icon to the left of the time display is the PM | ||||
| indicator; there is no AM indicator). Note that the PM indicator will not appear when using 24 hour display mode. | ||||
2. | Press the Clock Adj. Button again. The minute display will flash. Press the or |
| Button until the current minute is | ||
| |||||
| displayed. Hold for rapid advance. |
|
|
|
|
3.Press the Alarm Set Button during time setting to toggle
4.Press the Clock Adj. Button again to confirm the clock setting. You will hear 2 beeps indicating the clock time is set.
5.Press the DST on/off Button located on the back of the unit to add one hour for daylight saving time (on) or to subtract
one hour for standard time (off). The ![]() icon will appear on the display to indicate DST is on.
icon will appear on the display to indicate DST is on.
5