
iP40 specifications
The iHome iP40 is a versatile and stylish alarm clock and speaker system designed to enhance your music listening experience while providing practical alarm functionalities. This device, with its contemporary aesthetic, fits seamlessly into any bedroom or living space, offering both form and function.One of the standout features of the iHome iP40 is its ability to integrate with multiple devices. It comes equipped with a dock for Apple devices, allowing users to charge their iPhones and iPods while enjoying their favorite music. This feature ensures that your device is always ready to go while atop the sleek and attractive unit. The iP40 also supports Bluetooth connectivity, enabling users to stream music wirelessly from smartphones, tablets, and other Bluetooth-enabled devices. This versatility allows for a dynamic listening experience, whether you’re using an Apple device or other compatible devices.
The sound quality of the iHome iP40 is impressive given its size. With dual stereo speakers, it delivers rich and clear audio, making it suitable for various music genres. The built-in resonant speaker technology enhances sound performance, ensuring that every note is vibrant and pronounced. The system also features an EQ control, allowing users to customize their listening experience according to their preference.
In addition to its audio capabilities, the iHome iP40 boasts a range of practical features that make it more than just a speaker. The device includes a reliable dual alarm system, allowing two individual alarms to be set—perfect for couples with different schedules. Users can customize their alarms with a variety of sounds, including radio, vibrations, or any audio from their device, ensuring a pleasant wake-up experience.
Moreover, the iP40 features a built-in FM radio, with the ability to store preset stations, making it easy for users to enjoy their favorite broadcasts. The snooze feature provides that extra few minutes of rest, while the easy-to-read LED display ensures that checking the time during the night is hassle-free, without being overly bright.
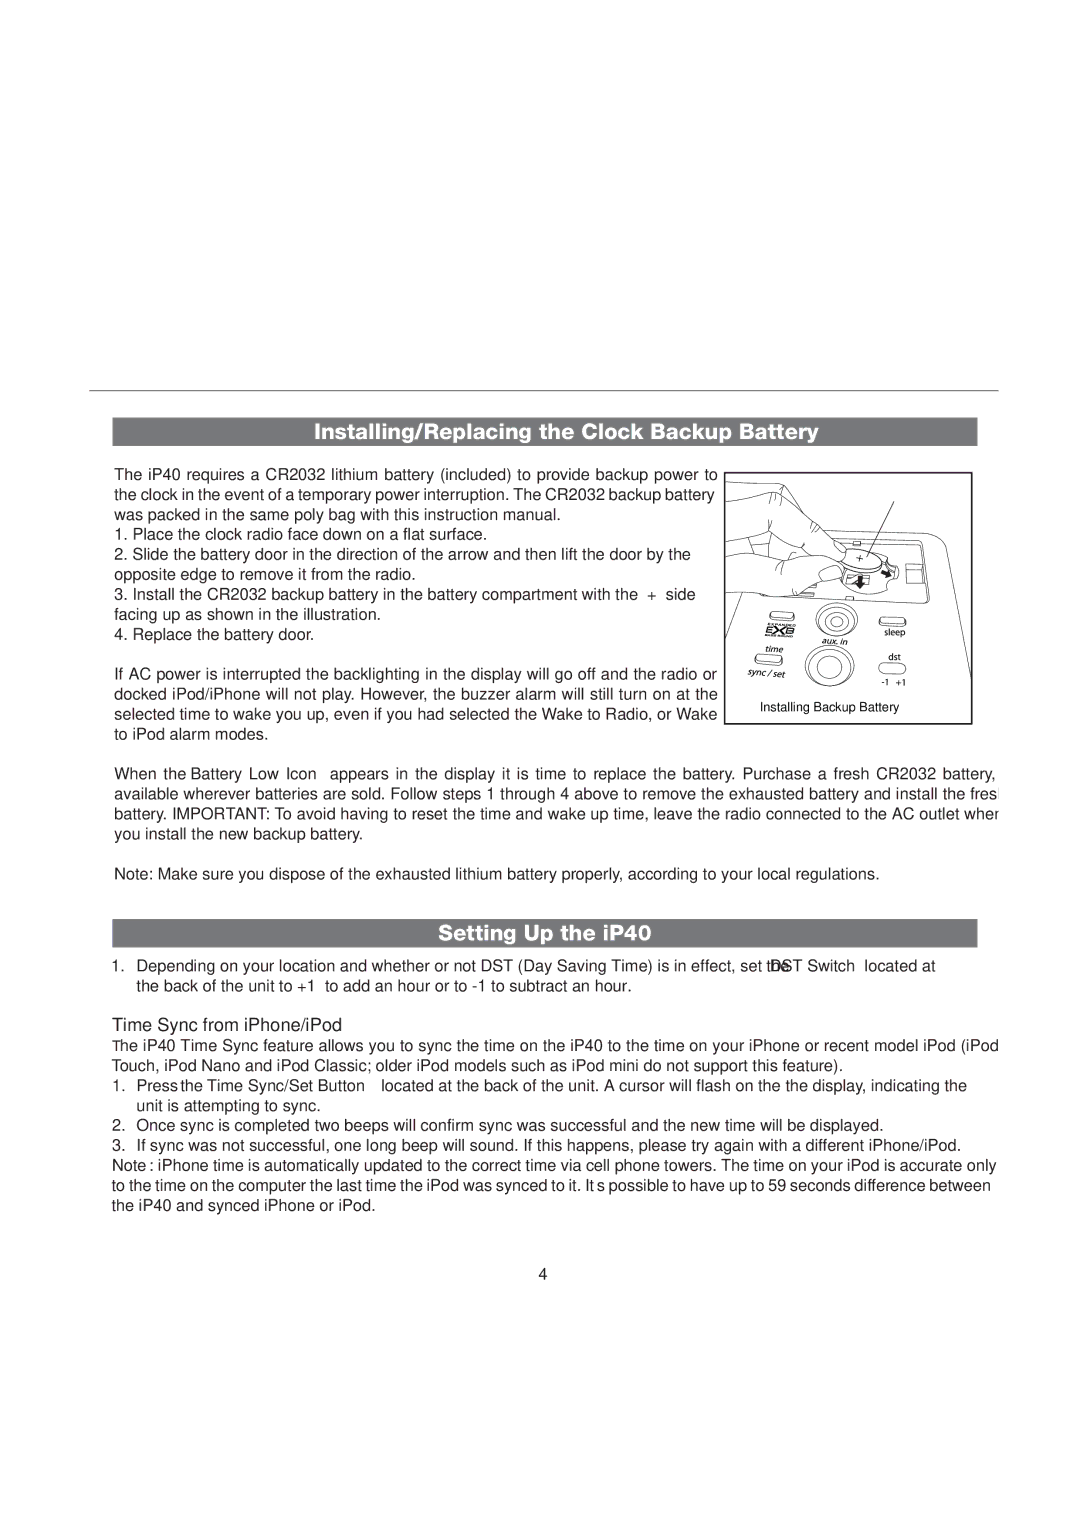
The iHome iP40 runs on AC power, but it can also function with battery backup, ensuring that alarms sound even in the event of a power outage. This point highlights the device's reliability, making it a favorite choice for many.
Overall, the iHome iP40 combines stylish design with practical technology, making it a smart addition to any home. With its Bluetooth capabilities, impressive sound quality, and user-friendly features, it stands out as a versatile speaker and alarm clock solution for modern users.