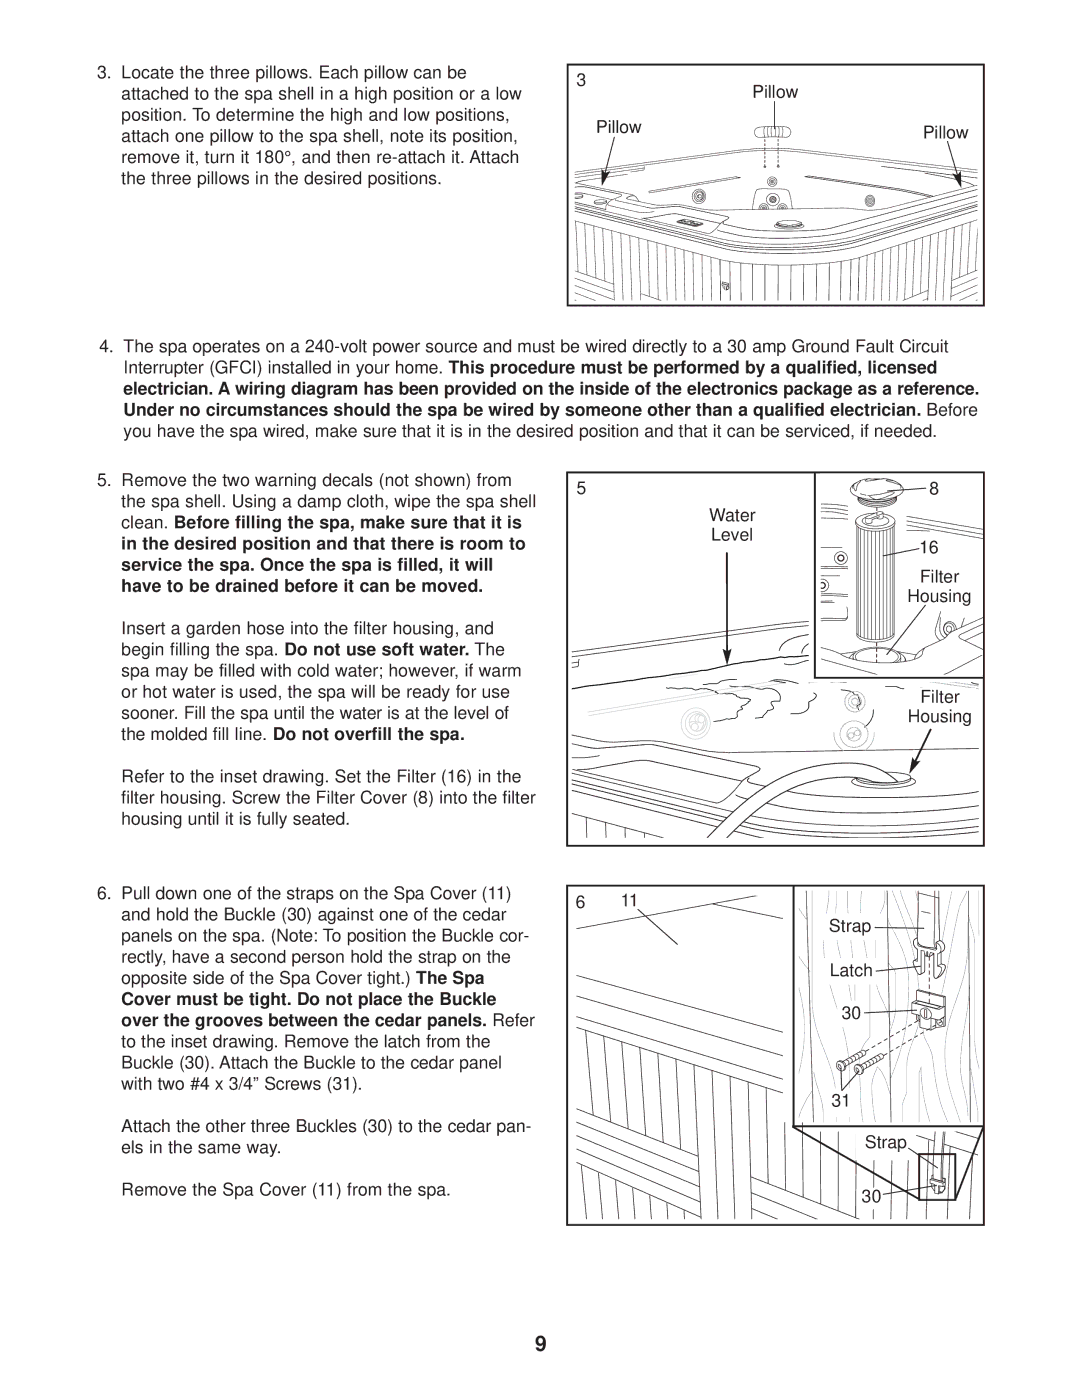
3.Locate the three pillows. Each pillow can be attached to the spa shell in a high position or a low position. To determine the high and low positions, attach one pillow to the spa shell, note its position, remove it, turn it 180°, and then
3 | Pillow |
| |
Pillow | Pillow |
|
4. The spa operates on a | |||
Interrupter (GFCI) installed in your home. This procedure must be performed by a qualified, licensed | |||
electrician. A wiring diagram has been provided on the inside of the electronics package as a reference. | |||
Under no circumstances should the spa be wired by someone other than a qualified electrician. Before | |||
you have the spa wired, make sure that it is in the desired position and that it can be serviced, if needed. | |||
5. Remove the two warning decals (not shown) from | 5 | 8 | |
the spa shell. Using a damp cloth, wipe the spa shell | |||
| Water | ||
clean. Before filling the spa, make sure that it is |
| ||
| Level | ||
in the desired position and that there is room to |
| ||
| 16 | ||
service the spa. Once the spa is filled, it will |
| Filter | |
have to be drained before it can be moved. |
| ||
| Housing | ||
|
| ||
Insert a garden hose into the filter housing, and |
|
| |
begin filling the spa. Do not use soft water. The |
|
| |
spa may be filled with cold water; however, if warm |
|
| |
or hot water is used, the spa will be ready for use |
| Filter | |
sooner. Fill the spa until the water is at the level of |
| Housing | |
the molded fill line. Do not overfill the spa. |
|
| |
Refer to the inset drawing. Set the Filter (16) in the |
|
| |
filter housing. Screw the Filter Cover (8) into the filter |
|
| |
housing until it is fully seated. |
|
| |
6. Pull down one of the straps on the Spa Cover (11) | 6 | 11 | |
and hold the Buckle (30) against one of the cedar | |||
| Strap | ||
panels on the spa. (Note: To position the Buckle cor- |
| ||
|
| ||
rectly, have a second person hold the strap on the |
| Latch | |
opposite side of the Spa Cover tight.) The Spa |
| ||
|
| ||
Cover must be tight. Do not place the Buckle |
| 30 | |
over the grooves between the cedar panels. Refer |
| ||
|
| ||
to the inset drawing. Remove the latch from the |
|
| |
Buckle (30). Attach the Buckle to the cedar panel |
|
| |
with two #4 x 3/4” Screws (31). |
| 31 | |
|
| ||
Attach the other three Buckles (30) to the cedar pan- |
| Strap | |
els in the same way. |
| ||
Remove the Spa Cover (11) from the spa. |
| 30 | |
|
| ||
9