USING THE 450TX
MENU FUNCTIONS
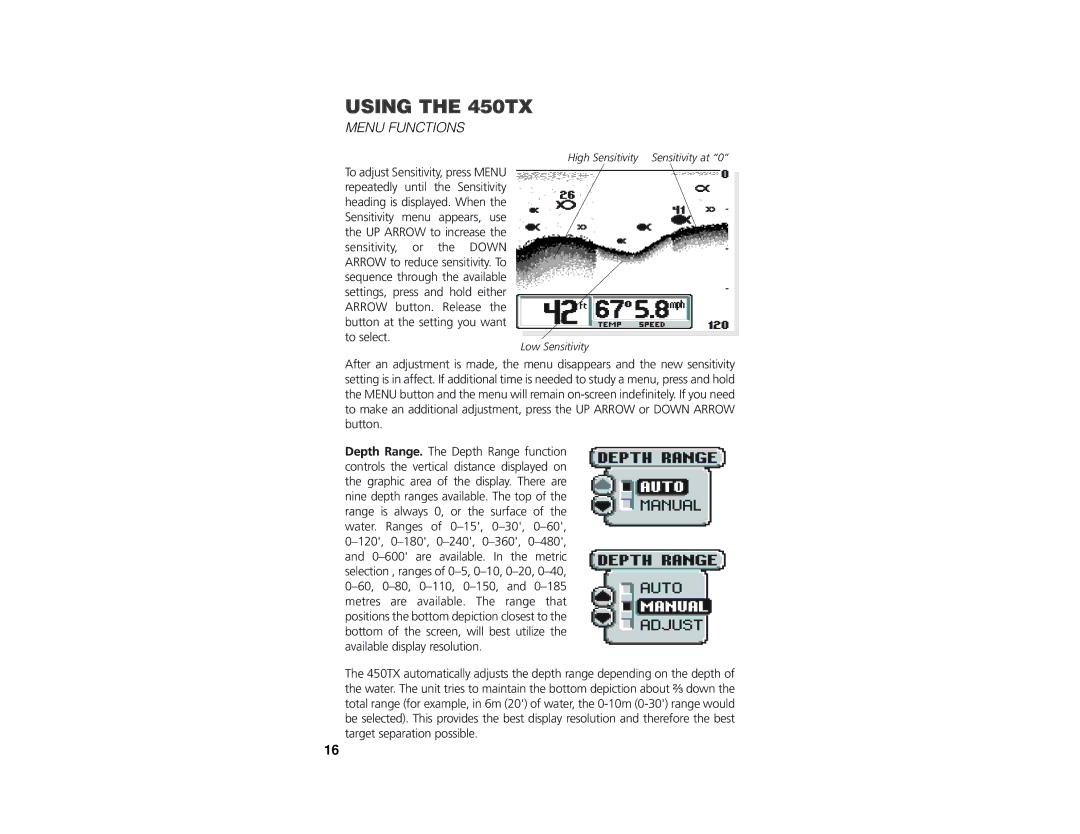
High Sensitivity Sensitivity at “0”
To adjust Sensitivity, press MENU repeatedly until the Sensitivity heading is displayed. When the Sensitivity menu appears, use the UP ARROW to increase the sensitivity, or the DOWN ARROW to reduce sensitivity. To sequence through the available settings, press and hold either ARROW button. Release the button at the setting you want to select.
Low Sensitivity
After an adjustment is made, the menu disappears and the new sensitivity setting is in affect. If additional time is needed to study a menu, press and hold the MENU button and the menu will remain
Depth Range. The Depth Range function controls the vertical distance displayed on the graphic area of the display. There are nine depth ranges available. The top of the range is always 0, or the surface of the water. Ranges of
The 450TX automatically adjusts the depth range depending on the depth of the water. The unit tries to maintain the bottom depiction about ²⁄₃ down the total range (for example, in 6m (20') of water, the
16