Manuals
/
Iomega
/
Computer Equipment
/
Computer Drive
Iomega
Floppy plus 7-in-1 Card Reader USB Powered Drive
manual
Installation Instructions, PC Users
Models:
Floppy plus 7-in-1 Card Reader USB Powered Drive
1
4
16
16
Download
16 pages
15.02 Kb
1
2
3
4
5
6
7
8
Install
Page 4
Image 4
Page 3
Page 5
Page 4
Image 4
Page 3
Page 5
Contents
Floppy plus 7-in-1 Card Reader USB Powered Drive
Page
Conteúdo Inhoudsopgave Innehåll Indhold Innhold
Contents Matières Inhalt Sommario Contenido
Sisällys Περιεχόµενα Obsah Spis treści
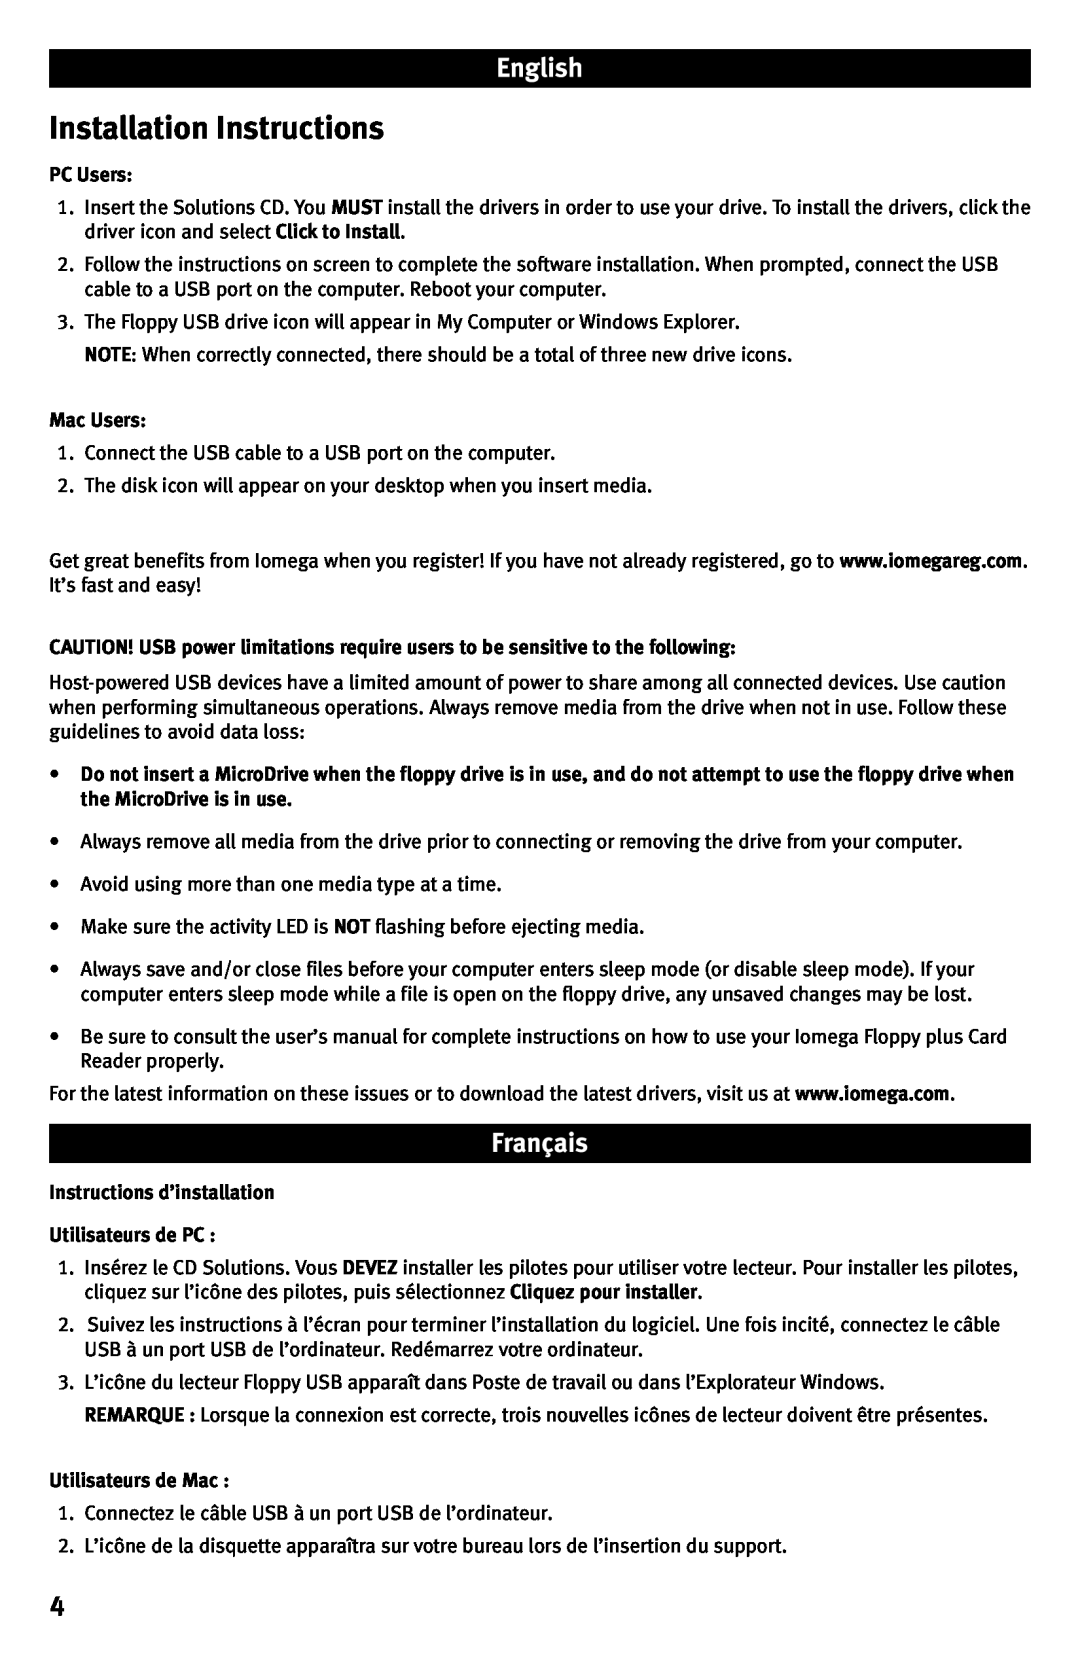
Installation Instructions
Instructions d’installation Utilisateurs de PC
PC Users
Mac Users
PC-Benutzer
Installationsanweisungen
Mac-Benutzer
Utenti PC
Utenti Mac
Instrucciones de instalación
Instruções de instalação
Usuarios de PC
Usuarios de Mac
Installatie-instructies
Usuários de Mac
PC-gebruikers
Mac-gebruikers
PC-användare
Installationsanvisningar
Mac-användare
Pc-brugere
Installationsvejledning
Mac-brugere
Installeringsveiledning
Asennusohjeet
PC-brukere
Mac-brukere
Οδηγίες εγκατάστασης
Macintosh-käyttäjät
Χρήστες PC
Χρήστες Mac
Počítače PC
Pokyny k instalaci
Počítače Mac
Instrukcja instalacji
Użytkownicy komputerów PC
Użytkownicy komputerów Macintosh
iomega.com
CE European Community
Manufacturer/Responsible Party
Top
Page
Image
Contents