ZEQ25GT specifications
The iOptron ZEQ25GT is a highly regarded telescope mount that integrates advanced technologies and user-friendly features, making it a top choice for both amateur astronomers and seasoned stargazers. Its design focuses on portability, versatility, and precision, which are essential for anyone looking to explore the night sky.One of the standout characteristics of the ZEQ25GT is its exceptionally lightweight and compact design. Weighing just 27 pounds, it is one of the lightest mounts in its class, allowing for easy transport and setup at various observing locations. Despite its lightweight form, the mount supports a significant payload capacity of up to 28 pounds, allowing users to attach a variety of telescopes and imaging equipment.
The mount's innovative design incorporates a unique "Hybrid" mount architecture, which combines features of both German and fork mounts. This enables a more streamlined setup and better balance during observation sessions. Additionally, the ZEQ25GT employs a patented design where the counterweight shaft is positioned above the mount. This design eliminates the need for a long counterweight bar, further enhancing portability and reducing setup time.
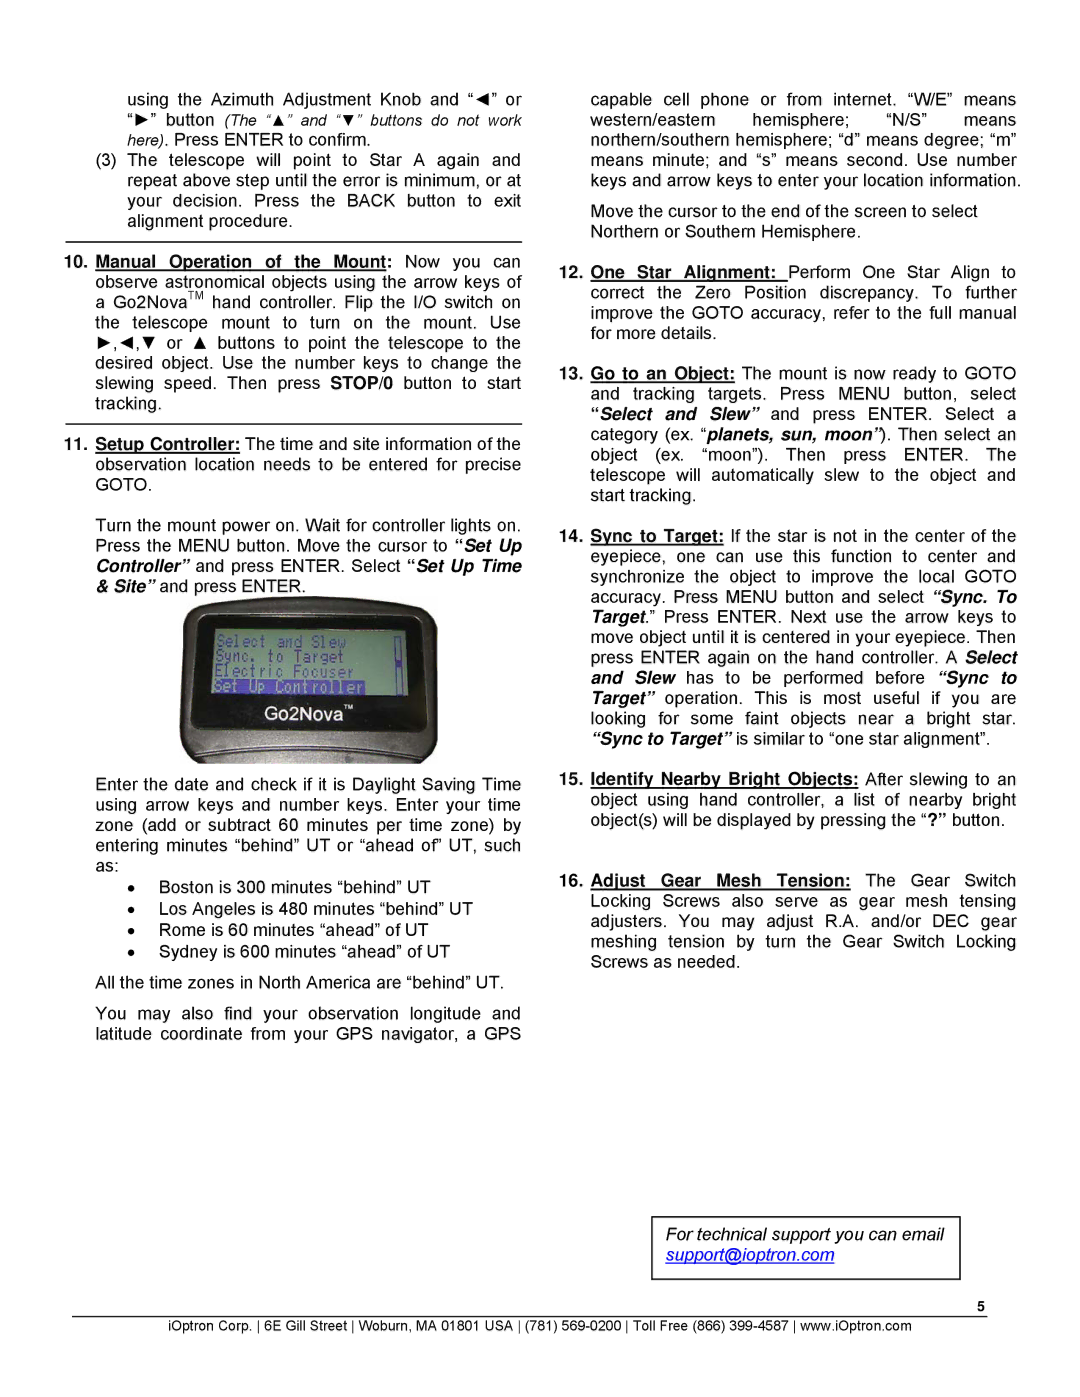
In terms of technology, the ZEQ25GT features iOptron’s renowned GoTo system, which provides users with access to a database of over 200,000 celestial objects. The system is equipped with dual-axis tracking and ultra-quiet servo motors, ensuring smooth and precise movement when tracking celestial objects. The built-in GPS allows for quick and accurate location setup, making it easy for users to begin their astronomical adventures with minimal delay.
Moreover, the ZEQ25GT includes an innovative SmartStar technology, enabling automatic alignment and calibration. This feature is particularly beneficial for newcomers, as it simplifies the setup process and reduces the learning curve associated with equatorial mounts. Users can control the mount via a hand controller or through a computer interface using iOptron's iControl app for smart devices, offering additional flexibility and convenience.
Durability is another important aspect of the ZEQ25GT, constructed from high-quality materials that ensure longevity and reliability. Its solid aluminum body not only contributes to its lightweight nature but also assures stability during use, which is crucial for astrophotography and high-magnification observations.
In conclusion, the iOptron ZEQ25GT is a cutting-edge telescope mount that combines portability, advanced technology, and user-friendly features, making it an excellent choice for astronomers at all levels. Its innovative design, robust performance, and ease of use truly set it apart in the competitive landscape of astronomical equipment.

