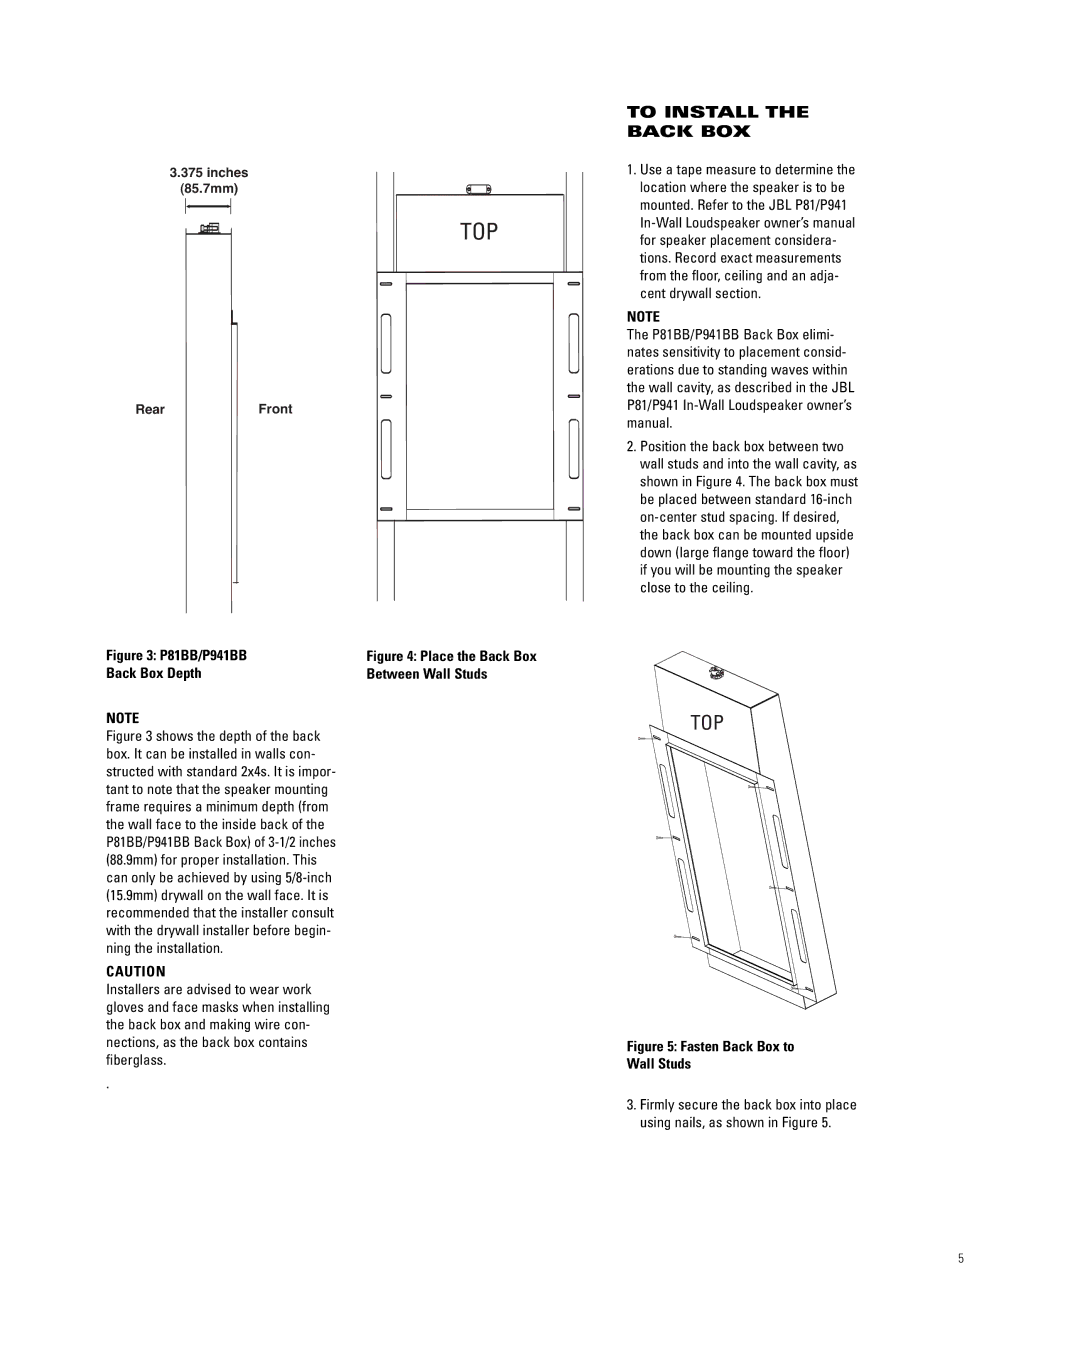
3.(85375.7mm)inches
TOP
RearFront
Figure 3: P81BB/P941BB | Figure 4: Place the Back Box |
Back Box Depth | Between Wall Studs |
NOTE
Figure 3 shows the depth of the back box. It can be installed in walls con- structed with standard 2x4s. It is impor- tant to note that the speaker mounting frame requires a minimum depth (from the wall face to the inside back of the P81BB/P941BB Back Box) of 3-1/2 inches (88.9mm) for proper installation. This can only be achieved by using 5/8-inch (15.9mm) drywall on the wall face. It is recommended that the installer consult with the drywall installer before begin- ning the installation.
CAUTION
Installers are advised to wear work gloves and face masks when installing the back box and making wire con- nections, as the back box contains fiberglass.
.
TO INSTALL THE BACK BOX
1.Use a tape measure to determine the location where the speaker is to be mounted. Refer to the JBL P81/P941
NOTE
The P81BB/P941BB Back Box elimi- nates sensitivity to placement consid- erations due to standing waves within the wall cavity, as described in the JBL P81/P941
2.Position the back box between two wall studs and into the wall cavity, as shown in Figure 4. The back box must be placed between standard
TOP
Figure 5: Fasten Back Box to
Wall Studs
3.Firmly secure the back box into place using nails, as shown in Figure 5.
5