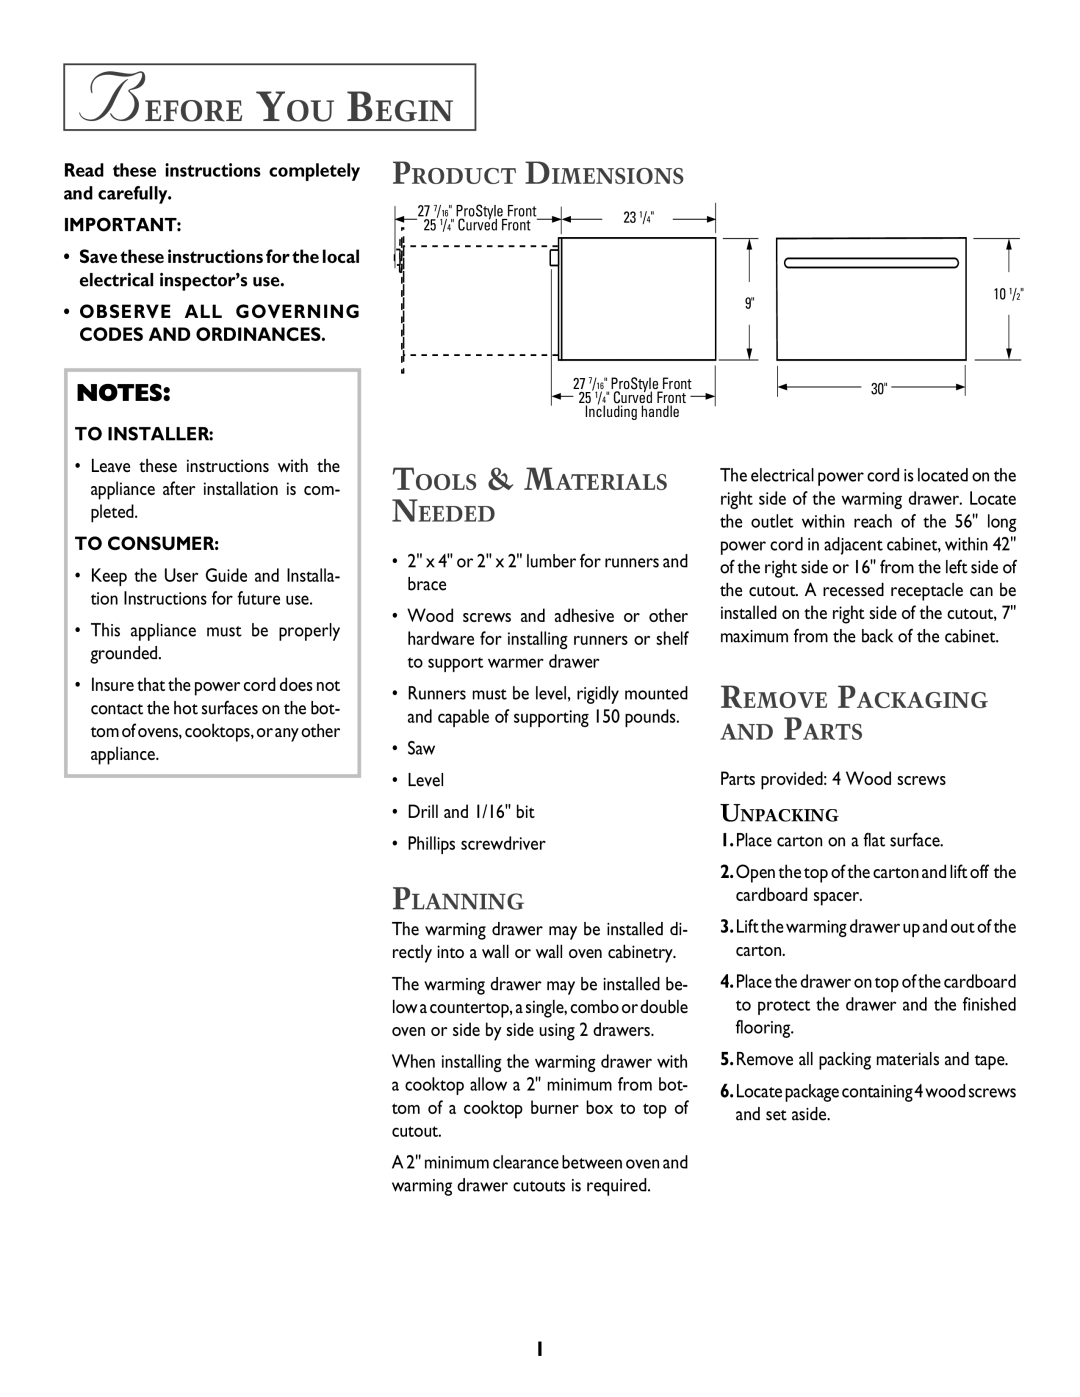
8101P549-60 specifications
The Jenn-Air 8101P549-60 is a premium range hood designed to elevate both functionality and aesthetics in modern kitchens. Known for its sleek design and advanced features, this range hood is an essential appliance for cooking enthusiasts who appreciate both performance and style.One of the standout features of the Jenn-Air 8101P549-60 is its powerful ventilation system. With a robust motor capable of delivering high airflow rates, it efficiently captures and eliminates smoke, odors, and grease from the kitchen. This ensures that the cooking environment remains fresh and free from lingering smells, which is particularly important in open-concept living spaces.
The range hood’s design incorporates a stainless steel finish, which not only enhances its durability but also adds a contemporary touch to any kitchen décor. The smooth surface is easy to clean, making maintenance simple and straightforward. Additionally, with its low-profile design, the Jenn-Air range hood integrates seamlessly into cabinetry, offering a streamlined look that many homeowners desire.
In terms of technology, the Jenn-Air 8101P549-60 features advanced lighting options. Equipped with energy-efficient LED lights, the range hood provides bright, focused illumination of the cooking surface. This not only enhances visibility while cooking but also adds an ambient glow to the kitchen, creating an inviting atmosphere.
The range hood also boasts a user-friendly control panel, allowing for easy operation. With multiple speed settings, users can customize the ventilation power to suit their cooking needs, whether frying, boiling, or simmering. This flexibility ensures that the hood can adapt to any cooking scenario, providing optimal ventilation every time.
Another notable characteristic is the quiet operation of the Jenn-Air 8101P549-60. Despite its powerful motor, the range hood operates at a lower noise level, allowing for a more pleasant cooking experience without the distraction of excessive noise.
Overall, the Jenn-Air 8101P549-60 is a perfect blend of form and function, making it an excellent choice for homeowners seeking a high-quality range hood. With its powerful ventilation capabilities, modern design, intuitive controls, and energy-efficient features, it stands out as a versatile addition to any kitchen.

