®Installation
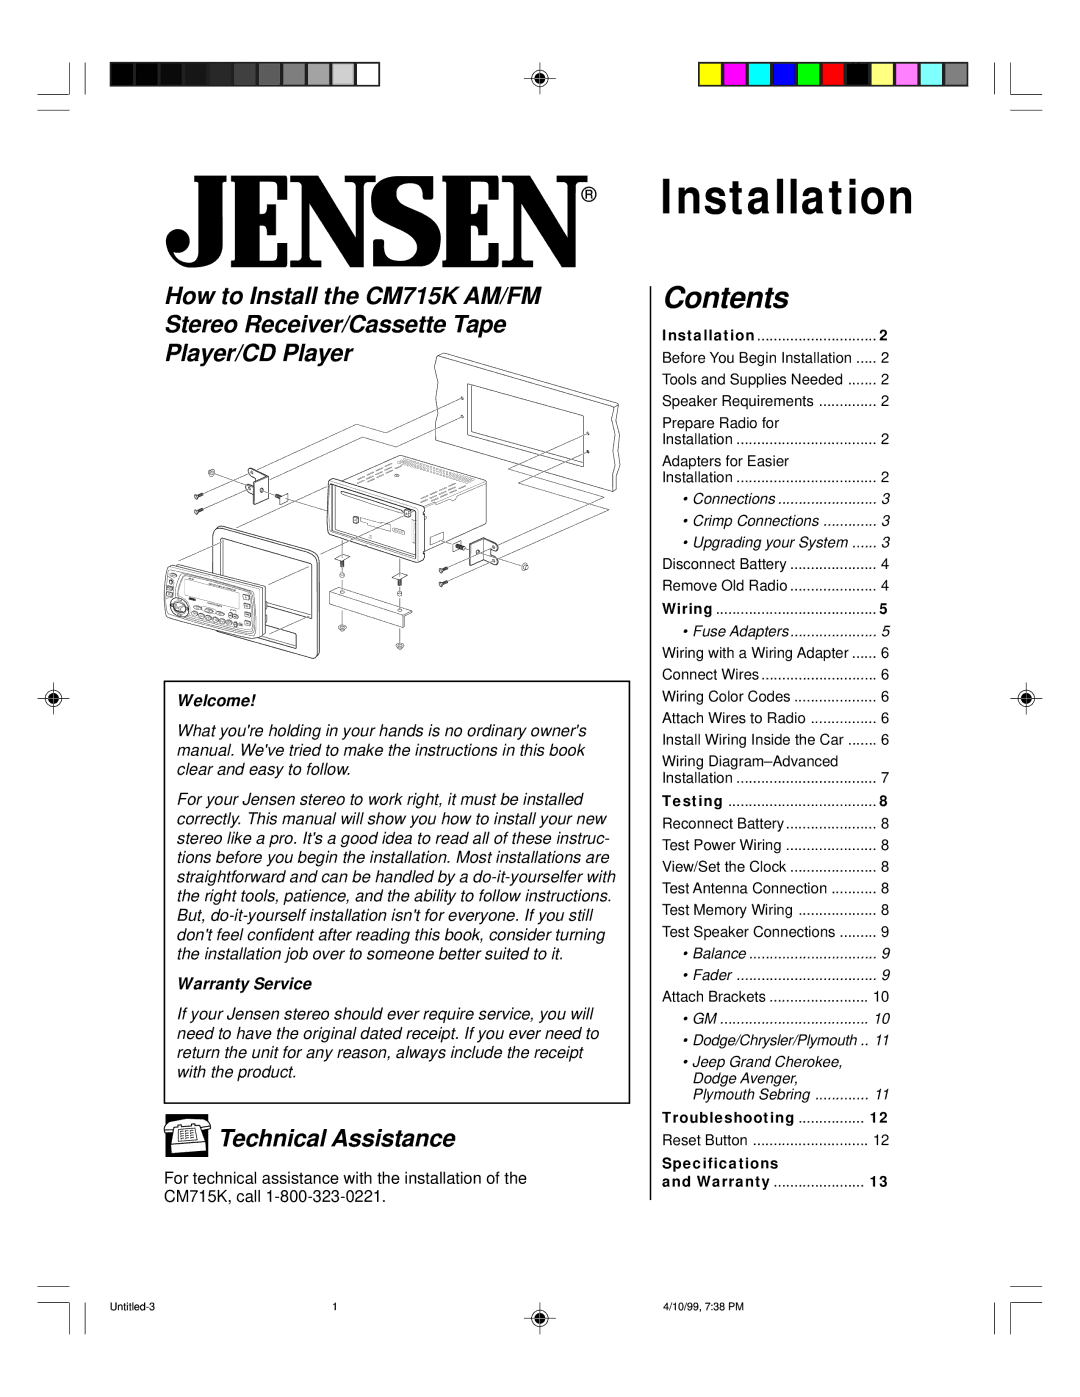
How to Install the CM715K AM/FM Stereo Receiver/Cassette Tape Player/CD Player
PWR |
|
|
|
|
|
| CM715K |
|
|
|
|
A.PS | INSTALOC II | TUNER CDC |
| ||
|
|
|
| CONTROLLER |
|
SEL |
|
|
|
|
|
VOL |
|
|
|
| CD |
| 4 X 50W | CD/CASSETTE |
| TAPE | |
| DISP | PROG | |||
| LOUD |
|
|
| |
VOL | 1 |
| MUTE |
| BAND |
2 |
|
|
| ||
| 3 | 4 | 5 | 6 |
|
|
|
| CDC | ||
|
|
|
| MO | |
Welcome!
What you're holding in your hands is no ordinary owner's manual. We've tried to make the instructions in this book clear and easy to follow.
For your Jensen stereo to work right, it must be installed correctly. This manual will show you how to install your new stereo like a pro. It's a good idea to read all of these instruc- tions before you begin the installation. Most installations are straightforward and can be handled by a
Warranty Service
If your Jensen stereo should ever require service, you will need to have the original dated receipt. If you ever need to return the unit for any reason, always include the receipt with the product.
![]() Technical Assistance
Technical Assistance
For technical assistance with the installation of the CM715K, call
Contents |
|
Installation | 2 |
Before You Begin Installation | 2 |
Tools and Supplies Needed | 2 |
Speaker Requirements | 2 |
Prepare Radio for |
|
Installation | 2 |
Adapters for Easier |
|
Installation | 2 |
• Connections | 3 |
• Crimp Connections | 3 |
• Upgrading your System | 3 |
Disconnect Battery | 4 |
Remove Old Radio | 4 |
Wiring | 5 |
• Fuse Adapters | 5 |
Wiring with a Wiring Adapter | 6 |
Connect Wires | 6 |
Wiring Color Codes | 6 |
Attach Wires to Radio | 6 |
Install Wiring Inside the Car | 6 |
Wiring |
|
Installation | 7 |
Testing | 8 |
Reconnect Battery | 8 |
Test Power Wiring | 8 |
View/Set the Clock | 8 |
Test Antenna Connection | 8 |
Test Memory Wiring | 8 |
Test Speaker Connections | 9 |
• Balance | 9 |
• Fader | 9 |
Attach Brackets | 10 |
• GM | 10 |
•Dodge/Chrysler/Plymouth .. 11
•Jeep Grand Cherokee,
Dodge Avenger, |
|
Plymouth Sebring | 11 |
Troubleshooting | 12 |
Reset Button | 12 |
Specifications |
|
and Warranty | 13 |
1 | 4/10/99, 7:38 PM |