13 SEER specifications
Johnson Controls has long been a leader in the HVAC industry, renowned for its commitment to energy efficiency and innovative technology. One of its prominent offerings is the 13 SEER air conditioning unit, which stands for Seasonal Energy Efficiency Ratio. This rating signifies a balance between initial cost and ongoing energy savings, making it an ideal choice for a range of residential and commercial applications.The 13 SEER unit boasts several key features that set it apart from other air conditioning systems. Firstly, its robust design incorporates high-quality materials, ensuring durability and longevity. This unit is built to withstand various environmental conditions, making it a reliable option for any climate.
One of the standout technologies within the 13 SEER unit is its advanced scroll compressor. This component increases efficiency by minimizing energy consumption while maximizing cooling output. By operating quietly and smoothly, the scroll compressor contributes to a more comfortable indoor environment without the disruptive sounds often associated with traditional AC units.
Additionally, Johnson Controls has equipped the 13 SEER system with environmentally friendly refrigerants, aligning with modern standards for sustainability and reduced environmental impact. This eco-conscious approach ensures that the unit not only performs efficiently but also meets regulatory guidelines for emissions.
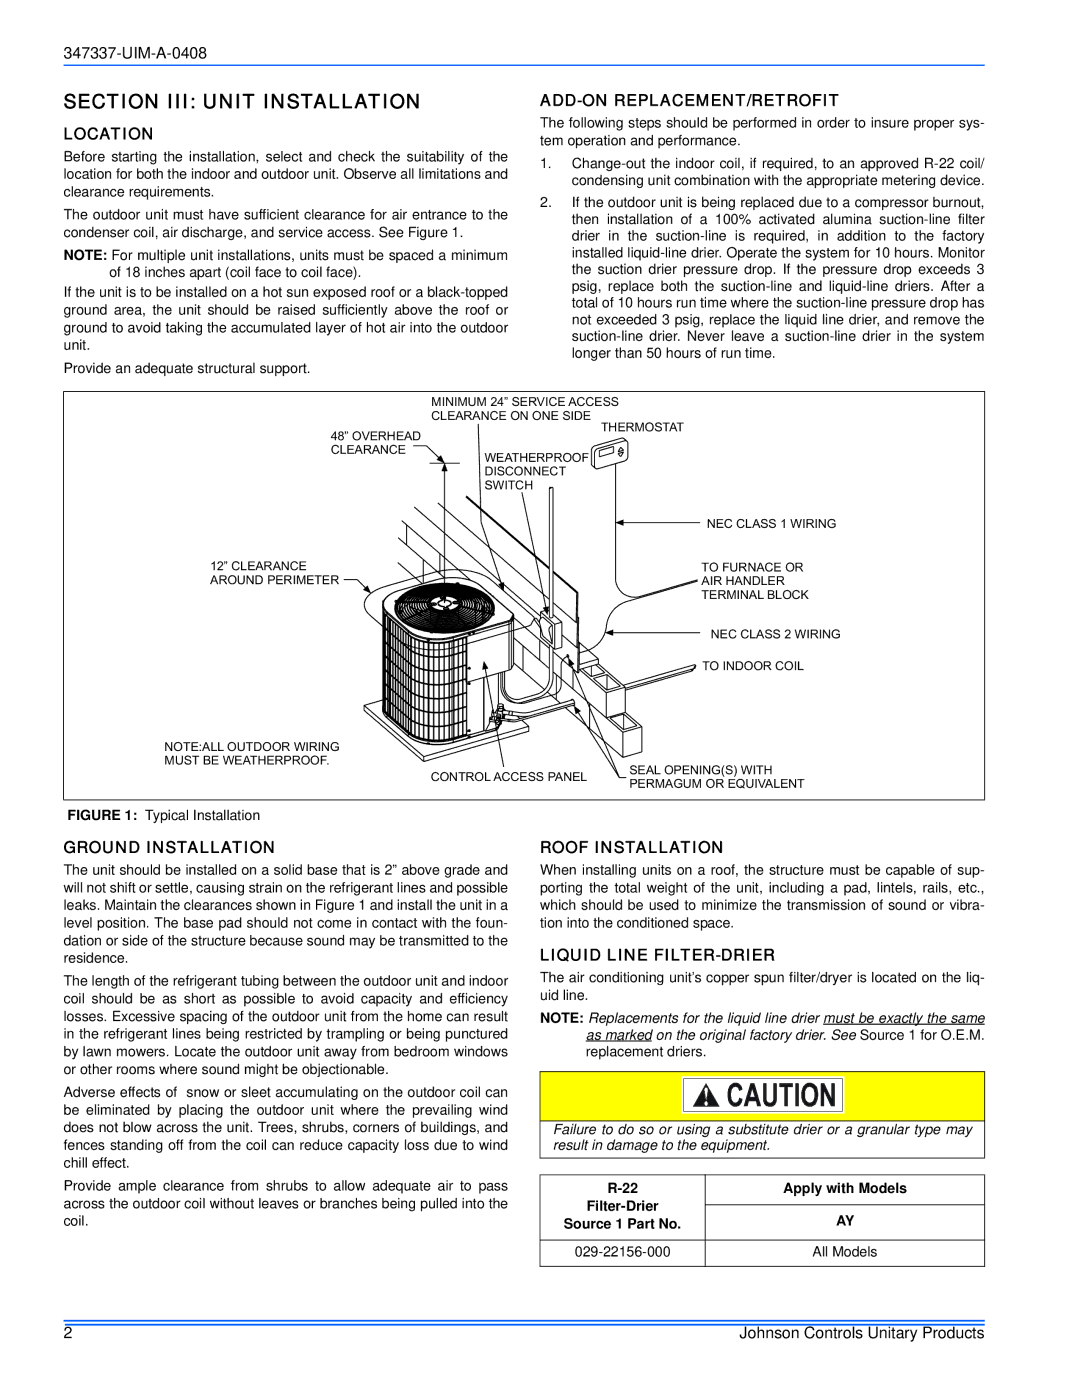
Ease of installation and maintenance is another significant advantage. The 13 SEER system is designed with user-friendliness in mind, allowing for straightforward setup, which can save on initial installation costs. Maintenance practices have also been simplified, with features such as easy access panels and diagnostic capabilities that help technicians identify and resolve issues quickly.
In terms of characteristics, the 13 SEER unit often comes equipped with a range of customizable options, including variable speed blower fans and smart connectivity features. These enhancements allow homeowners to optimize their cooling experience based on their individual preferences, promoting energy savings while ensuring comfort during the warmer months.
Overall, Johnson Controls' 13 SEER air conditioning unit provides an exceptional blend of efficiency, reliability, and innovative technology. With its eco-friendly refrigerants, advanced scroll compressor, and commitment to user-friendly design, this unit offers an optimal cooling solution for those seeking energy-efficient options in today’s environmentally conscious landscape. Whether for residential or commercial use, the 13 SEER air conditioning unit stands as a testament to Johnson Controls' dedication to excellence in the HVAC market.

