Connecting Other Equipment
You can connect both analog and digital equipment.
•DO NOT connect any equipment while the power
is on.
•DO NOT plug in any equipment until all connections are complete.
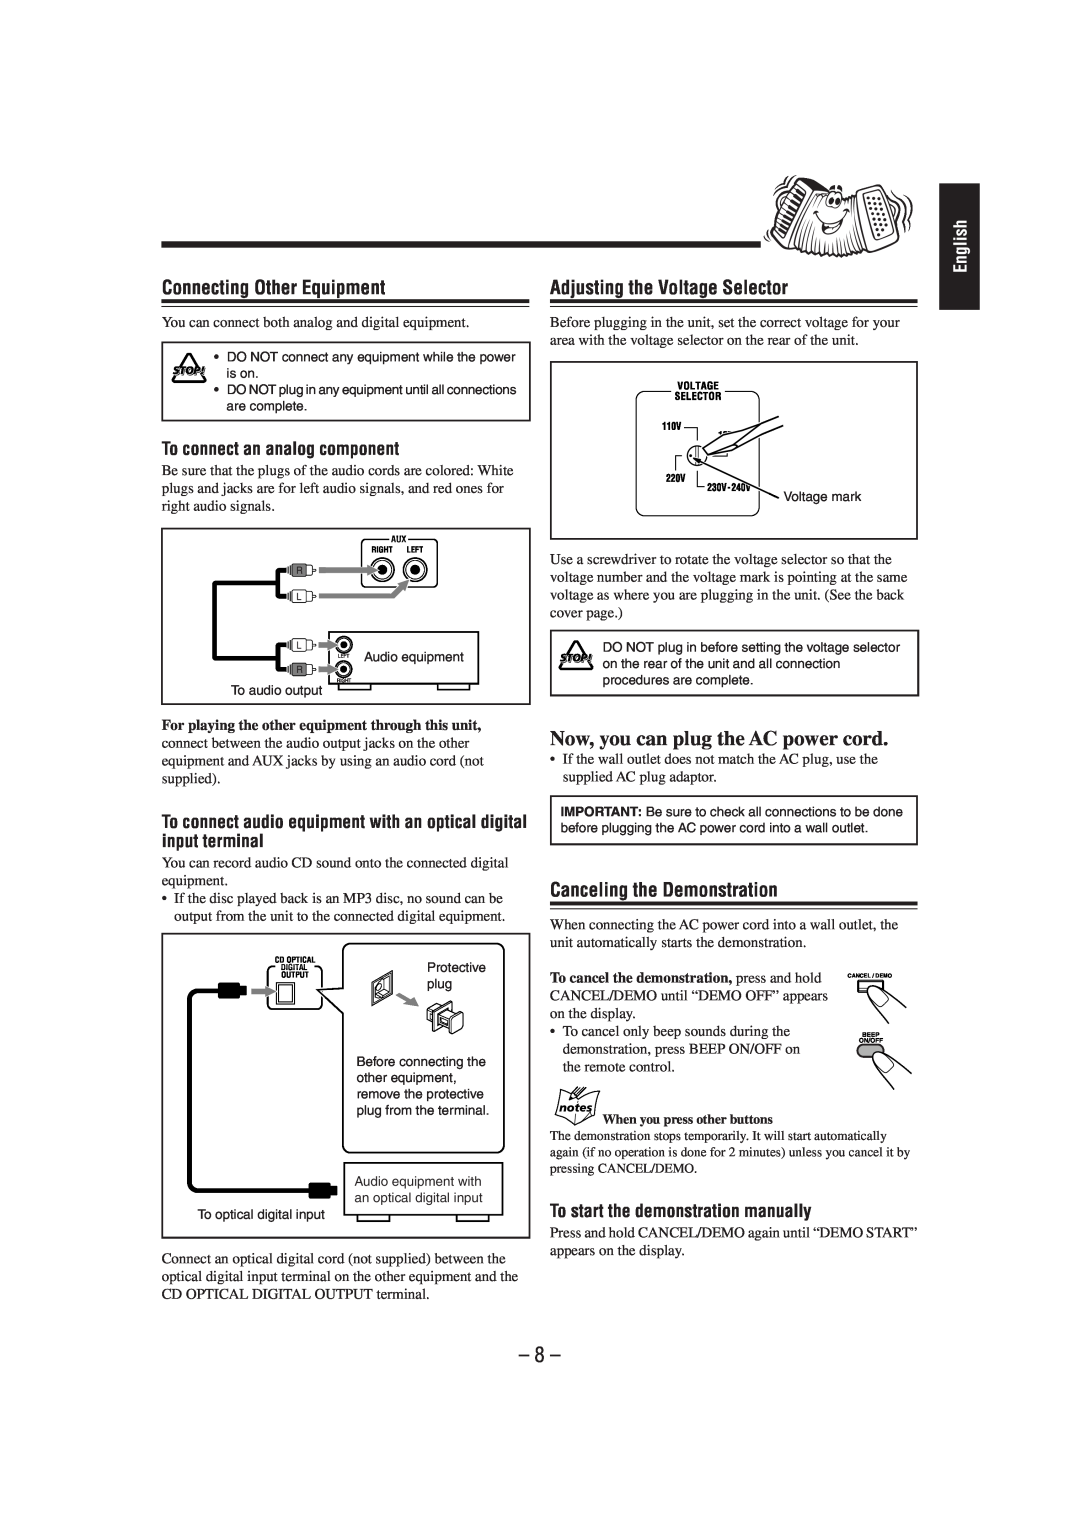
To connect an analog component
Be sure that the plugs of the audio cords are colored: White plugs and jacks are for left audio signals, and red ones for right audio signals.
AUX
RIGHT LEFT
Audio equipment
To audio output
English
Adjusting the Voltage Selector
Before plugging in the unit, set the correct voltage for your area with the voltage selector on the rear of the unit.
Voltage mark
Use a screwdriver to rotate the voltage selector so that the voltage number and the voltage mark is pointing at the same voltage as where you are plugging in the unit. (See the back cover page.)
DO NOT plug in before setting the voltage selector on the rear of the unit and all connection procedures are complete.
For playing the other equipment through this unit,
connect between the audio output jacks on the other equipment and AUX jacks by using an audio cord (not supplied).
To connect audio equipment with an optical digital input terminal
You can record audio CD sound onto the connected digital equipment.
•If the disc played back is an MP3 disc, no sound can be output from the unit to the connected digital equipment.
Now, you can plug the AC power cord.
•If the wall outlet does not match the AC plug, use the supplied AC plug adaptor.
IMPORTANT: Be sure to check all connections to be done before plugging the AC power cord into a wall outlet.
Canceling the Demonstration
When connecting the AC power cord into a wall outlet, the unit automatically starts the demonstration.
CD OPTICAL | Protective |
DIGITAL | |
OUTPUT | plug |
|
To cancel the demonstration, press and hold CANCEL/DEMO until “DEMO OFF” appears on the display.
• To cancel only beep sounds during the |
demonstration, press BEEP ON/OFF on |
CANCEL / DEMO
BEEP
ON/OFF
To optical digital input
Before connecting the other equipment, remove the protective plug from the terminal.
Audio equipment with an optical digital input
the remote control. |
When you press other buttons
The demonstration stops temporarily. It will start automatically again (if no operation is done for 2 minutes) unless you cancel it by pressing CANCEL/DEMO.
To start the demonstration manually
Press and hold CANCEL/DEMO again until “DEMO START”
Connect an optical digital cord (not supplied) between the optical digital input terminal on the other equipment and the CD OPTICAL DIGITAL OUTPUT terminal.
appears on the display.