English
HOW TO INSTALL
|
|
|
| Do not connect the power plug to a power outlet until all preparations have been | |
|
|
|
| ||
|
| CAUTION | |||
|
|
| completed. |
| |
|
|
|
|
|
|
|
|
| |||
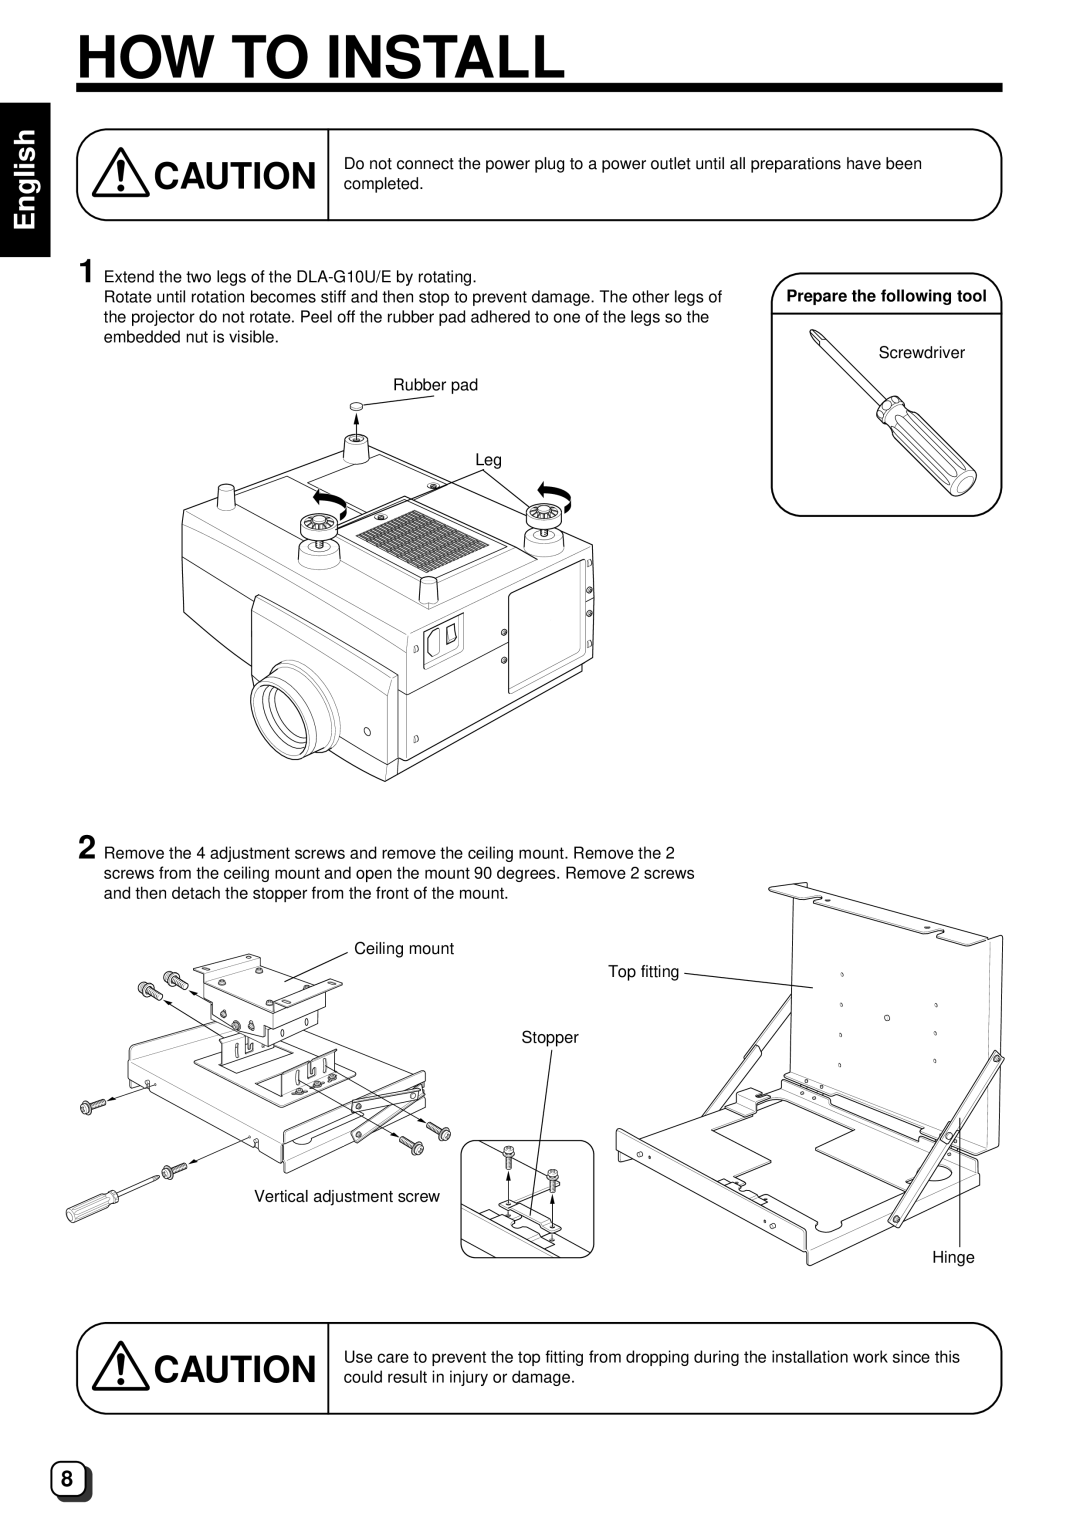
1 Extend the two legs of the | Prepare the following tool | ||||
| Rotate until rotation becomes stiff and then stop to prevent damage. The other legs of | ||||
the projector do not rotate. Peel off the rubber pad adhered to one of the legs so the
embedded nut is visible.
Screwdriver
Rubber pad
Leg
2 Remove the 4 adjustment screws and remove the ceiling mount. Remove the 2 screws from the ceiling mount and open the mount 90 degrees. Remove 2 screws and then detach the stopper from the front of the mount.
Ceiling mount
Top fitting
Stopper
Vertical adjustment screw
Hinge
|
| Use care to prevent the top fitting from dropping during the installation work since this | |
CAUTION | |||
| could result in injury or damage. | ||
|
|
|
8