Replacing the Lamp
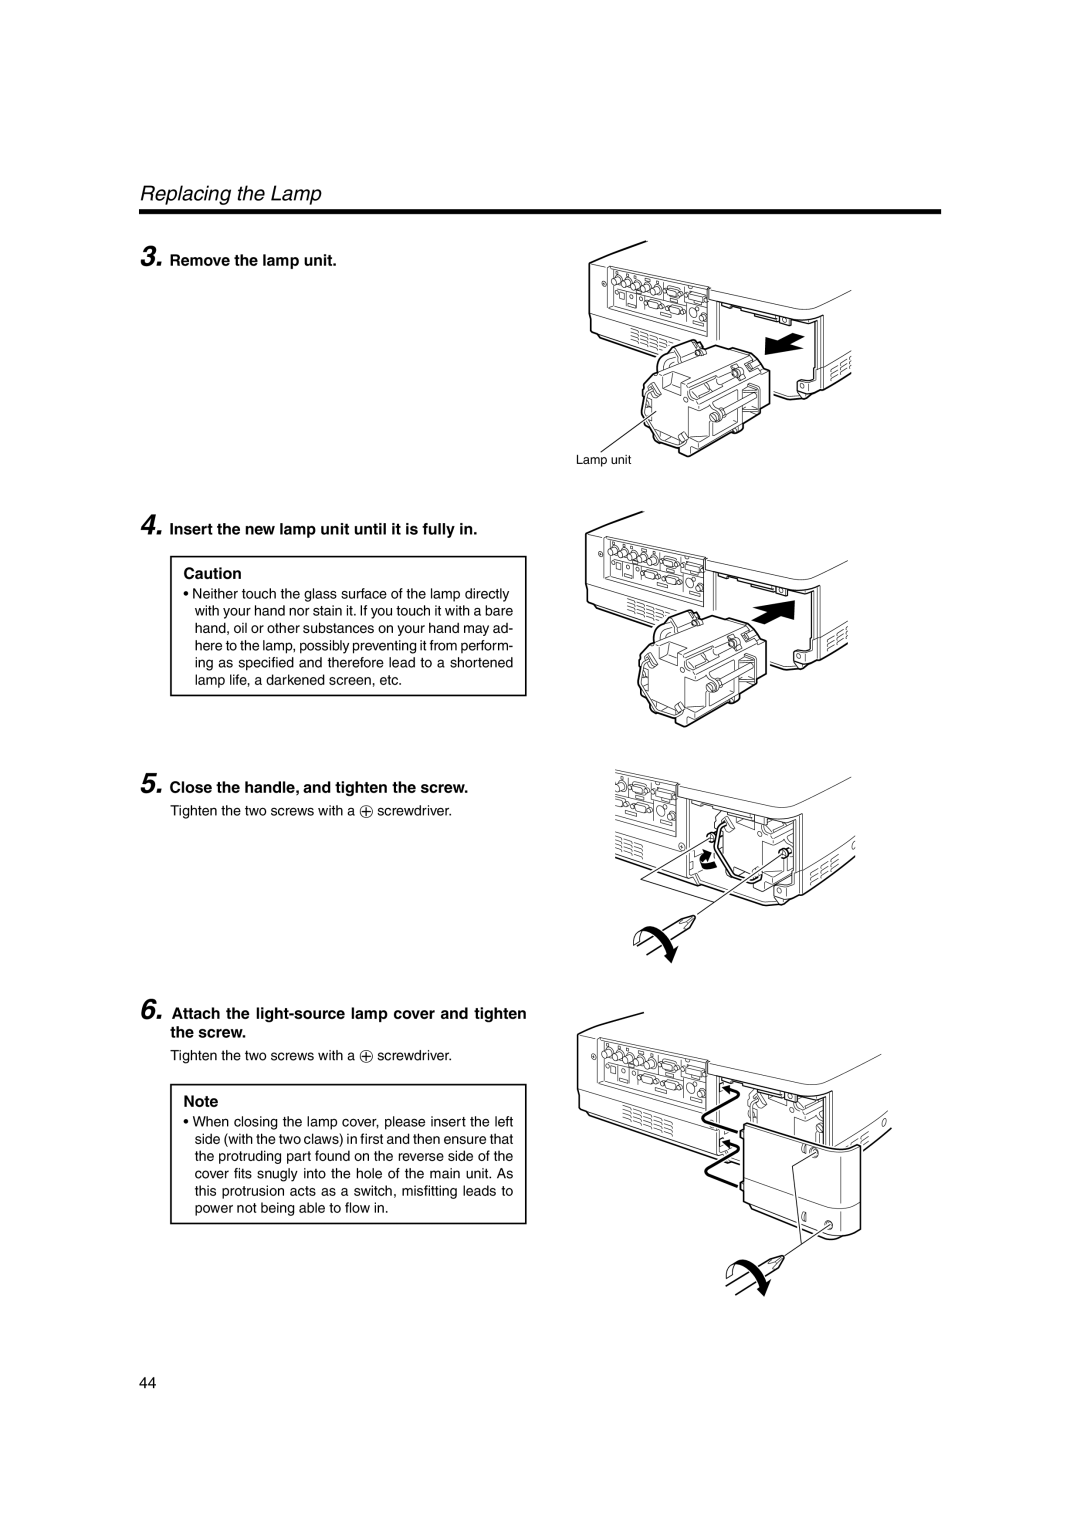
3. Remove the lamp unit.
Lamp unit
4. Insert the new lamp unit until it is fully in.
Caution
• Neither touch the glass surface of the lamp directly with your hand nor stain it. If you touch it with a bare hand, oil or other substances on your hand may ad- here to the lamp, possibly preventing it from perform- ing as specified and therefore lead to a shortened lamp life, a darkened screen, etc.
5. Close the handle, and tighten the screw.
Tighten the two screws with a ª screwdriver.
6. Attach the light-source lamp cover and tighten the screw.
Tighten the two screws with a ª screwdriver.
Note
• When closing the lamp cover, please insert the left side (with the two claws) in first and then ensure that the protruding part found on the reverse side of the cover fits snugly into the hole of the main unit. As this protrusion acts as a switch, misfitting leads to power not being able to flow in.
44