DR-MV2SEU
Accessories Supplied
Precautions
Laser Safety
Power Supply
Moisture Condensation Warning
Installation Location
Avoid the Hazards of Electrical Shock and Fire
About Copyright
Maintenance
Table of Contents
Editing
Features
Recording
Playback
Symbol Description
Front Panel
Functional Overview
Rear Panel
10 EN
Remote Control
Audio button DVD/VCR
Timer button DVD/VCR
Repeat button DVD
Zoom button DVD
About the Remote Control
Installing Batteries
Remote Control
VCR / DVD Recorder Switching
Guide to On-Screen Displays
Disc type and format mode
DVD mode Press DVD first
VCR mode Press VCR first
14 EN
Setting Menus
Easy Setting Menu
Advanced Setting Menu
Finalise
Disc Protect VR mode only
Title List / Playlist / Original
Format DVD-RW only
16 EN
Front Panel Display Guide
Display Messages
Connections
Connecting to a TV
Connecting to External Equipment
Getting Started
18 EN
Digital Audio for Better Sound Quality Only for DVD
After You Have Completed
Connections
Selecting the On-Screen Display OSD Language
Channel Setting
Auto Tuning
Press SET UP to exit
20 EN
Manual Tuning
To Skip a Preset Channel
To Select a Channel
Press SET UP to exit Press STANDBY/ON /I to turn off
Setting the Clock
Auto Clock Setting
Select Clock using Cursor U / D, then press Enter
If you have a standard TV
Manual Clock Setting
Selecting the TV Aspect Ratio
22 EN
Recording Speed
Recording
Information on DVD Recording
Type of Discs
Usable Discs
Information on Copy Control
Making Discs Playable in Other DVD Players Finalise
24 EN
Choosing the Recording Format of a Blank DVD-RW Disc
Setting Auto Chapter
Formatting a Disc
26 EN
Selecting the Sound Mode
Setting External Input Audio
Reformatting a Disc Manually
Press DVD
Setting Bilingual Recording Audio
Basic Recording
Turn on the unit and insert a recordable disc
Press REC Monitor again to exit
One-Touch Timer Recording OTR
Checking the Recording Picture and Sound Quality
28 EN
Press Timer
Timer Recording
Enter the date using Cursor U / D, then press Cursor P
Press Enter when all information required is entered
30 EN
To Stop the Timer Recording in Progress
If the Timer Programming Did Not Complete Correctly
Press Clear to erase the selected programme
Timer Recording Using Showview System
E41 Power failure E42 No disc
VPS Video Programme System PDC Programme Delivery Control
Showview button to exit
Hints for Timer Recording
Press SET UP or
32 EN
If the recording time entirely overlaps
Settings for External Equipment
Connection to External Equipment
If the recording time is partially overlapped
34 EN
Dubbing Mode
Recording from External Equipment
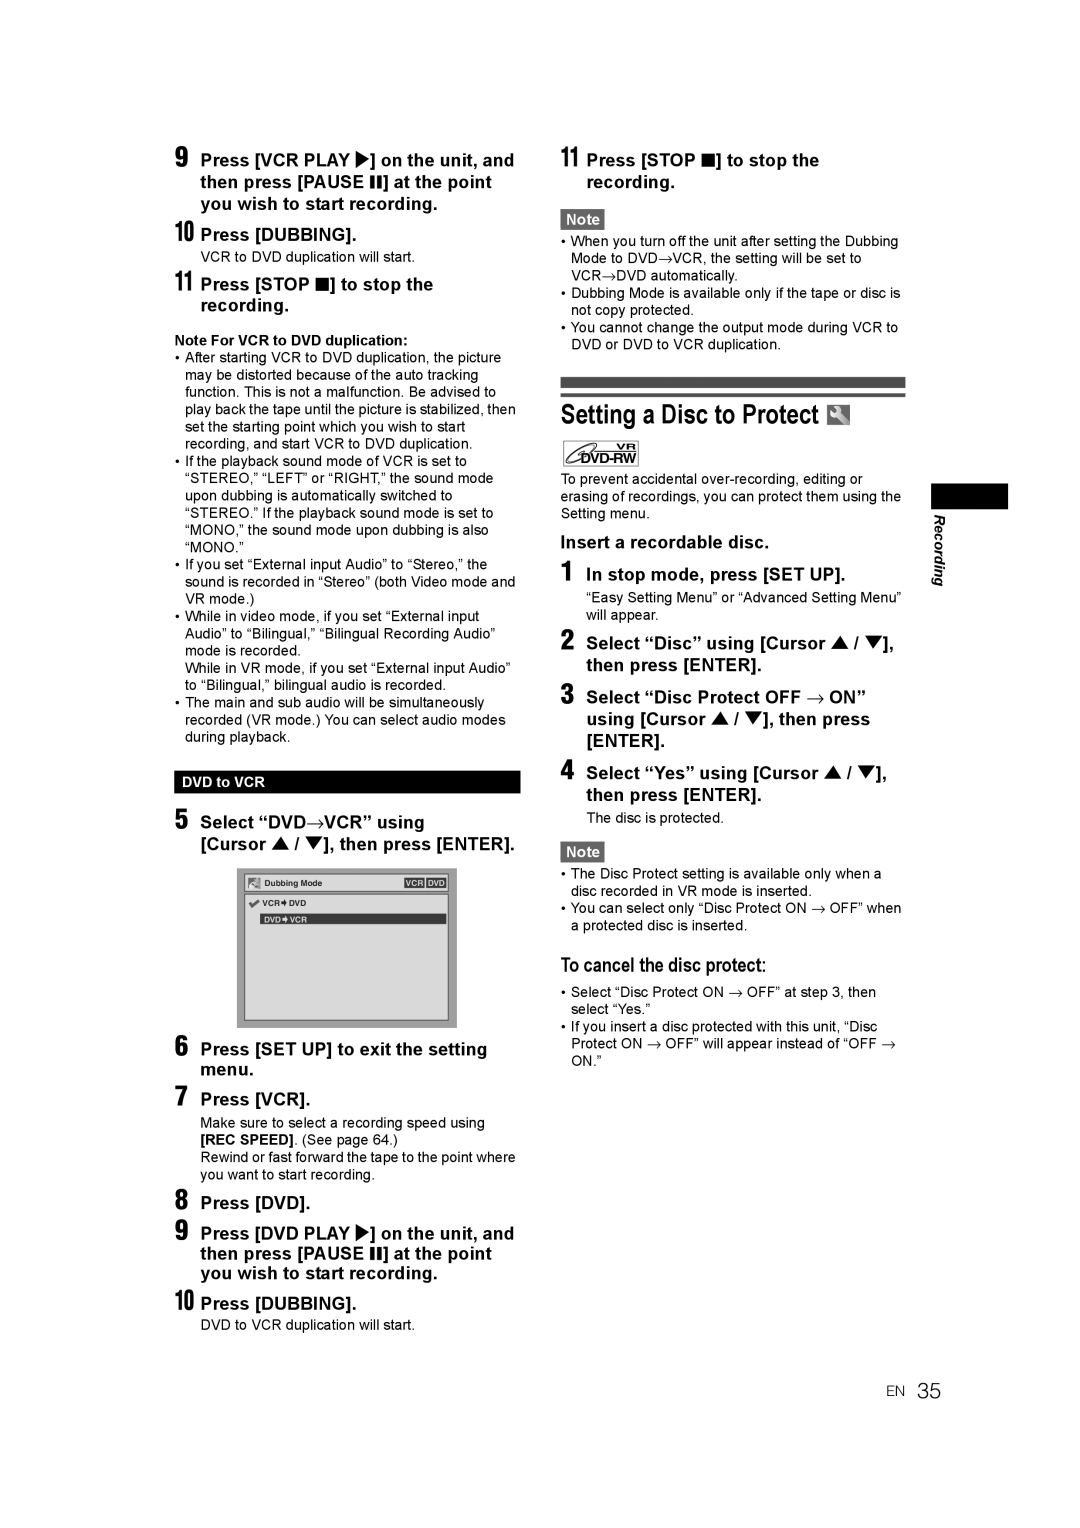
Insert a recordable disc Stop mode, press SET UP
Setting a Disc to Protect
To cancel the disc protect
Select DVD→VCR using Cursor U / D, then press Enter
36 EN
To cancel finalising DVD-RW only
Finalising Discs
Auto Finalise
Colour Systems
Playing Back Discs
Information on Playing Back DVDs
Playable Discs
Playing Back a DVD-Video / CD / Video CD
Basic Playback
Hint for DVD Playback
Playing Back a DVD-RW / DVD-R DVD+RW / DVD+R Disc
Press MENU/LIST to exit the disc menu
Playing Back Discs Using the Disc Menu
Select an item using Cursor U / D / L / P, then press Enter
Press DVD first Press MENU/LIST
40 EN
Playing Back a Disc Using the Title Menu
Playing Back a Video CD Using the Title Menu
PBC Function for Video CDs
Fast Forward / Fast Reverse
Cancelling and Recalling the PBC Function
Special Playback
Resume Playback
Slow Forward / Slow Reverse Playback
Skipping TV Commercials During Playback
Pause
Step by Step Playback
During playback, press Zoom
Marker Setup
Zoom
Direct Search
Search
Title / Chapter Search
Track Search
Repeat Playback
Repeat / Random / Programme Playback / Slide Show
Time Search
Slide Show
Select Random Play using Cursor U / D, then press Enter
Random Playback
Programme Playback
Press Audio during playback, and follow from step
Switching Audio Soundtrack
Switching Subtitles
Selecting the Format of Audio and Video
48 EN
Switching Camera Angles
Select the icon using Cursor L / P, then press Enter
Reducing Block Noise
Guide to a Title List
Editing Discs in Video Mode
Editing
Disc Editing
Press DVD first Follow steps 1 to 4 in Deleting Titles
Editing Titles
Guide to Editing Title Names
50 EN
Press SET UP
Setting or Clearing Chapter Markers
52 EN
Editing Discs in VR Mode
Original Editing Original Titles in VR Mode
Original Deleting Titles
Press Enter again
To protect a whole disc DVD-RW VR mode only
Original Protecting Titles
Original Releasing Titles from Protecting
54 EN
Playlist Editing the Playlist in VR Mode
Playlist Deleting Titles
Playlist Deleting Parts of Titles Scene Delete
Deleting a chapter marker
Playlist Setting or Clearing Chapter Markers
Playlist Editing Titles
Adding a chapter marker
Picture is set as the thumbnail
Playlist Setting Pictures as Thumbnails
Playlist Dividing a Title
56 EN
Playlist Deleting a Playlist
Select Yes using Cursor L / P, then press Enter
Playlist Combining Titles
Playlist Adding Titles to a Playlist
58 EN
Changing the Setting Menu
Tour of the Setting Menu
Subtitle Language Default OFF
Language Setting
Disc Menu Language Default English
Audio Language Default Original
60 EN
Display Setting
Audio Setting
Settings for Mpeg Default PCM
Dynamic Range Control Default on
Fast Forward with Audio Default on
Dolby Digital conversion Default Stream
62 EN
Parental Lock Default All
Enter the current password using the Number buttons
DVD-Videos Parental Lock Level
Changing Video Out System
Setting TV System
Basic Recording
Recording and One-Touch Timer Recording OTR
VCR Functions
Playback
REV r
One-Touch Timer Recording
Index Search
Accidental erasure prevention
66 EN
Other Operations
Changing the Video Colour System
Hi-Fi Stereo Sound System
DVD VCR
Troubleshooting
Symptom Remedy
Others
DVD
68 EN
VCR
70 EN
Error message Cause Solution
Language Code
Language Code
72 EN
Glossary
Recording
Specifications
Declaration of Conformity
General
74 EN
Page
DR-MV2SEU

