English
Using AV COMPU LINK |
|
|
|
| Reference |
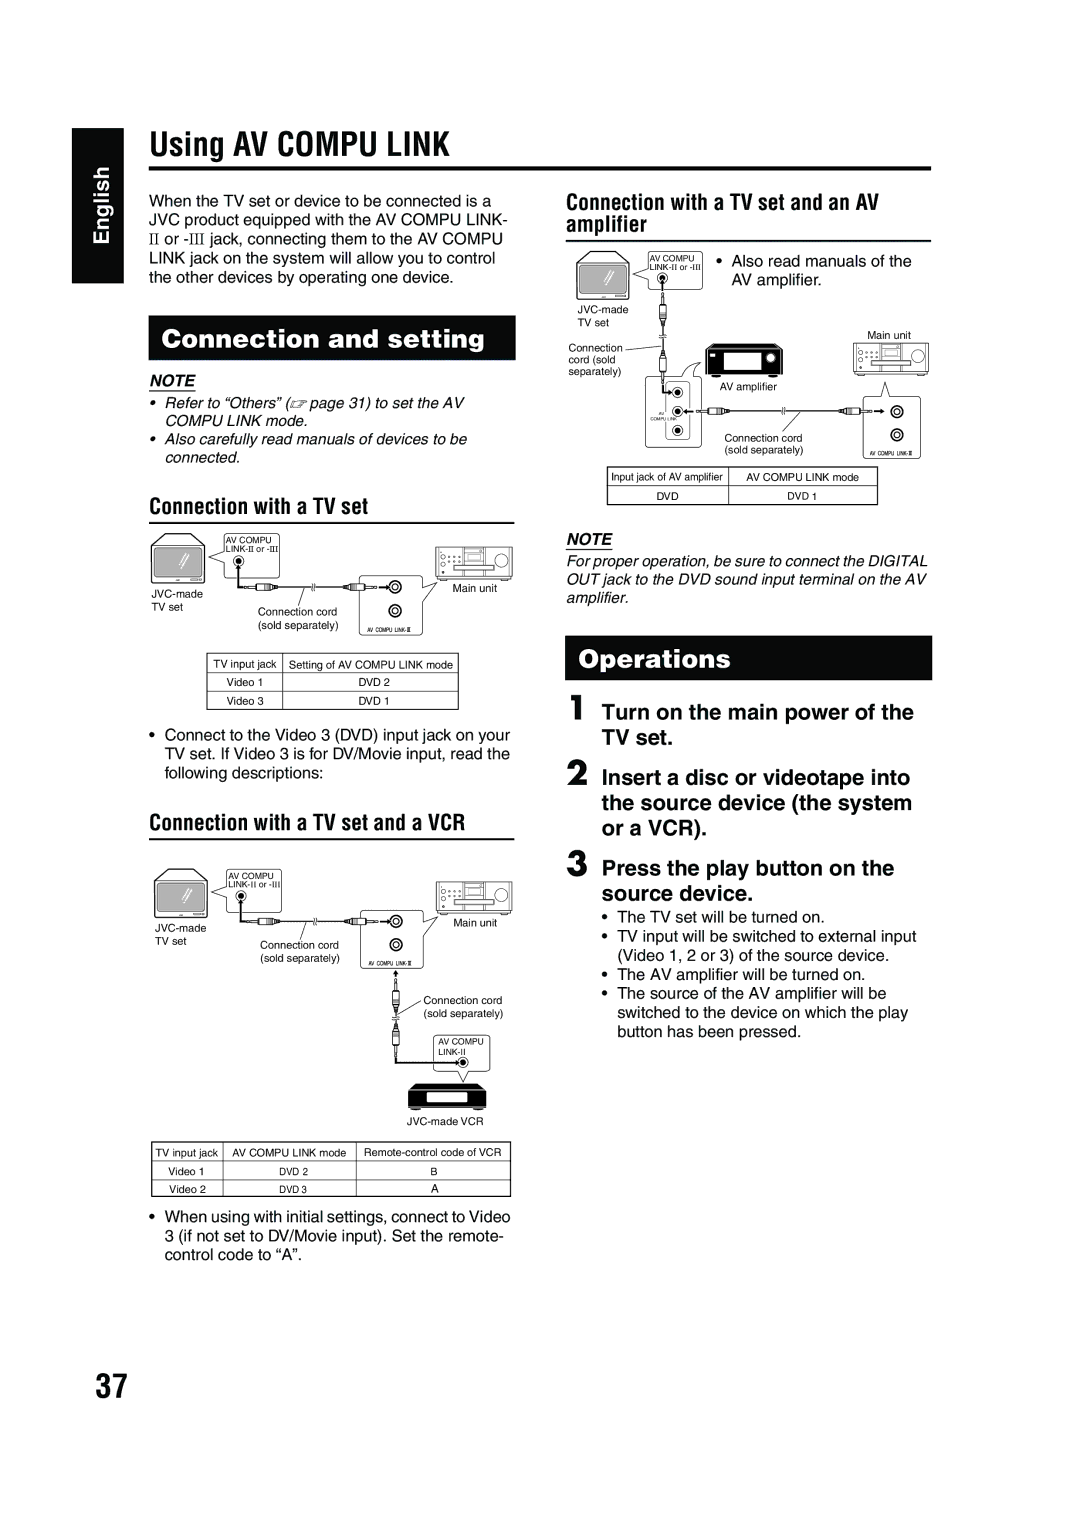
When the TV set or device to be connected is a | Connection with a TV set and an AV | ||||
JVC product equipped with the AV COMPU LINK- | amplifier | ||||
II or |
|
|
|
|
|
|
|
|
| ||
LINK jack on the system will allow you to control |
|
|
|
| |
|
|
|
|
| AV COMPU |
the other devices by operating one device. |
|
|
|
| AV amplifier. |
|
| JVC |
|
| |
|
|
|
| ||
Connection and setting
NOTE
•Refer to “Others” (A page 31) to set the AV COMPU LINK mode.
•Also carefully read manuals of devices to be connected.
Connection with a TV set
AV COMPU
JVC
| Main unit | |
|
| |
TV set | Connection cord | |
| ||
| (sold separately) | |
| TV input jack | Setting of AV COMPU LINK mode |
| Video 1 | DVD 2 |
| Video 3 | DVD 1 |
•Connect to the Video 3 (DVD) input jack on your TV set. If Video 3 is for DV/Movie input, read the following descriptions:
Connection with a TV set and a VCR
AV COMPU
TV set
![]() Main unit Connection
Main unit Connection ![]()
![]()
![]() cord (sold
cord (sold ![]()
![]()
![]() separately)
separately) ![]()
![]()
![]()
![]()
![]()
![]()
AV amplifier
AV
COMPU LINK
Connection cord (sold separately)
Input jack of AV amplifier | AV COMPU LINK mode |
|
|
DVD | DVD 1 |
NOTE
For proper operation, be sure to connect the DIGITAL OUT jack to the DVD sound input terminal on the AV amplifier.
Operations
1 Turn on the main power of the TV set.
2 Insert a disc or videotape into the source device (the system or a VCR).
3 Press the play button on the source device.
JVC
Connection cord (sold separately)
Main unit
Connection cord (sold separately)
AV COMPU
•The TV set will be turned on.
•TV input will be switched to external input (Video 1, 2 or 3) of the source device.
•The AV amplifier will be turned on.
•The source of the AV amplifier will be switched to the device on which the play button has been pressed.
TV input jack | AV COMPU LINK mode | |
Video 1 | DVD 2 | B |
|
|
|
Video 2 | DVD 3 | A |
•When using with initial settings, connect to Video 3 (if not set to DV/Movie input). Set the remote- control code to “A”.
37