English

Adjusting the Volume

Turn the VOLUME control of the Unit clockwise to increase the


volume or counterclockwise to decrease it.


OR


With the System turned on, press the VOLUME + button on the Re-


mote Control to increase the volume or press the VOLUME – button


to decrease it.

CAUTION: DO NOT turn on the System and/or start playing any source without first setting the VOLUME control to minimum, as a sudden blast of sound could damage your hearing, speakers and/ or headphones.

For private listening

Connect a pair of headphones to the PHONES jack. No sound comes out of the speakers.

Be sure to turn down the volume before connecting or putting on headphones.

Reinforcing the Bass Sound

(AHB SUPER PRO)

You can reinforce the bass sound to maintain rich, full bass at low volume (you can use this effect only for playback):

To get the effect, press the AHB (Active Hyper Bass) SUPER PRO button on the Unit or the Remote Control.

The “BASS” indicator lights up on the display. To cancel the effect, press the button again. The “BASS” indicator goes out.

Tone Control (BASS/TREBLE)

You can control the tone by changing the bass and treble.

BASS Control ———————————

You can adjust the bass level (low frequency range level) between –6 and 6. (0: Flat)

1. Press the BASS button on the Remote Con- trol.

2. Press the UP or DOWN button on the

Remote Control to adjust the bass level.

BASS

DOWN

UP

TREBLE Control ——————————

You can adjust the treble level (high frequency range level) between –6 and 6. (0: Flat)

1. Press the TREBLE button on the Remote

Control.

2. Press the UP or DOWN button on the

Remote Control to adjust the treble level.

TREBLE

DOWN

UP

Showing the Time (DISPLAY)

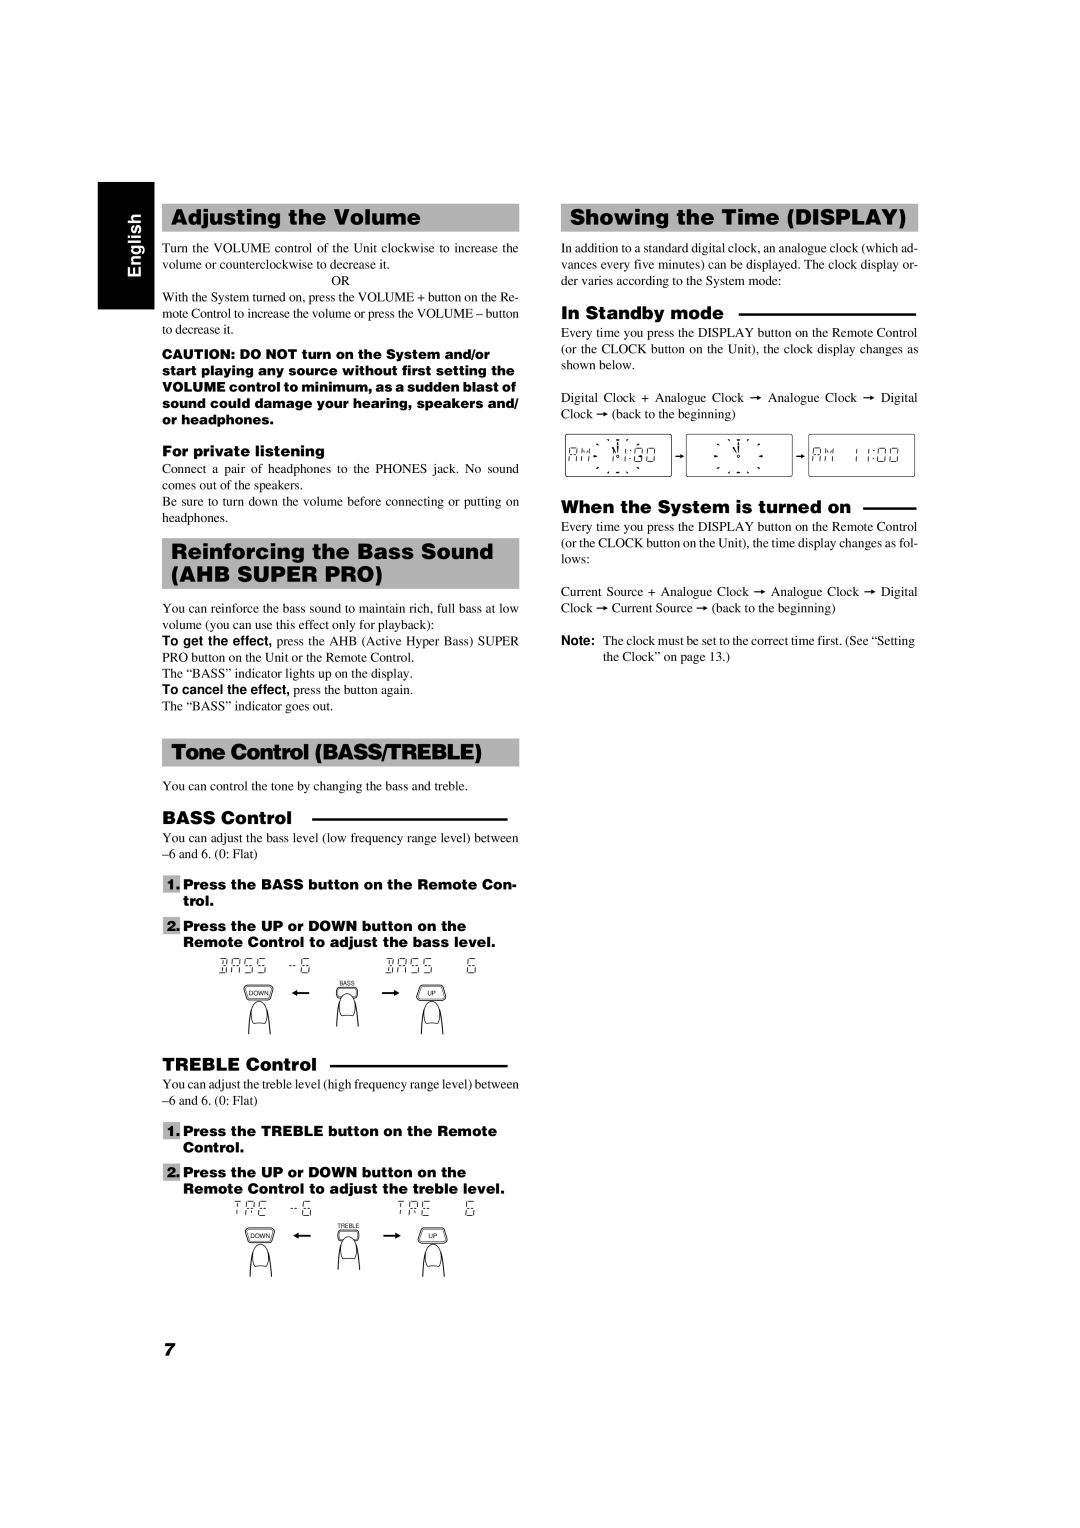
In addition to a standard digital clock, an analogue clock (which ad- vances every five minutes) can be displayed. The clock display or- der varies according to the System mode:

In Standby mode ——————————

Every time you press the DISPLAY button on the Remote Control (or the CLOCK button on the Unit), the clock display changes as shown below.

Digital Clock + Analogue Clock = Analogue Clock = Digital Clock = (back to the beginning)

When the System is turned on ———

Every time you press the DISPLAY button on the Remote Control (or the CLOCK button on the Unit), the time display changes as fol- lows:

Current Source + Analogue Clock = Analogue Clock = Digital Clock = Current Source = (back to the beginning)

Note: The clock must be set to the correct time first. (See “Setting the Clock” on page 13.)

7

Page 10
Image 10
JVC FS-6000, FS-5000 Adjusting the Volume, Reinforcing the Bass Sound, Tone Control BASS/TREBLE, Showing the Time Display

FS-5000, FS-6000 specifications

The JVC FS-6000 and FS-5000 are two prominent models in JVC's line of professional audio solutions, engineered to cater to a diverse range of audio production needs. Both models embody advanced technologies and features that set them apart in the competitive landscape of audio equipment.

The JVC FS-6000 is designed with a focus on delivering high-quality sound reproduction and versatility. It boasts a multi-channel processing system that enables seamless mixing and routing of audio signals. Among its standout features are the integrated digital signal processing capabilities, which allow for precise manipulation of sound, ensuring that audio engineers can attain the exact tonal qualities desired for their projects. The FS-6000 also includes extensive input and output options, making it adaptable for various applications, from live sound reinforcement to studio recording.

Meanwhile, the JVC FS-5000 is positioned as a more compact solution, ideal for smaller studios or mobile setups. Despite its smaller form factor, the FS-5000 retains many of the core functionalities found in its larger counterpart. It is equipped with a simplified user interface, making it user-friendly for both beginners and seasoned professionals. The FS-5000 features a robust audio engine, which guarantees high fidelity sound and low latency, critical for real-time audio production.

Both models are built with durability in mind, incorporating high-quality materials that withstand the rigors of frequent use. The chassis of both the FS-6000 and FS-5000 are designed to be portable, allowing audio professionals to easily transport their equipment without compromising sound quality.

The intuitive software that accompanies these systems provides additional functionality, including the ability to automate certain processes and integrate with digital audio workstations seamlessly. This integration capability is essential for modern audio production workflows, enhancing the overall efficiency of the sound design and mixing process.

In conclusion, the JVC FS-6000 and FS-5000 represent a synthesis of advanced technology, user-centric design, and professional-grade audio performance. Whether for live applications or studio environments, both models offer flexibility and power to meet the demands of today’s recording and sound reinforcement scenarios. Audio professionals looking for reliable and high-quality solutions will find both the FS-6000 and FS-5000 to be outstanding choices in their setups.