On-Screen Menu Displays
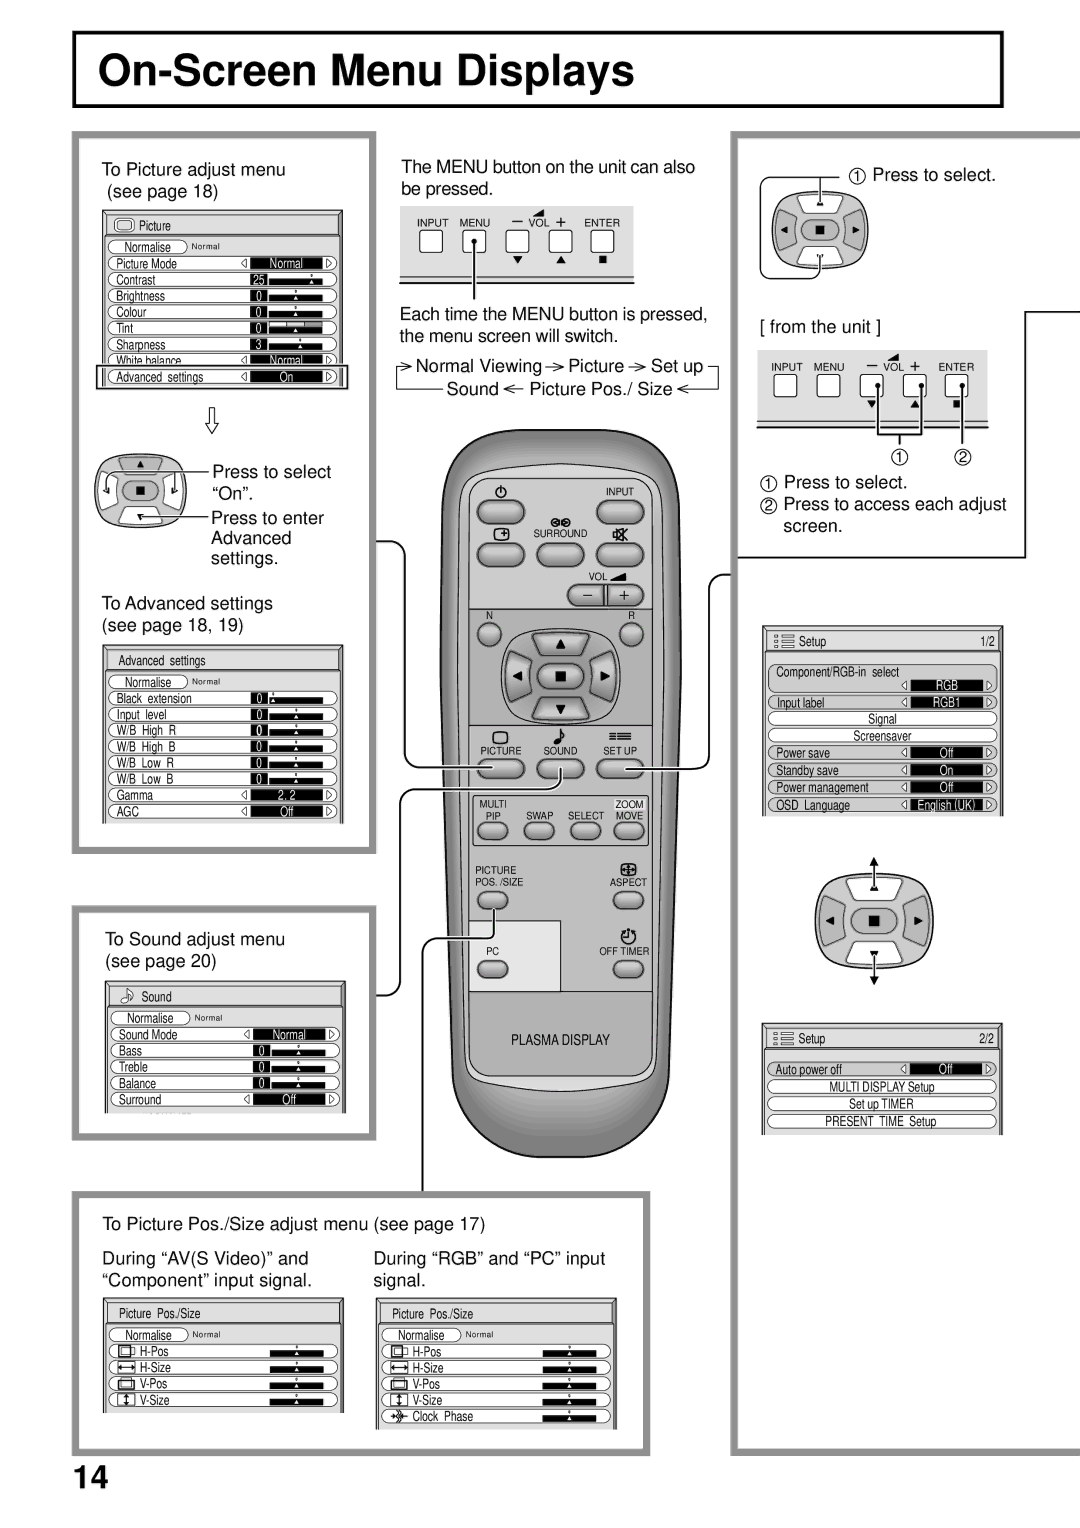
To Picture adjust menu (see page 18)
Picture |
|
|
Normalise | Normal |
|
Picture Mode |
| Normal |
Contrast |
| 25 |
Brightness |
| 0 |
Colour |
| 0 |
Tint |
| 0 |
Sharpness |
| 3 |
White balance |
| Normal |
Advanced settings | On | |
Press to select “On”.
![]() Press to enter Advanced settings.
Press to enter Advanced settings.
To Advanced settings (see page 18, 19)
Advanced settings | ||
Normalise | Normal | |
Black | extension | 0 |
Input | level | 0 |
W/B High R | 0 | |
W/B High B | 0 | |
W/B Low R | 0 | |
W/B Low B | 0 | |
Gamma | 2. 2 | |
AGC |
| Off |
To Sound adjust menu (see page 20)
Sound |
|
Normalise | Normal |
Sound Mode | Normal |
Bass | 0 |
Treble | 0 |
Balance | 0 |
Surround | Off |
The MENU button on the unit can also be pressed.
INPUT MENU – VOL + ENTER
Each time the MENU button is pressed, the menu screen will switch.
Normal Viewing Picture Set up
Sound Picture Pos./ Size
|
|
|
| INPUT |
| SURROUND |
|
| |
|
|
| VOL | |
N |
|
|
| R |
PICTURE | SOUND | SET UP | ||
MULTI |
|
|
| ZOOM |
PIP | SWAP | SELECT | MOVE | |
PICTURE |
|
|
|
|
POS. /SIZE |
|
|
| ASPECT |
PC |
|
| OFF TIMER | |
PLASMA DISPLAY
1Press to select.
[ from the unit ]
INPUT MENU – VOL + ENTER
1 2
1Press to select.
2Press to access each adjust screen.
Setup | 1/2 |
RGB | |
| |
Input label | RGB1 |
Signal |
|
Screensaver |
|
Power save | Off |
Standby save | On |
Power management | Off |
OSD Language | English (UK) |
Setup | 2/2 |
Auto power off | Off |
MULTI DISPLAY Setup |
|
Set up TIMER |
|
PRESENT TIME Setup |
|
To Picture Pos./Size adjust menu (see page 17)
During “AV(S Video)” and | During “RGB” and “PC” input |
“Component” input signal. | signal. |
Picture Pos./Size | Picture Pos./Size | ||
Normalise | Normal | Normalise | Normal |
|
| ||
|
| ||
|
| ||
|
| ||
|
| Clock Phase | |
14 |
|
|
|