General settings — PSM
Basic procedure
You can change PSM (Preferred Setting Mode) items listed in the table that follows.
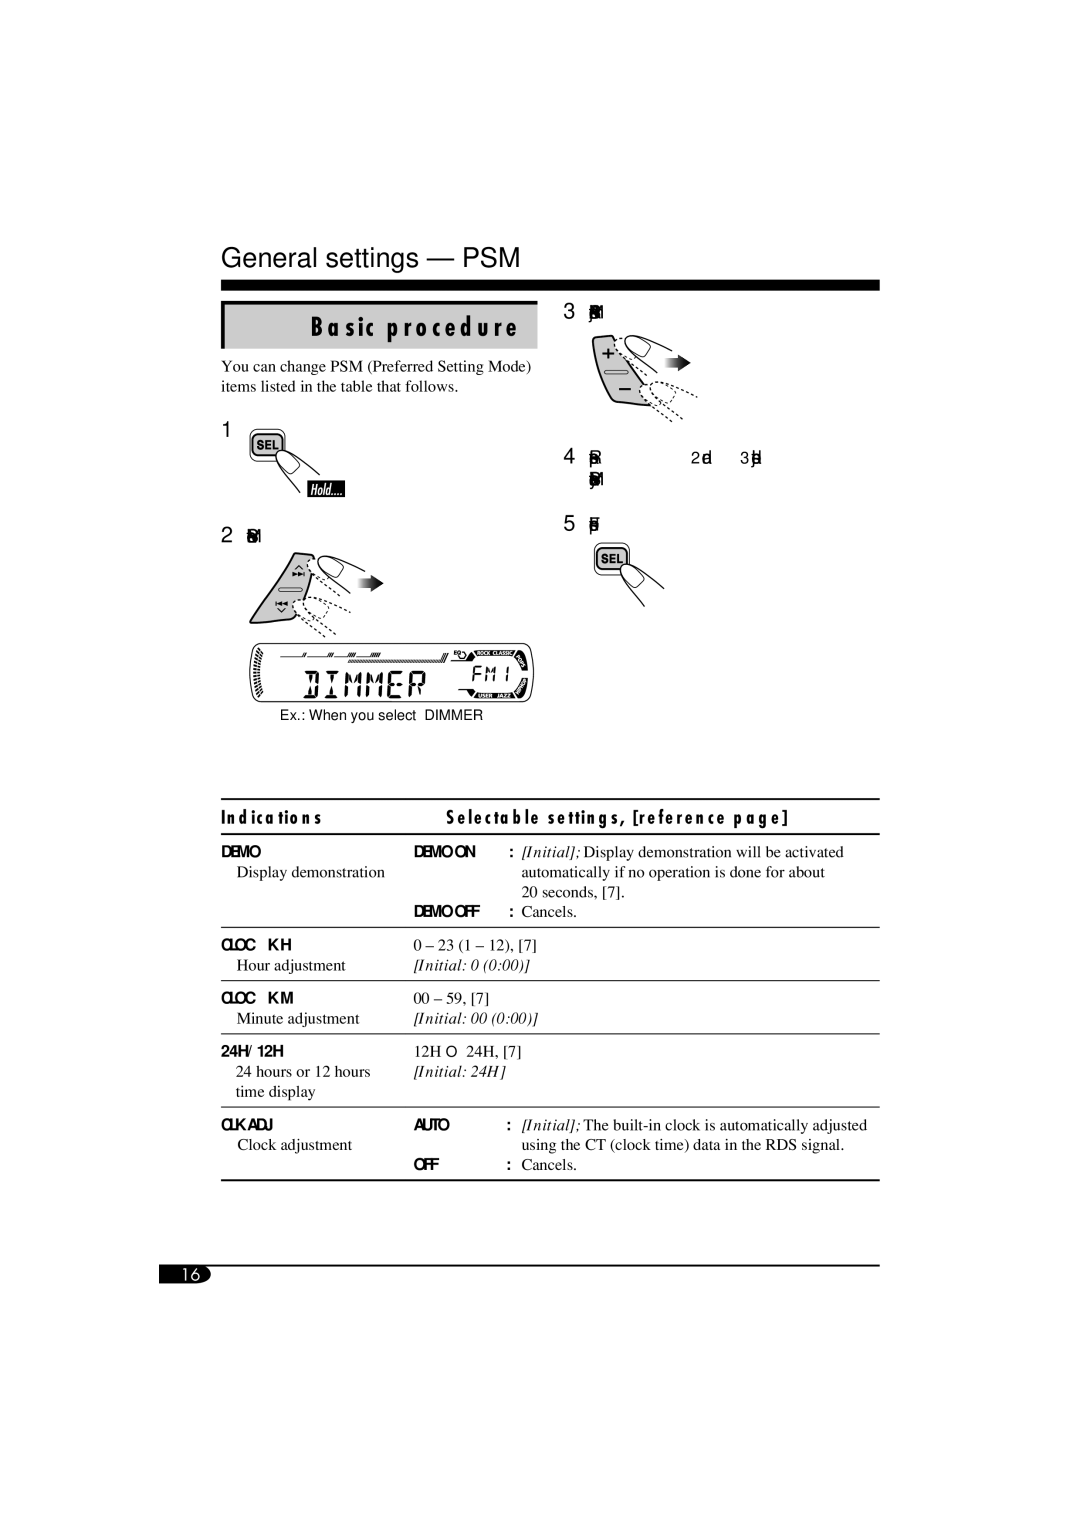
1![]()
2Select a PSM item.
3Adjust the PSM item selected.
4Repeat steps 2 and 3 to adjust the other PSM items if necessary.
5Finish the procedure.
Ex.: When you select “DIMMER”
Indications | Selectable settings, [reference page] | |
DEMO | DEMO ON | : [Initial]; Display demonstration will be activated |
Display demonstration |
| automatically if no operation is done for about |
|
| 20 seconds, [7]. |
| DEMO OFF : Cancels. | |
|
| |
CLOCK H | 0 – 23 (1 – 12), [7] | |
Hour adjustment | [Initial: 0 (0:00)] | |
|
|
|
CLOCK M | 00 – 59, [7] |
|
Minute adjustment | [Initial: 00 (0:00)] | |
|
| |
24H/12H | 12H O 24H, [7] | |
24 hours or 12 hours | [Initial: 24H] |
|
time display |
|
|
|
|
|
CLK ADJ | AUTO | : [Initial]; The |
Clock adjustment |
| using the CT (clock time) data in the RDS signal. |
| OFF | : Cancels. |
|
|
|
16