START EDITING
Press PLAY on the camcorder and engage the VCR’s Record mode.
STOP EDITING TEMPORARILY
Engage the VCR’s Record-Pause mode and press PAUSE on the camcorder.
EDIT MORE SEGMENTS
Repeat steps 4 through 6 for additional editing, then stop the VCR and camcorder when finished.
FIND EDIT-IN POINT
Engage the VCR’s AUX and Record-Pause modes.
SELECT VCR MODE
PREPARE FOR DUBBING
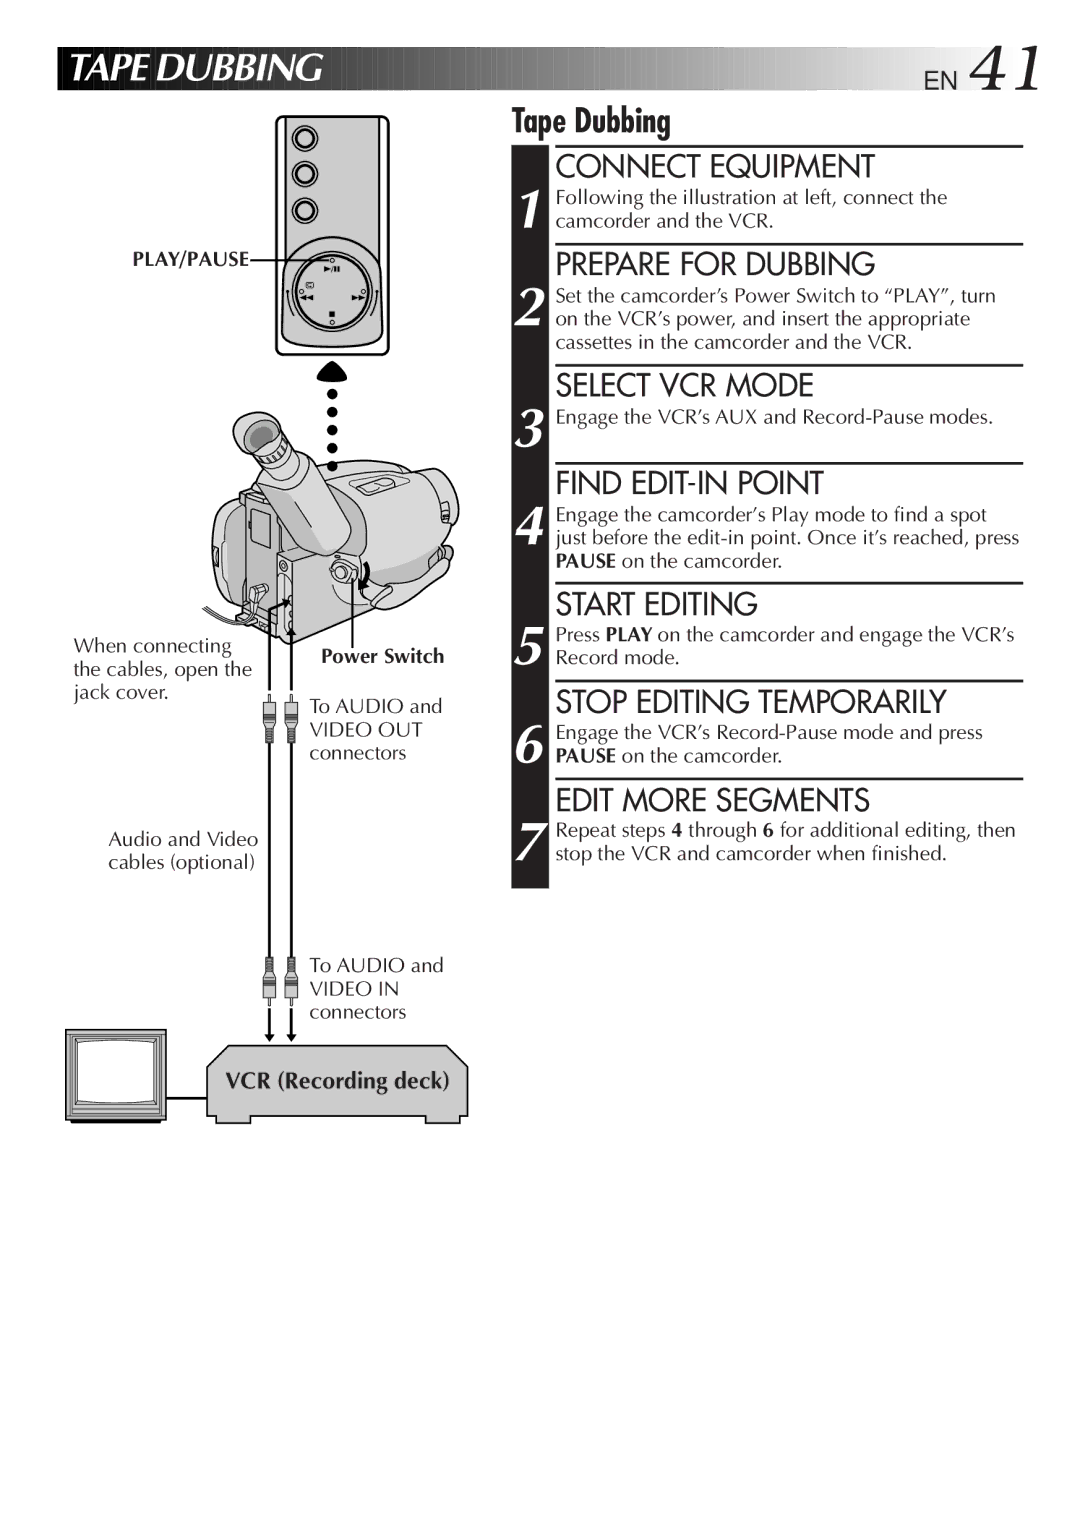
Following the illustration at left, connect the camcorder and the VCR.
3
4 Engage the camcorder’s Play mode to find a spot just before the edit-in point. Once it’s reached, press PAUSE on the camcorder.
1
2 Set the camcorder’s Power Switch to “PLAY”, turn on the VCR’s power, and insert the appropriate cassettes in the camcorder and the VCR.
Tape Dubbing
CONNECT EQUIPMENT
EN 41
 TAPE
TAPE
 DUBBING


PLAY/PAUSE
When connecting the cables, open the jack cover.
Audio and Video cables (optional)
Power Switch
To AUDIO and
VIDEO OUT connectors
To AUDIO and
VIDEO IN connectors
5
6
7