GR-AXM30 specifications
The JVC GR-AXM30 is a compact and versatile camcorder that gained popularity in the early 2000s, known for its user-friendly design and solid performance in a variety of recording environments. This model showcases JVC's commitment to delivering innovative video technology, making it an ideal choice for amateur videographers and enthusiasts alike.One of the standout features of the GR-AXM30 is its 34x optical zoom capability, allowing users to capture distant subjects with clarity. This zoom system is complemented by JVC's advanced image stabilization technology, which reduces the effects of camera shake and ensures smooth footage during handheld recording. The camcorder's 800,000-pixel CCD sensor provides vibrant color reproduction and detailed imagery, making it suitable for both indoor and outdoor filming.
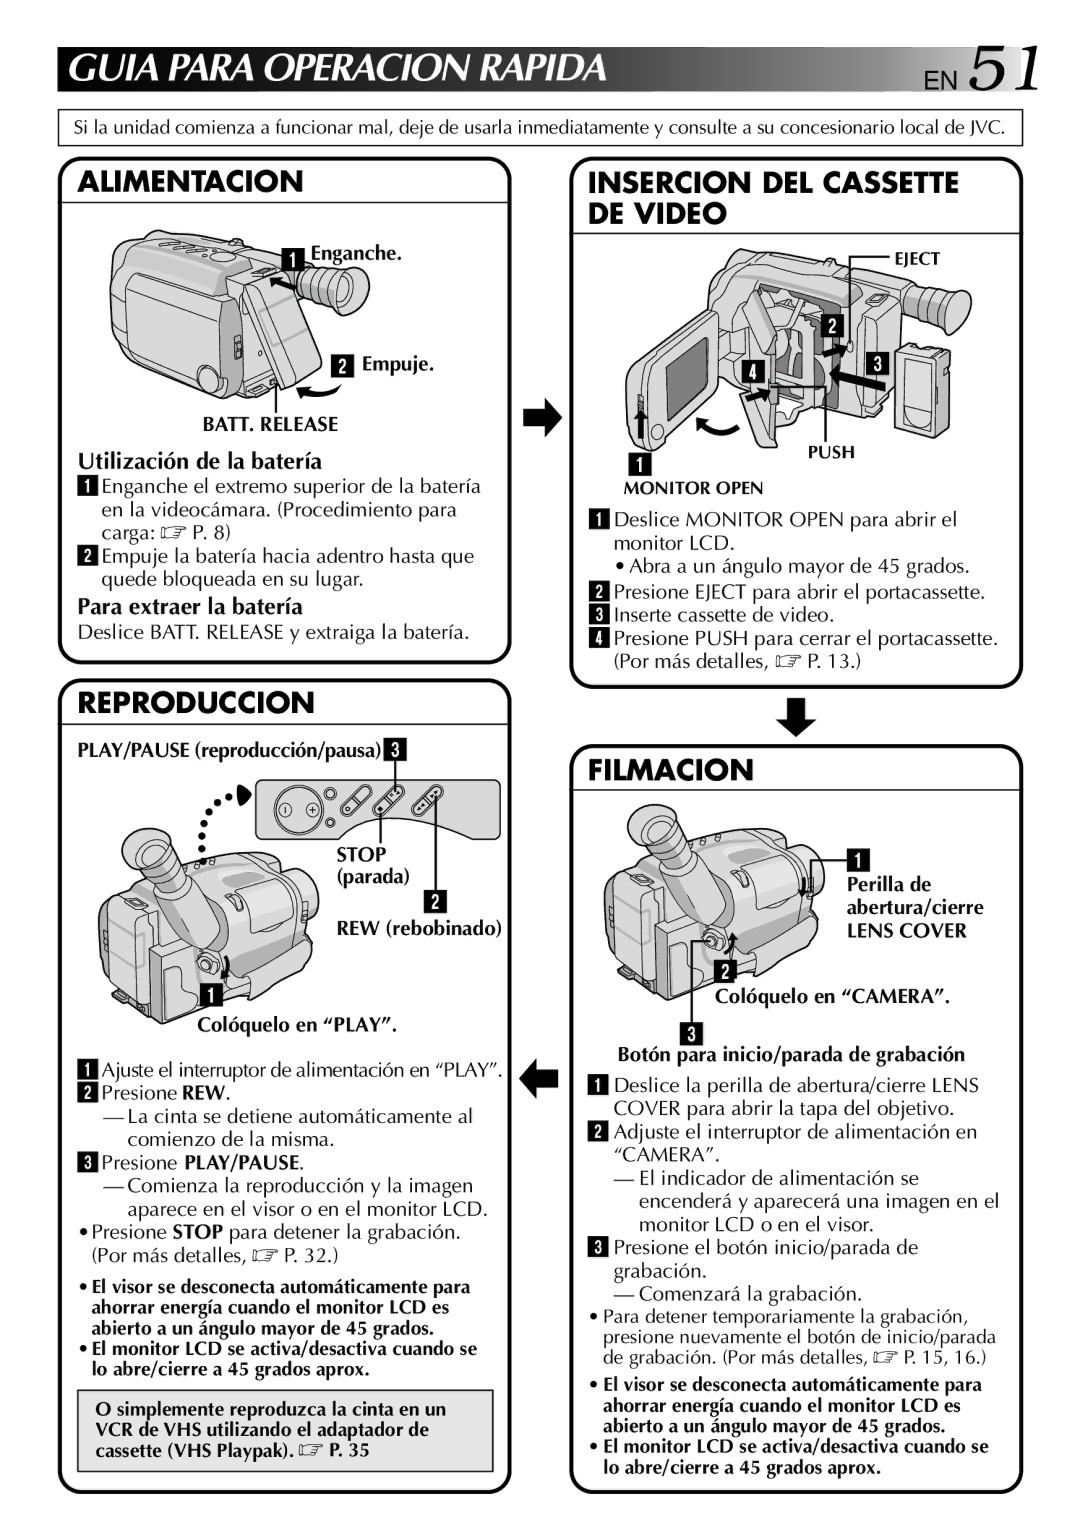
The GR-AXM30 incorporates a 3-inch color LCD screen that provides excellent visibility, enabling users to monitor their shots easily and adjust settings on the fly. This display is of particular importance for framing shots during playback, helping users quickly review footage to ensure quality before concluding a recording session.
For connectivity, the GR-AXM30 includes a standard AV output, enabling easy connections to televisions and other compatible devices for immediate playback. Additionally, the camcorder is designed to utilize VHS-C tapes, which were popular for their compact size and ease of storage, making it convenient for users to manage their recordings.
In terms of ergonomics, the GR-AXM30 boasts a lightweight and compact design that allows for easy handling, even during extended use. The intuitive button layout ensures that users can navigate settings without any hassle, enhancing the overall user experience.
The camcorder also features a variety of shooting modes, including night mode, portrait mode, and sports mode, each optimized to enhance the footage based on the shooting environment. Furthermore, it includes built-in effects and transitions that add a creative touch to videos, enriching the storytelling aspect of the recorded content.
Overall, the JVC GR-AXM30 exemplifies a well-rounded camcorder that merges functionality with ease of use. Its combination of optical zoom, image stabilization, and intelligent shooting modes makes it a reliable option for capturing life's memorable moments with quality and style.

