12
 EN
EN


 GETTING
 STARTED

 (cont.)

Recording Format Setting (GR-SXM46/ SXM26/SX41/SX21 only)
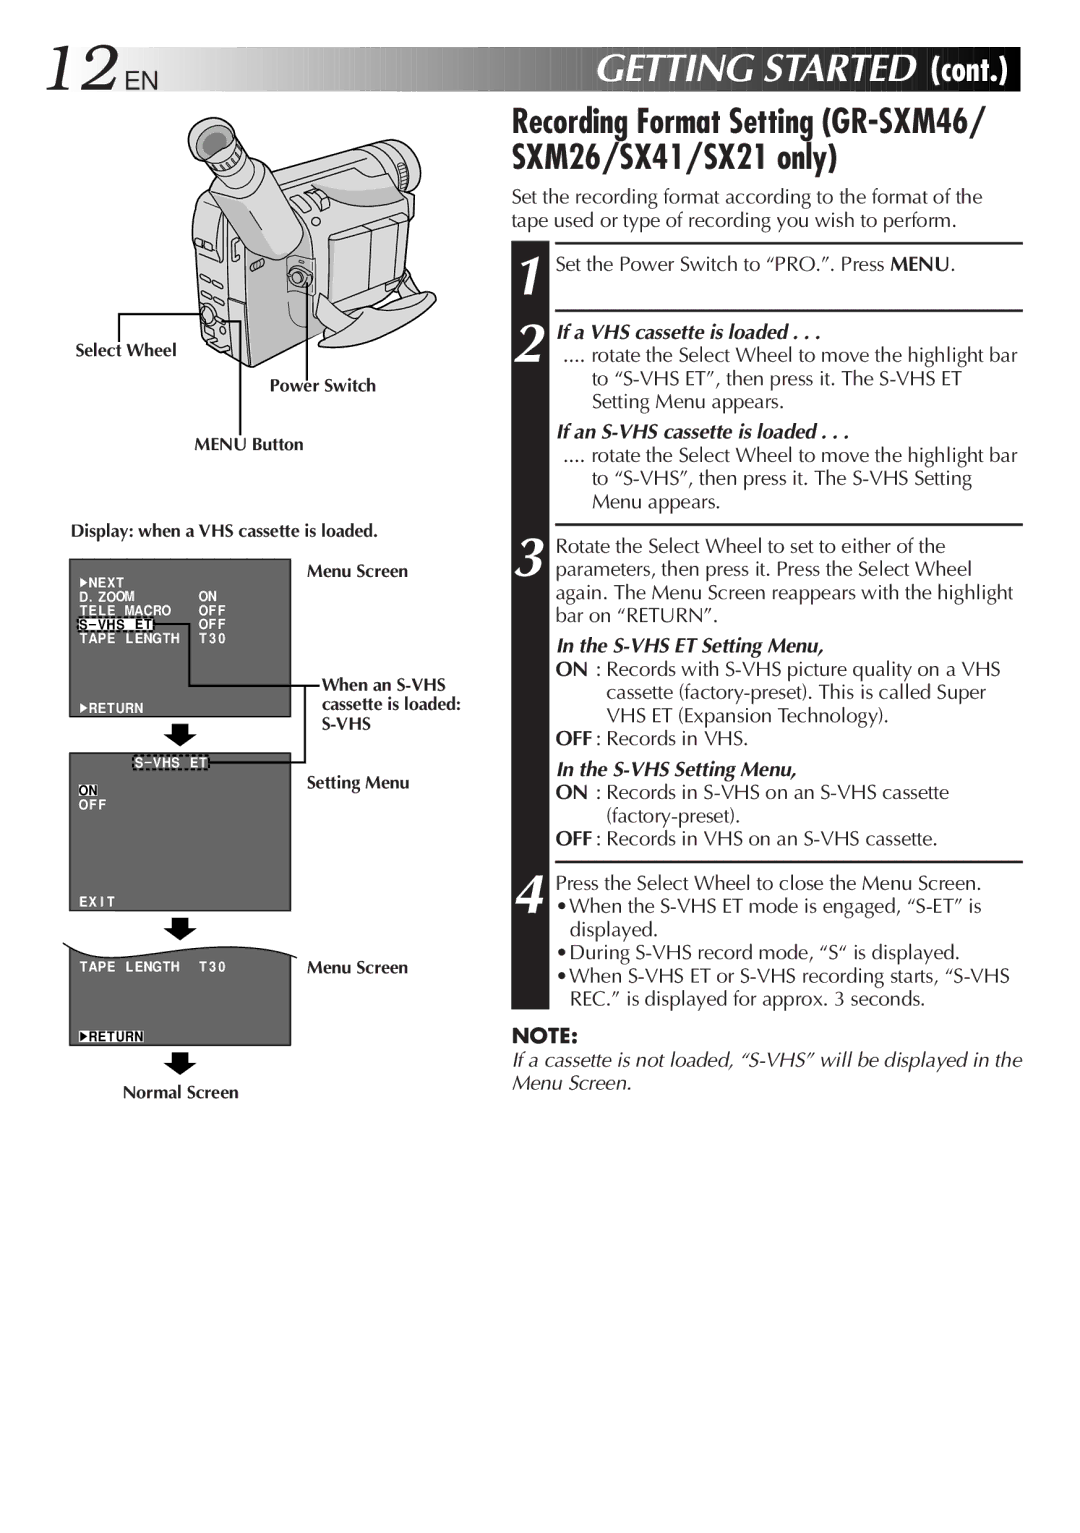
Select Wheel
Power Switch
MENU Button
Display: when a VHS cassette is loaded.
Set the recording format according to the format of the tape used or type of recording you wish to perform.
1 Set the Power Switch to “PRO.”. Press MENU.
2 If a VHS cassette is loaded . . .
.... rotate the Select Wheel to move the highlight bar
to
If an S-VHS cassette is loaded . . .
.... rotate the Select Wheel to move the highlight bar
to
3 Rotate the Select Wheel to set to either of the
4NEX T | ON | |
D . ZOOM | ||
TE L E MACRO | OF F | |
S – VHS E T |
| OF F |
TAPE L ENGTH | T 3 0 | |
4RE TURN |
| |
| ||
Menu Screen
When an
parameters, then press it. Press the Select Wheel again. The Menu Screen reappears with the highlight bar on “RETURN”.
In the S-VHS ET Setting Menu,
ON : Records with
OFF : Records in VHS.
S – VHS ET
|
|
| Setting Menu |
ON |
|
| |
OF F |
|
| |
EX I T |
|
| |
T EL E MACRO | OF F |
| |
TAPE L ENGTH | T 3 0 | Menu Screen | |
In the S-VHS Setting Menu,
ON : Records in
OFF : Records in VHS on an
4 Press the Select Wheel to close the Menu Screen. •When the
displayed.
•During
REC.” is displayed for approx. 3 seconds.
4RE TURN | NOTE: |
| If a cassette is not loaded, |
Normal Screen | Menu Screen. |
|