HR-A55U specifications
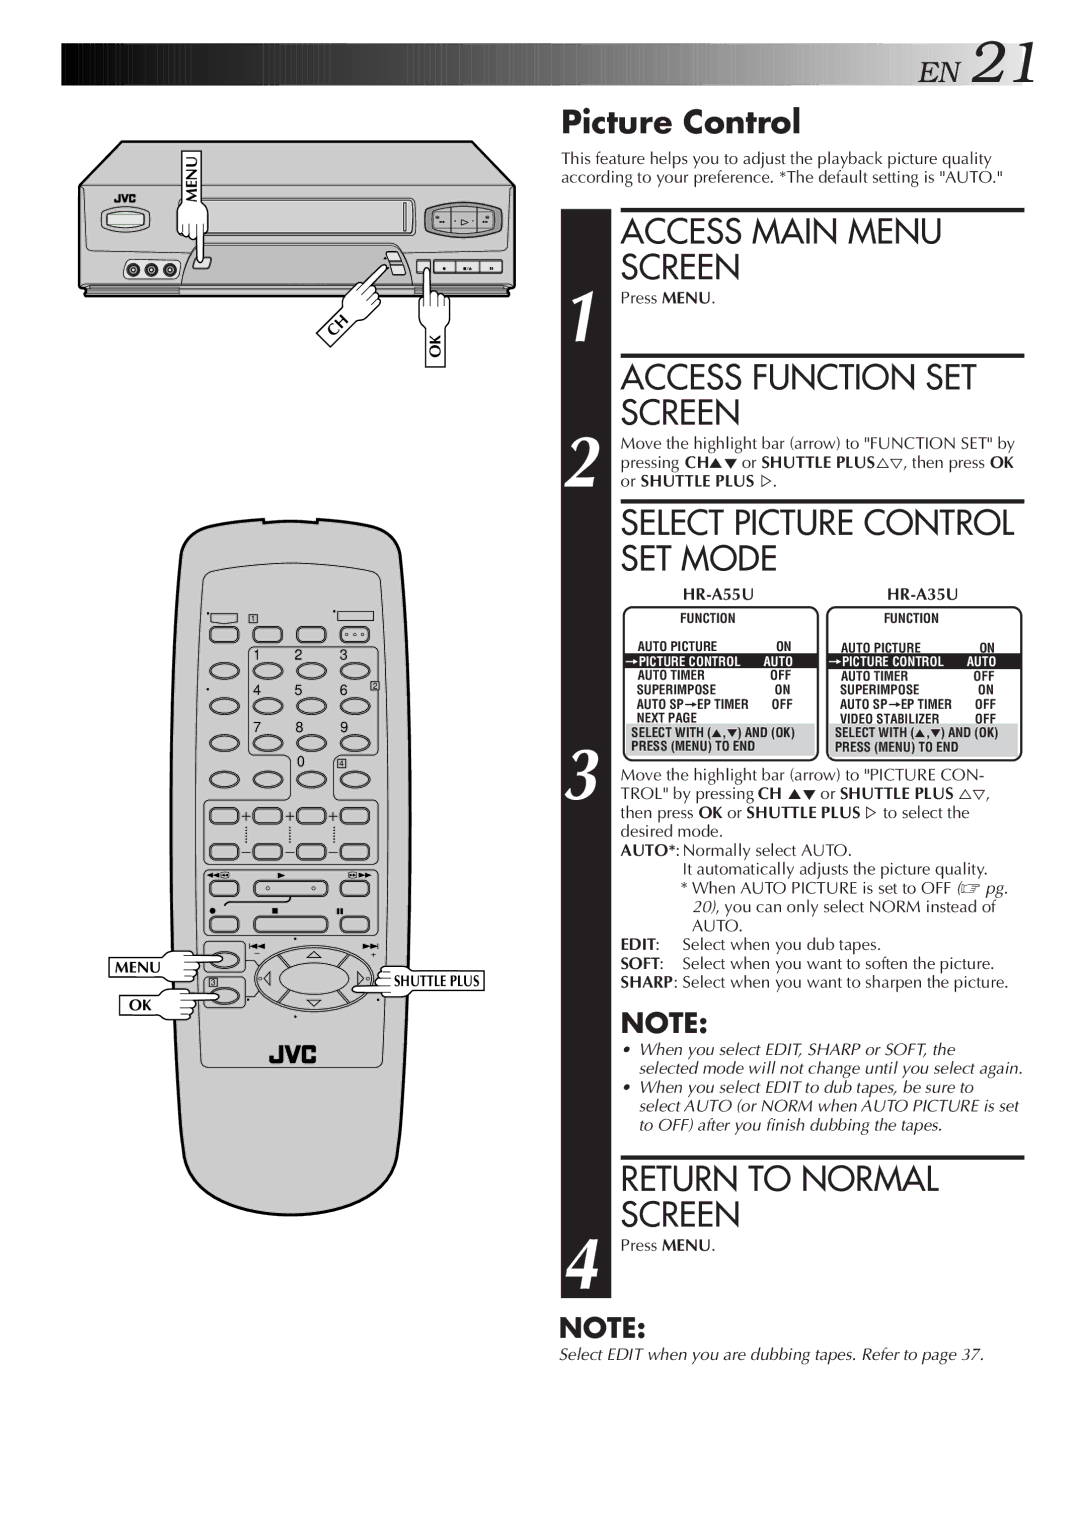
The JVC HR-A55U is a notable addition to the realm of home video playback and recording systems, embodying a blend of advanced features and user-friendly design. This versatile VCR is known for its exceptional performance and reliability, making it a preferred choice for video enthusiasts and casual users alike. One of its standout features is the ability to support S-VHS video recording, providing superior quality compared to standard VHS. The S-VHS capability allows users to enjoy enhanced picture resolution and clarity, making it ideal for those who prioritize video fidelity.Equipped with a robust playback and recording function, the HR-A55U can play back both VHS and S-VHS tapes, allowing for greater flexibility in media usage. The unit also features a convenient on-screen display for easy navigation of menus and settings, streamlining the user experience. The inclusion of a built-in tuner expands its functionality, enabling users to record television programs directly on their tapes without the need for additional equipment.
Another impressive characteristic of the JVC HR-A55U is its versatile connectivity options. The VCR is equipped with both composite and S-Video outputs, facilitating high-quality connections to televisions and other audio-visual devices. This feature is particularly beneficial for those looking to integrate the VCR into a home theater system or connect it to modern visual equipment.
The HR-A55U also boasts several user-friendly functions such as the program timer, which allows users to schedule recordings in advance, ensuring they never miss their favorite shows. Additionally, the VCR's automatic tracking feature simplifies tape adjustments, making it easier to achieve optimal playback quality with minimal setup.
Durability and design are also key aspects of the JVC HR-A55U. Its sleek chassis is not only aesthetically pleasing but also built to withstand regular use. The quality construction gives users confidence in its longevity, ensuring that it remains a staple in home entertainment for years to come.
In summary, the JVC HR-A55U VCR is a significant player in the market for video playback and recording, offering a combination of S-VHS support, versatile connectivity, user-friendly features, and robust construction. It embodies the principles of quality and convenience, catering to a diverse range of users looking to enjoy their video collection in the best possible way.