– Connections and VCR channel Setting – |
| – Initial Settings – |
|
|
|
4Set VCR channel
To view playback of a recorded tape, or to watch a program selected by the VCR's channel selector, the TV must be set to channel 3 or 4 (video channel) when a TV is connected with the 75 ohm coaxial cable only.
1Press and hold 3 or 4 on the Remote for 3 seconds in standby mode. The TV/VCR indicator will start to flash.
2 Turn ON the TV and set to CH 3 or 4 to correspond with
| the channel selected in 1. |
|
|
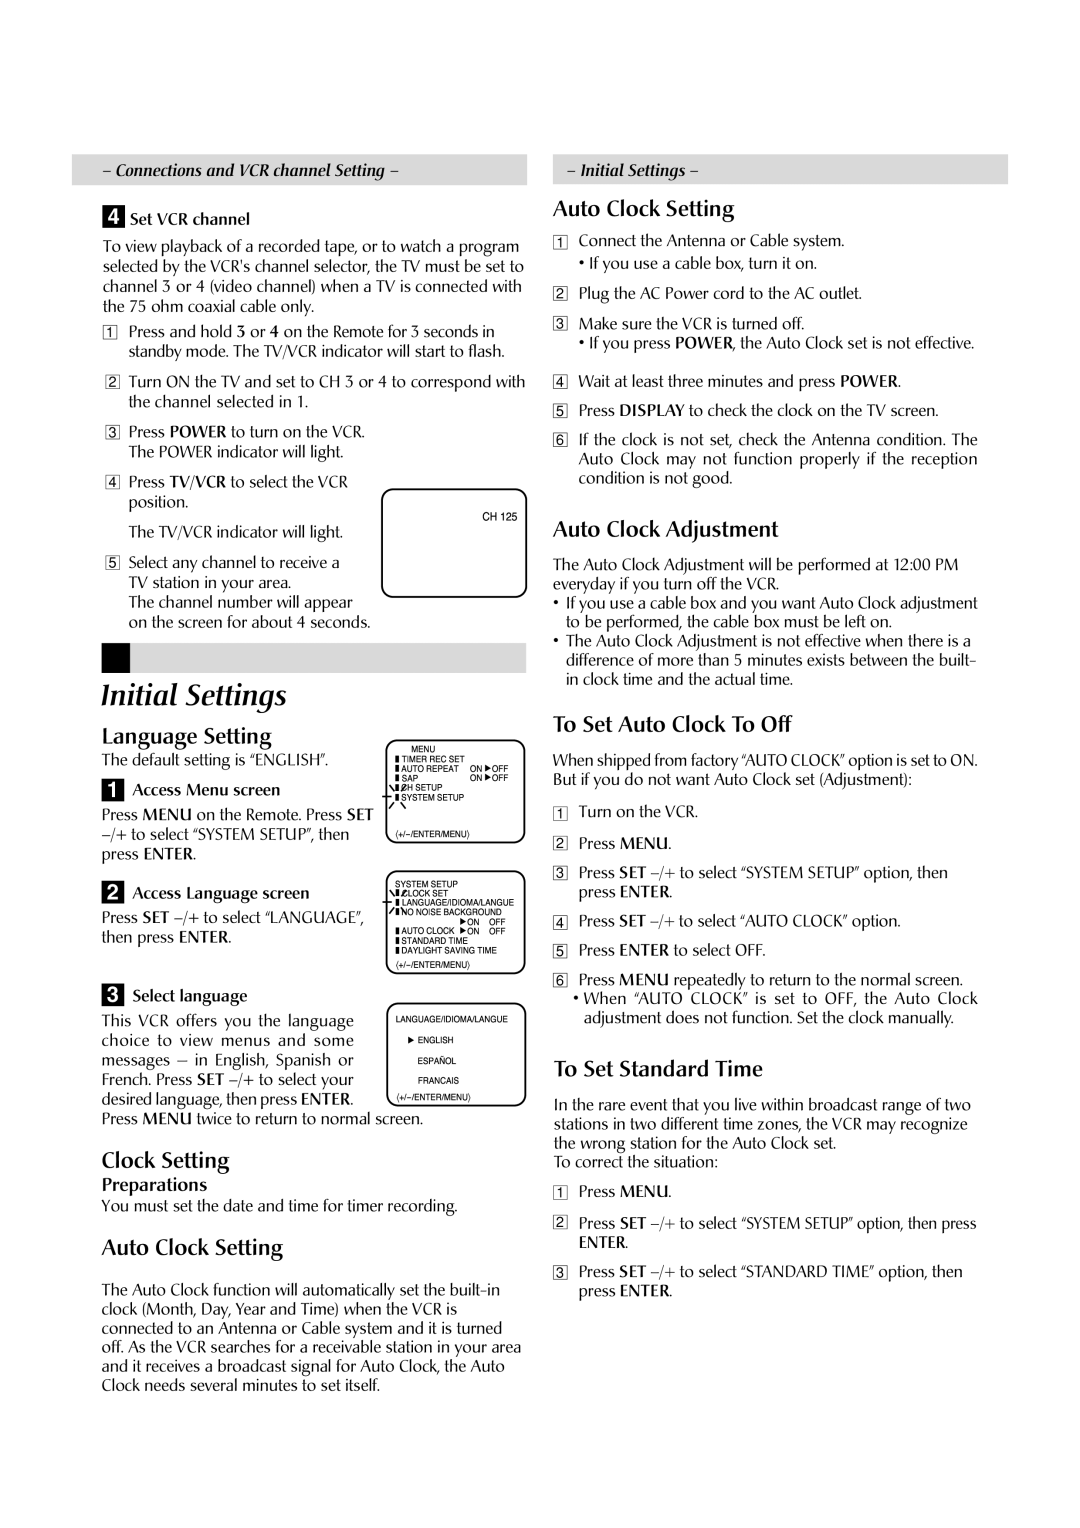
| CH125 | |
3 Press POWER to turn on the VCR. |
|
|
| |||
| The POWER indicator will light. |
|
|
| ||
4 Press TV/VCR to select the VCR |
|
|
| |||
| position. |
|
|
| ||
| The TV/VCR indicator will light. |
|
|
|
| |
5 Select any channel to receive a |
|
|
|
| ||
| TV station in your area. |
|
|
|
| |
| The channel number will appear |
|
|
|
| |
| on the screen for about 4 seconds. |
|
|
|
| |
|
|
|
|
|
|
|
|
|
|
|
|
|
|
The default setting is “ENGLISH”. |
|
| AUTOTIMERAPMENUREEATRECSET | ONOFF | ||
| ||||||
| ||||||
| ||||||
Initial Settings |
|
| CHSETUP |
| ||
Language Setting |
|
| SYSTEMSETUP |
| ||
| Access Menu screen |
|
|
| ||
1 |
| |||||
|
| |||||
|
| |||||
|
| |||||
Press MENU on the Remote. Press SET | · |
| ||||
SYSTEM |
| |||||
press ENTER. |
| |||||
2 | Access Language screen |
| ||||
· | ||||||
Auto Clock Setting
1Connect the Antenna or Cable system.
•If you use a cable box, turn it on.
2Plug the AC Power cord to the AC outlet.
3Make sure the VCR is turned off.
•If you press POWER, the Auto Clock set is not effective.
4Wait at least three minutes and press POWER.
5Press DISPLAY to check the clock on the TV screen.
6If the clock is not set, check the Antenna condition. The Auto Clock may not function properly if the reception condition is not good.
Auto Clock Adjustment
The Auto Clock Adjustment will be performed at 12:00 PM everyday if you turn off the VCR.
•If you use a cable box and you want Auto Clock adjustment to be performed, the cable box must be left on.
•The Auto Clock Adjustment is not effective when there is a difference of more than 5 minutes exists between the built- in clock time and the actual time.
To Set Auto Clock To Off
When shipped from factory “AUTO CLOCK” option is set to ON. But if you do not want Auto Clock set (Adjustment):
1Turn on the VCR.
2Press MENU.
3Press SET
Press SET |
| 4 | Press SET | ||
then press ENTER. |
| 5 | Press ENTER to select OFF. | ||
| |||||
| |||||
|
|
| |||
|
|
| |||
|
| LANGUAENLISHGE/IDIOMA/LANGUE | |||
|
| 6 | Press MENU repeatedly to return to the normal screen. | ||
3 | Select language | ||||
| • When “AUTO CLOCK” is set to OFF, the Auto Clock | ||||
This VCR offers you the language |
| adjustment does not function. Set the clock manually. | |||
choice to view menus and some |
|
|
| ||
messages — in English, Spanish or | To Set Standard Time | ||||
French. Press SET | |||||
desired language, then press ENTER. |
| In the rare event that you live within broadcast range of two | |||
Press MENU twice to return to normal screen. | |||||
stations in two different time zones, the VCR may recognize | |||||
Clock Setting |
| the wrong station for the Auto Clock set. | |||
| To correct the situation: | ||||
Preparations |
|
| Press MENU. | ||
| 1 | ||||
|
|
| |||
You must set the date and time for timer recording.
Auto Clock Setting
The Auto Clock function will automatically set the
2
3
Press SET
ENTER.
Press SET