Video Channel Set
Video Channel (RF Output Channel) is the channel on which your TV receives picture and sound signals from the video recorder through the RF cable.
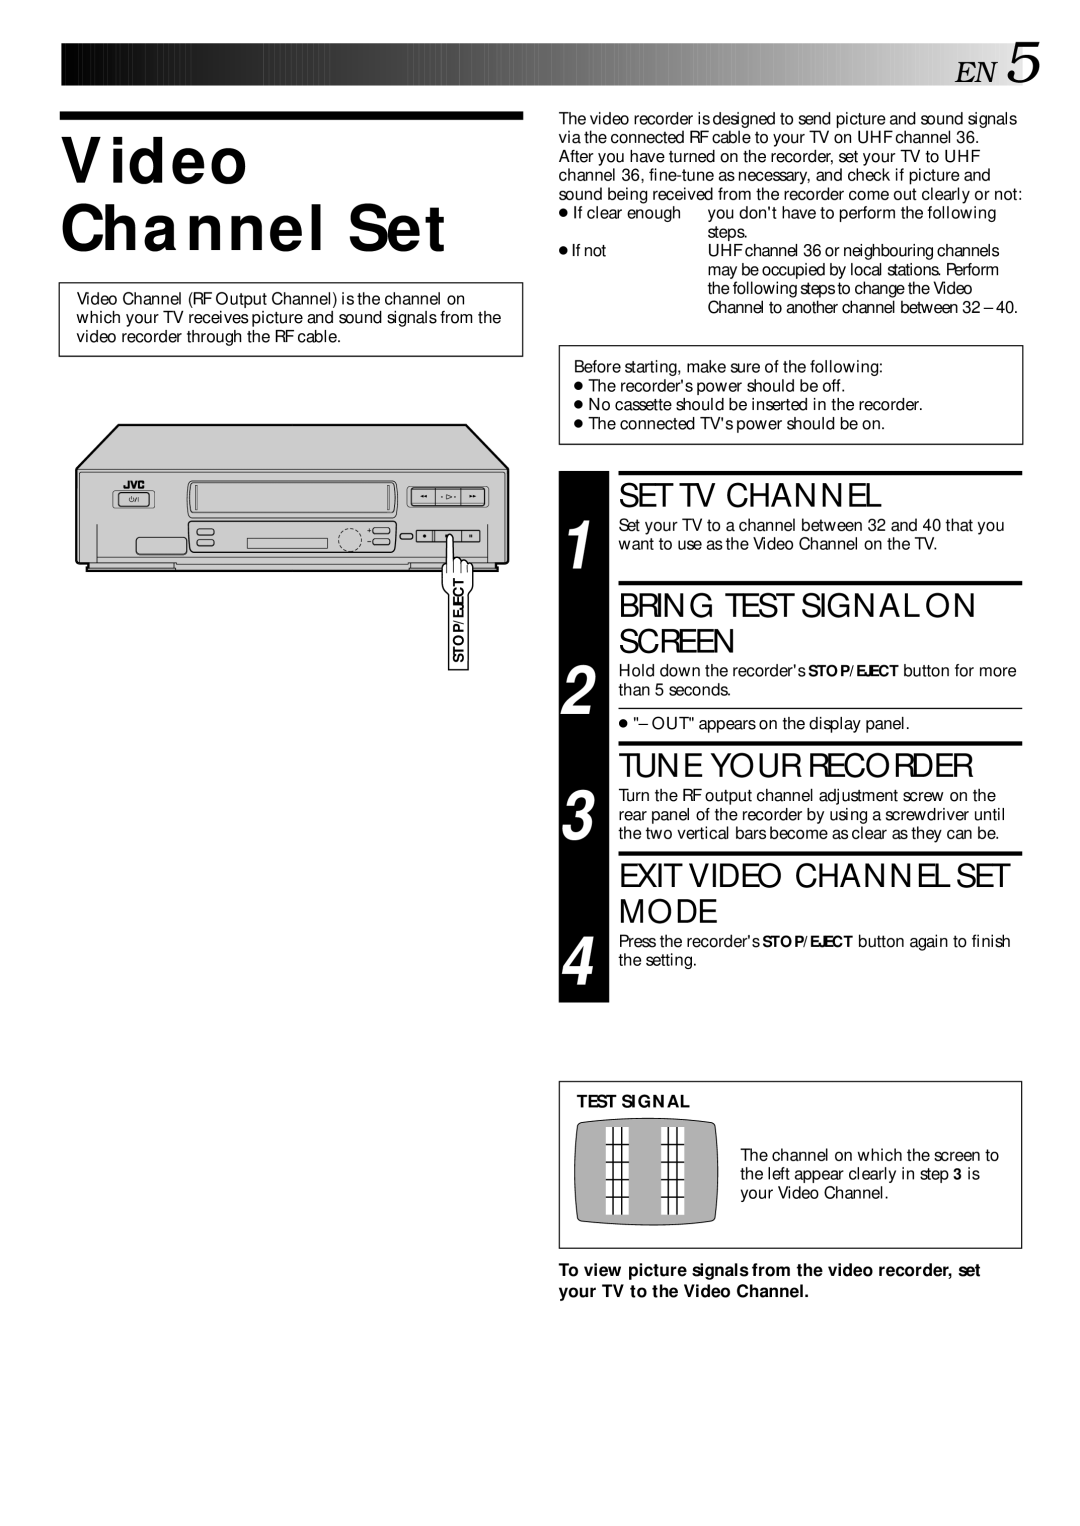
2 | 3 |
q | 5/8 6 |
STOP/EJECT
![]()
![]()
![]()
![]()
![]()
![]()
![]()
![]()
![]()
![]()
![]()
![]()
![]()
![]()
![]()
![]()
![]()
![]()
![]()
![]()
![]()
![]()
![]()
![]()
![]()
![]()
![]()
![]()
![]()
![]()
![]()
![]()
![]()
![]()
![]()
![]()
![]()
![]()
![]()
![]() EN
EN![]()
![]() 5
5![]()
The video recorder is designed to send picture and sound signals via the connected RF cable to your TV on UHF channel 36. After you have turned on the recorder, set your TV to UHF channel 36,
● If clear enough | you don't have to perform the following |
| steps. |
● If not | UHF channel 36 or neighbouring channels |
| may be occupied by local stations. Perform |
| the following steps to change the Video |
| Channel to another channel between 32 – 40. |
Before starting, make sure of the following:
●The recorder's power should be off.
●No cassette should be inserted in the recorder.
●The connected TV's power should be on.
1 |
| SET TV CHANNEL |
| Set your TV to a channel between 32 and 40 that you | |
| want to use as the Video Channel on the TV. | |
|
| BRING TEST SIGNAL ON |
2 |
| SCREEN |
| Hold down the recorder's STOP/EJECT button for more | |
than 5 seconds. | ||
|
| |
| ● "– OUT" appears on the display panel. | |
|
|
|
3 |
| TUNE YOUR RECORDER |
| Turn the RF output channel adjustment screw on the | |
| rear panel of the recorder by using a screwdriver until | |
| the two vertical bars become as clear as they can be. | |
|
| EXIT VIDEO CHANNEL SET |
4 |
| MODE |
| Press the recorder's STOP/EJECT button again to finish | |
| the setting. | |
TEST SIGNAL
The channel on which the screen to the left appear clearly in step 3 is your Video Channel.
To view picture signals from the video recorder, set your TV to the Video Channel.