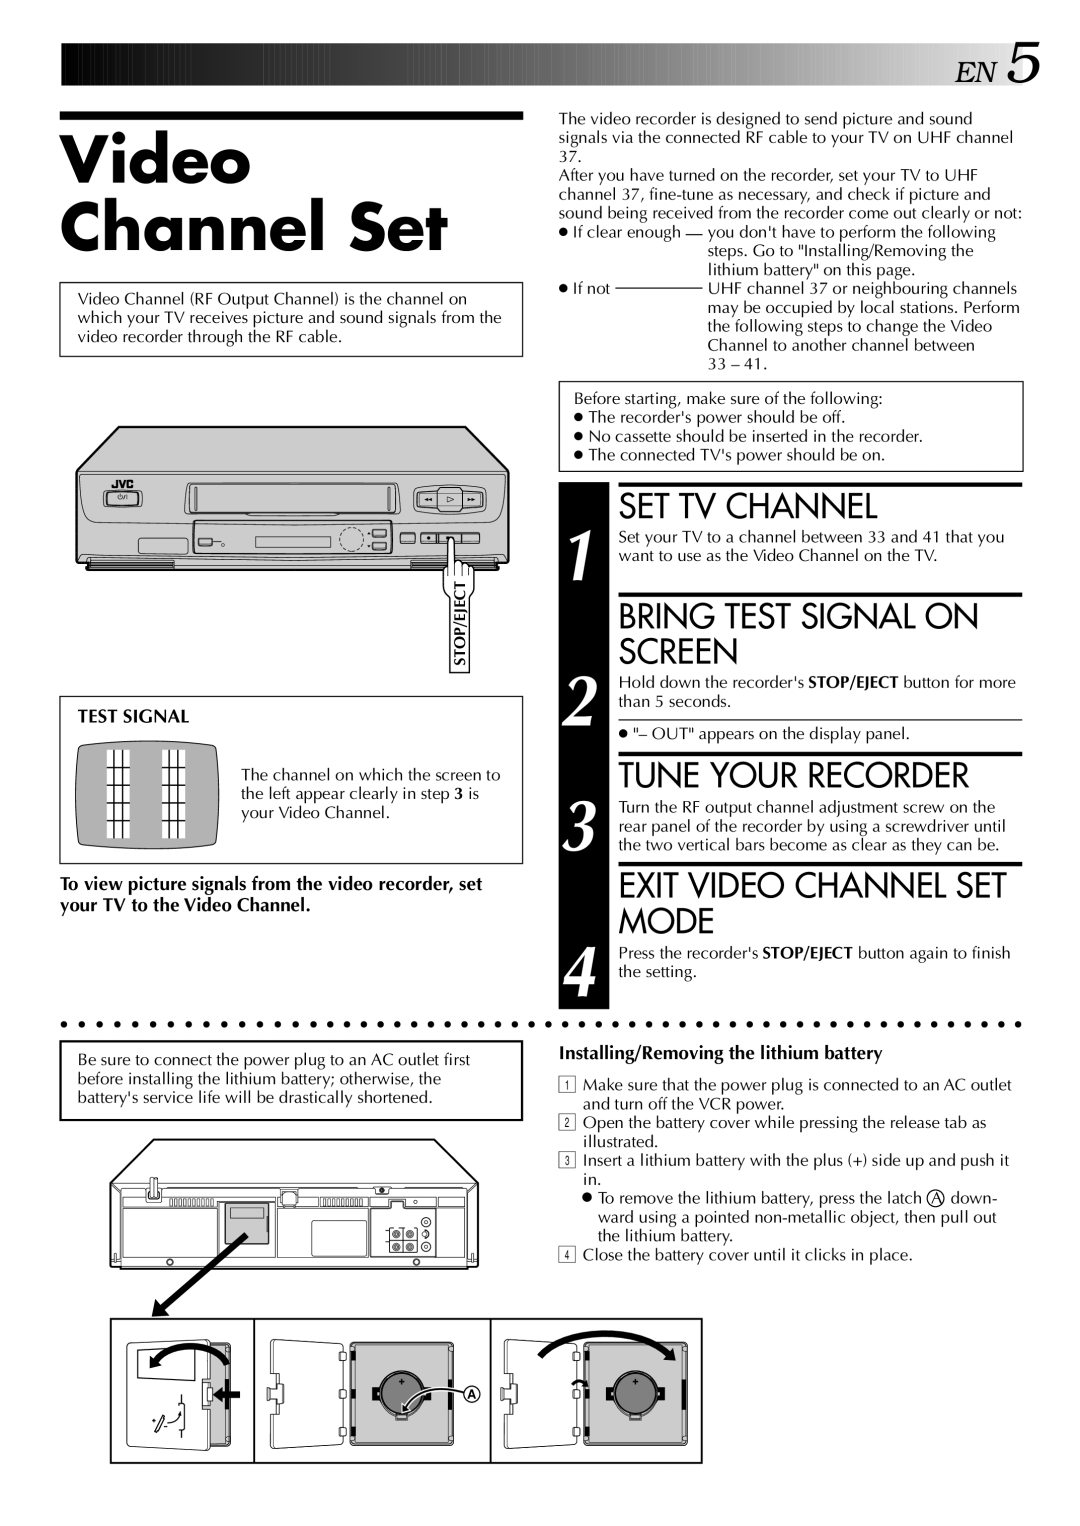
HR-J245EA specifications
The JVC HR-J245EA is a notable model in the realm of VHS video cassette recorders, combining user-friendly features with solid performance. Released during the era when VHS was the dominant format for home video, this machine catered to the demands of avid movie watchers and recording enthusiasts.One of the main features of the HR-J245EA is its ability to record in SP (Standard Play) and LP (Long Play) modes. This flexibility allows users to choose between higher quality recordings or extended play time, providing a versatile solution for different viewing needs. The machine supports standard VHS tapes, which were widely available and contributed to its popularity among consumers.
In terms of technology, the JVC HR-J245EA is equipped with a built-in tuner, enabling users to capture live television broadcasts directly onto VHS tapes. It also features a programmable timer, allowing for easy scheduling of recordings, a crucial aspect for users who wanted to ensure they did not miss their favorite shows. This timer function is particularly valuable in today’s “set it and forget it” culture, where convenience is key.
The design of the HR-J245EA is functional, with easy-to-navigate buttons and a straightforward interface. Users can quickly master its operation, making it approachable for all ages. Additionally, this model includes various playback features such as an on-screen display and fast forward and rewind functions, enhancing the overall user experience.
A prominent characteristic of the HR-J245EA is its reliable playback capability. JVC was known for producing quality video devices, and the HR-J245EA upheld this reputation with clear video output and consistent performance. The model also supports stereo audio output, providing an enhanced viewing experience through compatible sound systems.
Moreover, compatibility with various VHS formats, including S-VHS, allows for playback of higher-quality tapes, aligning with the needs of discerning viewers. The device also includes features such as noise reduction and a variety of playback speeds, catering to diverse consumer preferences.
In summary, the JVC HR-J245EA stands out as a dependable and feature-rich VHS recorder that embodies the essential qualities sought by home entertainment enthusiasts. With its recording flexibility, user-friendly technology, and solid build quality, it remains a memorable component of 90s home multimedia systems. Whether preserving cherished family moments or enjoying classic films, the HR-J245EA has left its mark on the video recording landscape.

