10
Three-Step Quick Start
Auto Setup
before you start
Check that the VCR is turned off and no cassette is inserted
Load the batteries into the Remote Control
Refer to the Remote Control diagram on pages
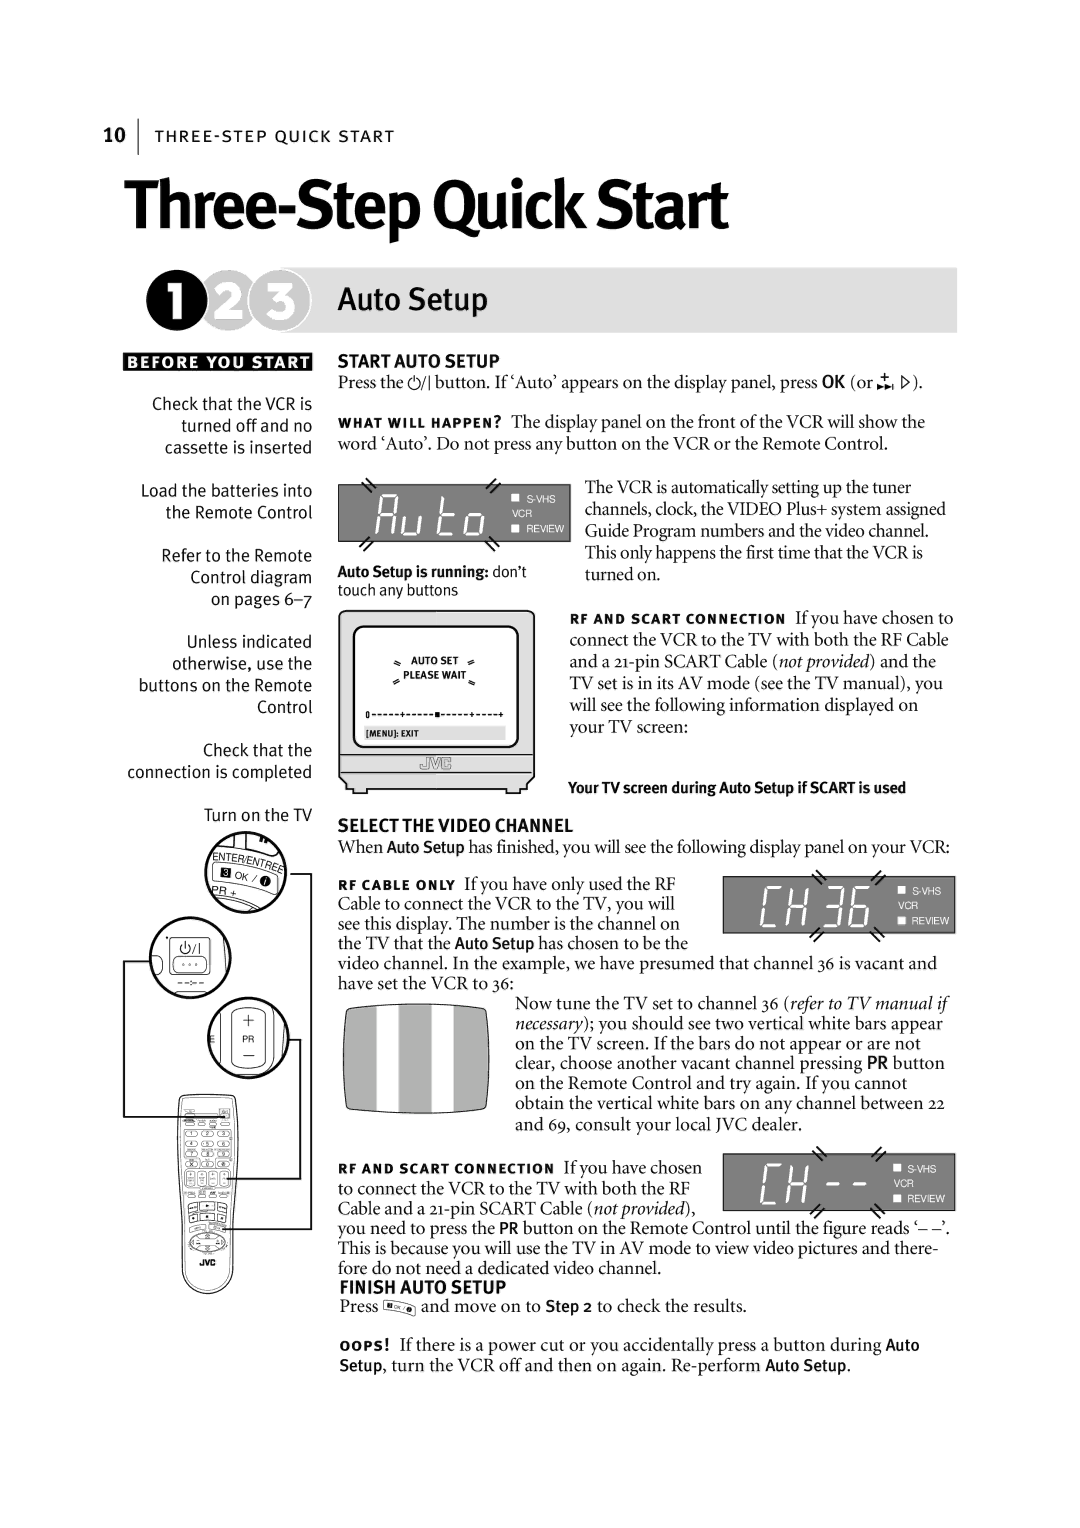
START AUTO SETUP
Press the obutton. If ‘Auto’ appears on the display panel, press OK (or E).
what will happen? The display panel on the front of the VCR will show the word ‘Auto’. Do not press any button on the VCR or the Remote Control.
|
|
| The VCR is automatically setting up the tuner | |
|
| |||
|
| channels, clock, the VIDEO Plus+ system assigned | ||
| VCR | |||
|
| REVIEW | Guide Program numbers and the video channel. | |
|
|
| This only happens the first time that the VCR is | |
Auto Setup is running: don’t | ||||
turned on. | ||||
touch any buttons |
| |||
Unless indicated otherwise, use the buttons on the Remote Control
Check that the connection is completed
AUTO SET
PLEASE WAIT
[MENU]: EXIT
rf and scart connection If you have chosen to connect the VCR to the TV with both the RF Cable and a
Your TV screen during Auto Setup if SCART is used
|
|
| Turn on the TV | |||||
|
|
|
| ENTE |
| |||
|
|
|
|
|
|
| R/E |
|
|
|
|
|
|
|
| NT | |
|
|
|
|
|
|
|
| R |
|
|
|
|
|
|
|
| E |
|
|
|
|
|
| 3 | OK / | E |
|
|
|
|
|
|
| ||
|
|
|
| PR |
| |||
|
|
|
| + |
| |||
O | – |
|
|
|
|
| ||
|
|
| TE |
| PR |
| ||
|
| TV |
|
|
|
|
|
|
|
|
| TV/VCR | AUDIO | – |
|
| |
|
| 1 | 2 |
|
| 3 |
|
|
|
|
|
|
|
|
| 2 |
|
|
| 4 | 5 |
|
| 6 |
|
|
|
| VPS/PDC | DAILY/QTDN. WEEKLY/HEBDO |
| ||||
|
| 7 | 8 |
| 9 |
|
| |
|
| 0000 | AUX |
|
| 4 |
| |
|
|
| 0 |
|
|
|
|
|
|
| START | STOP | DATE | PR |
|
| |
|
| DEBUT | FIN |
|
| |||
|
|
| EXPRESS |
|
|
|
| |
| 1 | PROG | ? |
|
| 30 SEC |
|
|
|
|
|
| ENTER/ENTREE |
|
| ||
|
| MENU | PR | 3 | OK |
|
| |
|
|
| TV | + |
|
|
| |
|
| T |
|
|
| + |
|
|
|
| V |
|
|
|
|
|
|
|
| – |
|
|
| TV |
|
|
|
|
| TV PR | – |
|
|
| |
SELECT THE VIDEO CHANNEL
When Auto Setup has finished, you will see the following display panel on your VCR:
rf cable only If you have only used the RF |
|
| |
|
| ||
Cable to connect the VCR to the TV, you will |
| VCR | |
see this display. The number is the channel on |
|
| REVIEW |
|
|
| |
the TV that the Auto Setup has chosen to be the
video channel. In the example, we have presumed that channel 36 is vacant and have set the VCR to 36:
Now tune the TV set to channel 36 (refer to TV manual if necessary); you should see two vertical white bars appear on the TV screen. If the bars do not appear or are not clear, choose another vacant channel pressing PR button on the Remote Control and try again. If you cannot obtain the vertical white bars on any channel between 22 and 69, consult your local JVC dealer.
rf and scart connection If you have chosen |
|
| |
|
| ||
|
| ||
to connect the VCR to the TV with both the RF |
| VCR | |
Cable and a |
|
| REVIEW |
|
|
| |
|
|
| |
you need to press the PR button on the Remote Control until the figure reads ‘–
FINISH AUTO SETUP
Press | 3 | OK / | and move on to Step 2 to check the results. |
|
|
|
oops! If there is a power cut or you accidentally press a button during Auto Setup, turn the VCR off and then on again.
