1

2

3

If your

4

5

CHECK CONTENTS

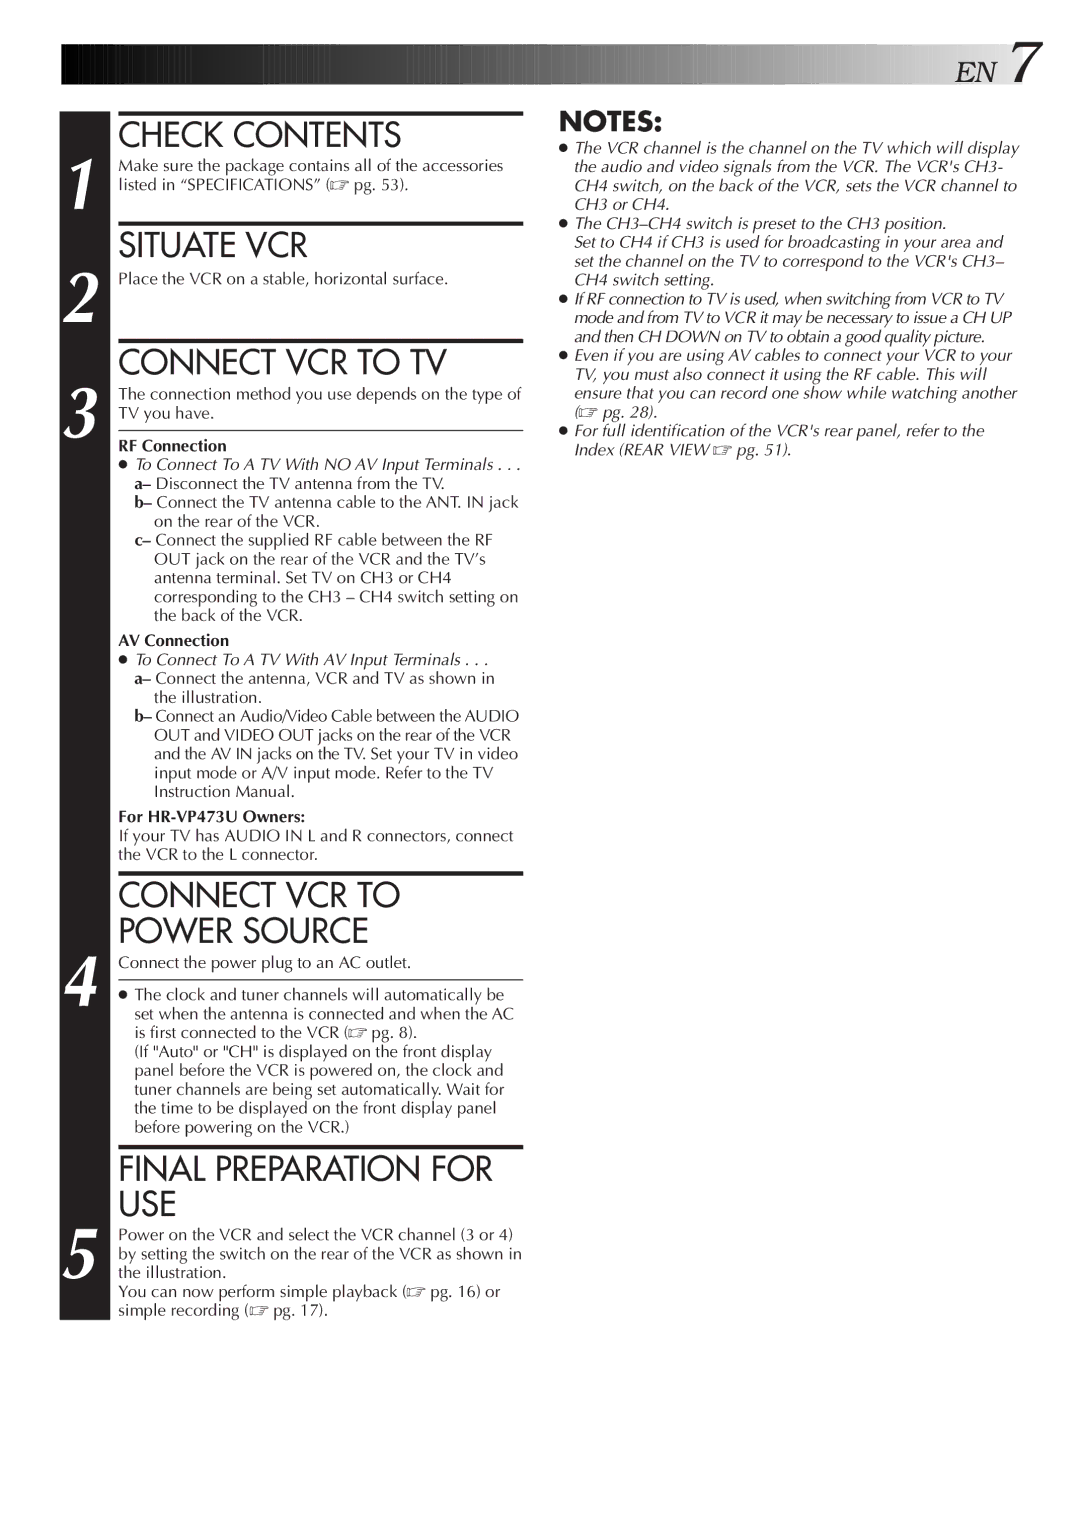
Make sure the package contains all of the accessories listed in “SPECIFICATIONS” ( pg. 53).

SITUATE VCR

Place the VCR on a stable, horizontal surface.

CONNECT VCR TO TV

The connection method you use depends on the type of TV you have.

RF Connection

To Connect To A TV With NO AV Input Terminals . . .

a– Disconnect the TV antenna from the TV.

b– Connect the TV antenna cable to the ANT. IN jack on the rear of the VCR.

c– Connect the supplied RF cable between the RF OUT jack on the rear of the VCR and the TV’s antenna terminal. Set TV on CH3 or CH4 corresponding to the CH3 – CH4 switch setting on the back of the VCR.

AV Connection

To Connect To A TV With AV Input Terminals . . .

a– Connect the antenna, VCR and TV as shown in the illustration.

b– Connect an Audio/Video Cable between the AUDIO OUT and VIDEO OUT jacks on the rear of the VCR and the AV IN jacks on the TV. Set your TV in video input mode or A/V input mode. Refer to the TV Instruction Manual.

For HR-VP473U Owners:

If your TV has AUDIO IN L and R connectors, connect the VCR to the L connector.

CONNECT VCR TO

POWER SOURCE

Connect the power plug to an AC outlet.

The clock and tuner channels will automatically be set when the antenna is connected and when the AC is first connected to the VCR ( pg. 8).

(If "Auto" or "CH" is displayed on the front display panel before the VCR is powered on, the clock and tuner channels are being set automatically. Wait for the time to be displayed on the front display panel before powering on the VCR.)

FINAL PREPARATION FOR USE

Power on the VCR and select the VCR channel (3 or 4) by setting the switch on the rear of the VCR as shown in the illustration.

You can now perform simple playback ( pg. 16) or simple recording ( pg. 17).

EN7

NOTES:

The VCR channel is the channel on the TV which will display the audio and video signals from the VCR. The VCR's CH3- CH4 switch, on the back of the VCR, sets the VCR channel to CH3 or CH4.

The CH3–CH4 switch is preset to the CH3 position.

Set to CH4 if CH3 is used for broadcasting in your area and set the channel on the TV to correspond to the VCR's CH3– CH4 switch setting.

If RF connection to TV is used, when switching from VCR to TV mode and from TV to VCR it may be necessary to issue a CH UP and then CH DOWN on TV to obtain a good quality picture.

Even if you are using AV cables to connect your VCR to your TV, you must also connect it using the RF cable. This will ensure that you can record one show while watching another ( pg. 28).

For full identification of the VCR's rear panel, refer to the Index (REAR VIEW pg. 51).

Page 7
Image 7
JVC HR-VP673U manual Check Contents, Situate VCR, Connect VCR to TV, Connect VCR to Power Source, Final Preparation for USE

HR-VP473U, HR-VP673U specifications

The JVC HR-VP673U and HR-VP473U are two remarkable VCR models that exemplify the quality and technological advancements that JVC has been known for across its product lineup. These models have been designed to cater to the needs of every video enthusiast, offering an array of features that enhance user experience and playback quality.

One of the standout features of the HR-VP673U is its versatile playback capabilities. It supports Super VHS, which provides an improved picture quality over standard VHS. This model is particularly notable for its S-VHS playback that allows users to enjoy high-resolution videos with greater sharpness and clarity. The HR-VP473U, while slightly more basic, also offers solid VHS functionality, making it an ideal choice for those who need reliable performance without the additional features of the upper model.

Both units are equipped with various functionalities including a video cassette library capable of handling multiple tape formats, which allows users to play and record with ease. The built-in timer programming makes it convenient to schedule recordings, ensuring that users never miss their favorite shows. This functionality is a significant time-saver, enabling hassle-free viewing based on personal schedules.

Additionally, both the HR-VP673U and HR-VP473U leverage JVC's innovative Auto Tracking technology. This feature automatically adjusts the video heads for optimal playback, ensuring that image distortions, such as tracking errors, are minimized. The result is a seamless viewing experience without the hassle of manual adjustments.

Picture quality is further emphasized through their integration of various processing technologies. JVC has implemented features such as high-speed rewind, which allows users to quickly navigate through tapes, and crystal-clear playback options that enhance the overall viewing experience. These features ensure that users enjoy their media without compromise.

Both models include standard connectivity options, such as RCA video outputs and audio outputs, allowing for easy integration with older televisions and home theater systems. The HR-VP673U even offers additional S-video outputs, providing increased video quality for enhanced viewing.

In summary, the JVC HR-VP673U and HR-VP473U are excellent choices for anyone looking to invest in a reliable and feature-rich VCR. With superior playback capabilities, innovative technologies, and user-friendly features, these models truly reflect JVC's commitment to providing top-notch video recording and playback experiences. Whether users prefer high-quality S-VHS or standard VHS functionality, both products deliver excellent value tailored to both casual viewers and serious collectors alike.