26![]()
![]()
![]() EN
EN![]()
![]()
![]()
![]()
![]()
![]()
![]()
![]()
![]()
![]()
![]()
![]()
![]()
![]()
![]()
![]()
![]()
![]()
![]()
![]()
![]()
![]()
P
 LAYBACK

 AND
AND

 RECORDING

 FEATURES
 (cont.)


Picture Control
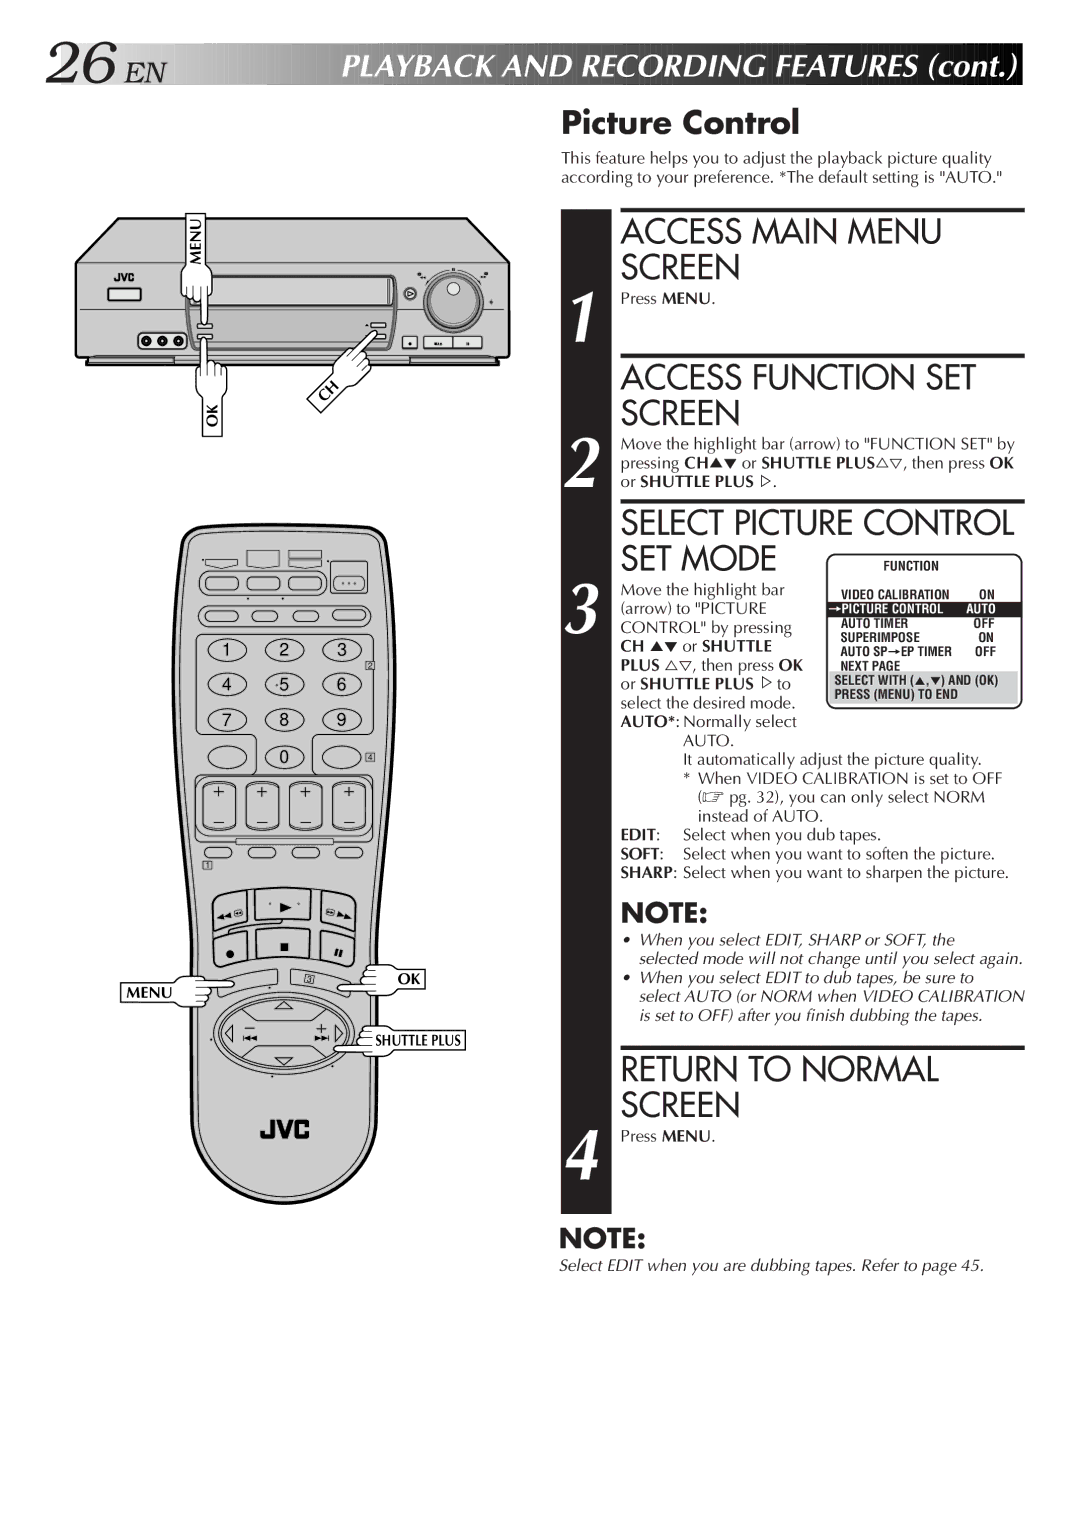
MENU
OK | CH |
|
1 2 3
2
4 5 6
7 8 9
0 4
1
3 | OK |
MENU |
|
![]() SHUTTLE PLUS
SHUTTLE PLUS
This feature helps you to adjust the playback picture quality according to your preference. *The default setting is "AUTO."
| ACCESS MAIN MENU |
|
|
| |
| SCREEN |
|
|
|
|
1 Press MENU. |
|
|
|
| |
| ACCESS FUNCTION SET | ||||
| SCREEN |
|
|
|
|
| Move the highlight bar (arrow) to "FUNCTION SET" by | ||||
| pressing CH5° or SHUTTLE PLUS%Þ, then press OK | ||||
2 or SHUTTLE PLUS%. |
|
|
|
| |
| SELECT PICTURE CONTROL | ||||
| SET MODE | FUNCTION |
|
|
|
| Move the highlight bar | VIDEO CALIBRATION | ON | ||
| (arrow) to "PICTURE | =PICTURE CONTROL | AUTO |
| |
3 CONTROL" by pressing | AUTO TIMER | OFF |
| ||
SUPERIMPOSE | ON | ||||
| CH 5° or SHUTTLE | AUTO SP=EP TIMER | OFF | ||
| PLUS %Þ, then press OK | NEXT PAGE |
|
|
|
| or SHUTTLE PLUS %to | SELECT WITH (5,°) AND (OK) |
|
| |
| select the desired mode. | PRESS (MENU) TO END |
|
|
|
|
|
|
|
| |
AUTO*: Normally select |
|
|
|
| |
| AUTO. |
|
|
|
|
| It automatically adjust the picture quality. | ||||
*When VIDEO CALIBRATION is set to OFF (☞ pg. 32), you can only select NORM instead of AUTO.
EDIT: Select when you dub tapes.
SOFT: Select when you want to soften the picture.
SHARP: Select when you want to sharpen the picture.
NOTE:
•When you select EDIT, SHARP or SOFT, the
selected mode will not change until you select again.
•When you select EDIT to dub tapes, be sure to
select AUTO (or NORM when VIDEO CALIBRATION is set to OFF) after you finish dubbing the tapes.
RETURN TO NORMAL
SCREEN
4 Press MENU.
NOTE:
Select EDIT when you are dubbing tapes. Refer to page 45.