OTHER MAIN FUNCTIONS
Setting the clock
You can also set the clock system to either 24 hours or 12 hours.
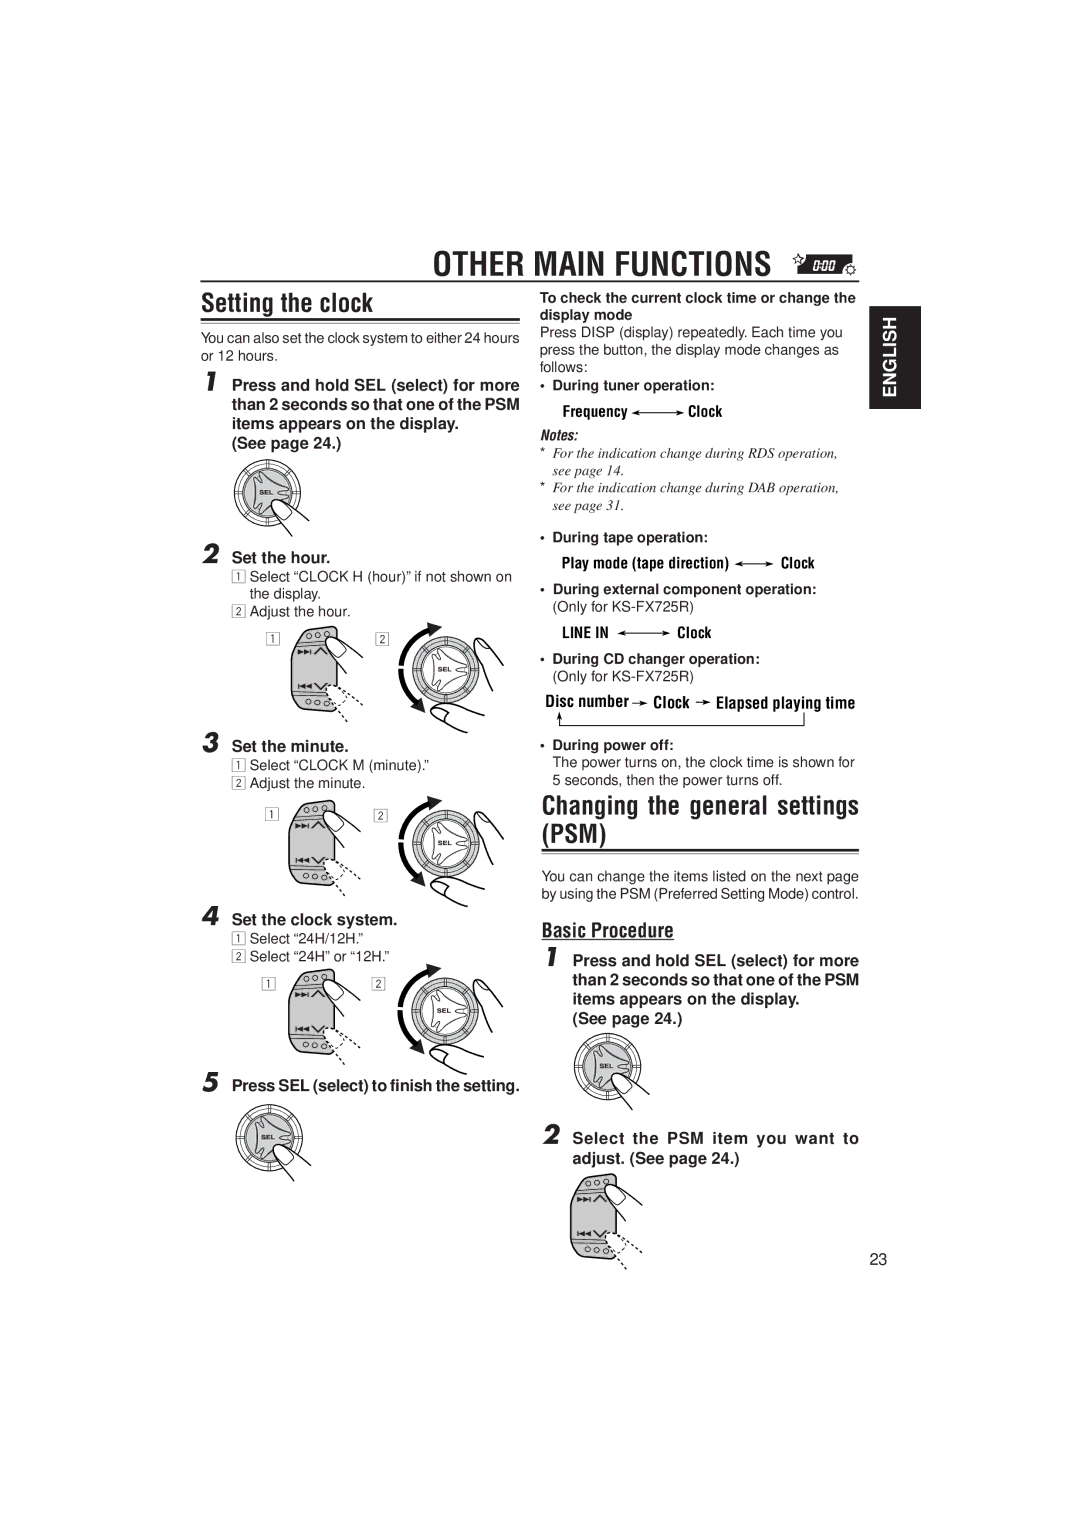
1 Press and hold SEL (select) for more than 2 seconds so that one of the PSM items appears on the display.
(See page 24.)
2 Set the hour.
1Select “CLOCK H (hour)” if not shown on the display.
2Adjust the hour.
1 2
3 Set the minute.
1Select “CLOCK M (minute).”
2 Adjust the minute.
To check the current clock time or change the display mode
Press DISP (display) repeatedly. Each time you press the button, the display mode changes as follows:
• During tuner operation:
Frequency 
 Clock
Clock
Notes:
*For the indication change during RDS operation, see page 14.
*For the indication change during DAB operation, see page 31.
• During tape operation:
Play mode (tape direction) ![]()
![]() Clock
Clock
•During external component operation: (Only for
LINE IN ![]()
![]() Clock
Clock
•During CD changer operation: (Only for
Disc number ![]() Clock
Clock ![]() Elapsed playing time
Elapsed playing time
• During power off:
The power turns on, the clock time is shown for 5 seconds, then the power turns off.
ENGLISH
1 2
4 Set the clock system.
1Select “24H/12H.”
2 Select “24H” or “12H.”
1 2
5 Press SEL (select) to finish the setting.
Changing the general settings (PSM)
You can change the items listed on the next page by using the PSM (Preferred Setting Mode) control.
Basic Procedure
1 Press and hold SEL (select) for more than 2 seconds so that one of the PSM items appears on the display.
(See page 24.)
2 Select the PSM item you want to adjust. (See page 24.)
23
