ENGLISH


 OTHER MAIN FUNCTIONS
Changing general settings (PSM)
You can change the following settings for this unit by using the PSM (Preferred Setting Mode) control.
•PSM CLOCK (H/M): Adjusts the
•PSM BEEP: Turns on or off the
•PSM DIMMER: Selects the dimmer mode (see page 25).
•PSM AREA: Selects the area you use this unit — when using this unit in an area other than North or South America (see page 11).
•PSM LINE IN: Selects the external component to use (see page 26).
•PSM DEMO: Turn on or off the display demonstration (see page 26).
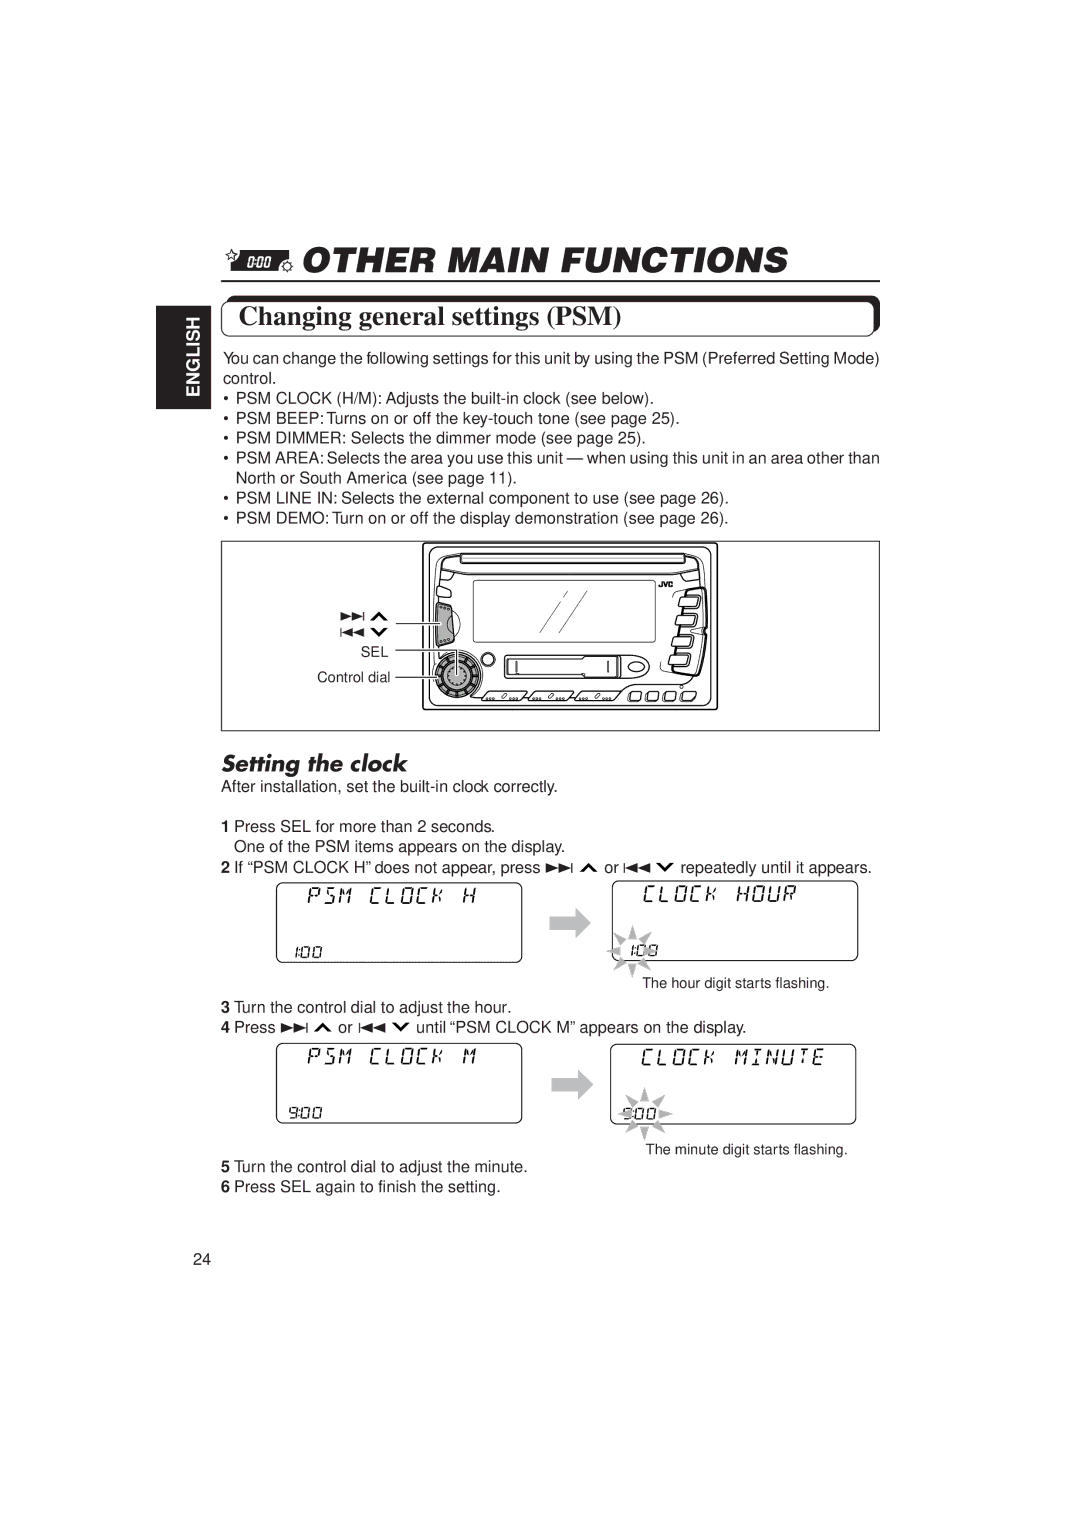
¢ ![]() 4
4 ![]()
SEL |
Control dial |
Setting the clock
After installation, set the
1 Press SEL for more than 2 seconds.
One of the PSM items appears on the display.
2 If “PSM CLOCK H” does not appear, press ¢ ![]() or 4
or 4![]() repeatedly until it appears.
repeatedly until it appears.
![]() \
\ ![]()
The hour digit starts flashing.
3 Turn the control dial to adjust the hour.
4 Press ¢ ![]() or 4
or 4 ![]() until “PSM CLOCK M” appears on the display.
until “PSM CLOCK M” appears on the display.
 \
\
The minute digit starts flashing.
5 Turn the control dial to adjust the minute.
6 Press SEL again to finish the setting.
24