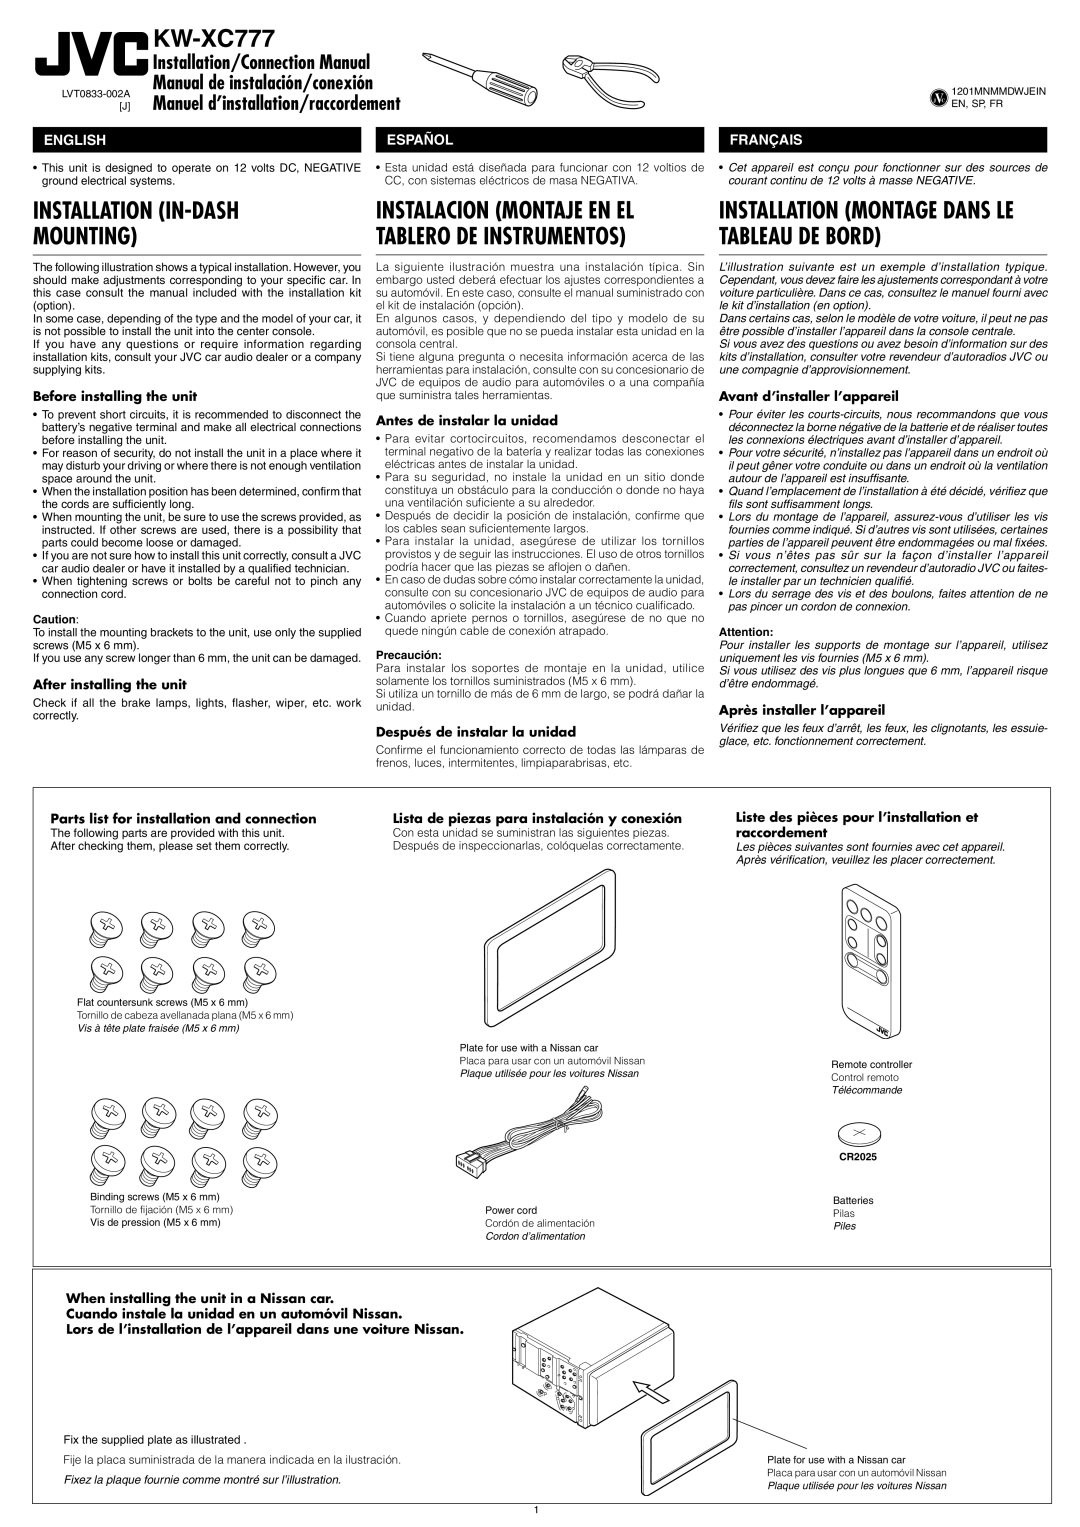
The following illustration shows a typical installation. However, you should make adjustments corresponding to your specific car. In this case consult the manual included with the installation kit (option).
In some case, depending of the type and the model of your car, it is not possible to install the unit into the center console.
If you have any questions or require information regarding installation kits, consult your JVC car audio dealer or a company supplying kits.
Before installing the unit
•To prevent short circuits, it is recommended to disconnect the battery’s negative terminal and make all electrical connections before installing the unit.
•For reason of security, do not install the unit in a place where it may disturb your driving or where there is not enough ventilation space around the unit.
•When the installation position has been determined, confirm that the cords are sufficiently long.
•When mounting the unit, be sure to use the screws provided, as instructed. If other screws are used, there is a possibility that parts could become loose or damaged.
•If you are not sure how to install this unit correctly, consult a JVC car audio dealer or have it installed by a qualified technician.
•When tightening screws or bolts be careful not to pinch any connection cord.
Caution:
To install the mounting brackets to the unit, use only the supplied screws (M5 x 6 mm).
If you use any screw longer than 6 mm, the unit can be damaged.
After installing the unit
Check if all the brake lamps, lights, flasher, wiper, etc. work correctly.
La siguiente ilustración muestra una instalación típica. Sin embargo usted deberá efectuar los ajustes correspondientes a su automóvil. En este caso, consulte el manual suministrado con el kit de instalación (opción).
En algunos casos, y dependiendo del tipo y modelo de su automóvil, es posible que no se pueda instalar esta unidad en la consola central.
Si tiene alguna pregunta o necesita información acerca de las herramientas para instalación, consulte con su concesionario de JVC de equipos de audio para automóviles o a una compañía que suministra tales herramientas.
Antes de instalar la unidad
•Para evitar cortocircuitos, recomendamos desconectar el terminal negativo de la batería y realizar todas las conexiones eléctricas antes de instalar la unidad.
•Para su seguridad, no instale la unidad en un sitio donde constituya un obstáculo para la conducción o donde no haya una ventilación suficiente a su alrededor.
•Después de decidir la posición de instalación, confirme que los cables sean suficientemente largos.
•Para instalar la unidad, asegúrese de utilizar los tornillos provistos y de seguir las instrucciones. El uso de otros tornillos podría hacer que las piezas se aflojen o dañen.
•En caso de dudas sobre cómo instalar correctamente la unidad, consulte con su concesionario JVC de equipos de audio para automóviles o solicite la instalación a un técnico cualificado.
•Cuando apriete pernos o tornillos, asegúrese de no que no quede ningún cable de conexión atrapado.
Precaución:
Para instalar los soportes de montaje en la unidad, utilice solamente los tornillos suministrados (M5 x 6 mm).
Si utiliza un tornillo de más de 6 mm de largo, se podrá dañar la unidad.
Después de instalar la unidad
Confirme el funcionamiento correcto de todas las lámparas de frenos, luces, intermitentes, limpiaparabrisas, etc.
L’illustration suivante est un exemple d’installation typique. Cependant, vous devez faire les ajustements correspondant à votre voiture particulière. Dans ce cas, consultez le manuel fourni avec le kit d’installation (en option).
Dans certains cas, selon le modèle de votre voiture, il peut ne pas être possible d’installer l’appareil dans la console centrale.
Si vous avez des questions ou avez besoin d’information sur des kits d’installation, consulter votre revendeur d’autoradios JVC ou une compagnie d’approvisionnement.
Avant d’installer l’appareil
•Pour éviter les courts-circuits, nous recommandons que vous déconnectez la borne négative de la batterie et de réaliser toutes les connexions électriques avant d’installer d’appareil.
•Pour votre sécurité, n’installez pas l’appareil dans un endroit où il peut gêner votre conduite ou dans un endroit où la ventilation autour de l’appareil est insuffisante.
•Quand l’emplacement de l’installation à été décidé, vérifiez que fils sont suffisamment longs.
•Lors du montage de l’appareil, assurez-vous d’utiliser les vis fournies comme indiqué. Si d’autres vis sont utilisées, certaines parties de l’appareil peuvent être endommagées ou mal fixées.
•Si vous n’êtes pas sûr sur la façon d’installer l’appareil correctement, consultez un revendeur d’autoradio JVC ou faites- le installer par un technicien qualifié.
•Lors du serrage des vis et des boulons, faites attention de ne pas pincer un cordon de connexion.
Attention:
Pour installer les supports de montage sur l’appareil, utilisez uniquement les vis fournies (M5 x 6 mm).
Si vous utilisez des vis plus longues que 6 mm, l’appareil risque d’être endommagé.
Après installer l’appareil
Vérifiez que les feux d’arrêt, les feux, les clignotants, les essuie- glace, etc. fonctionnement correctement.

