Using the Timers

Using the Unit

You can set the time in the same way as for setting the Daily Tim- er.

1 Insert a blank or erasable tape into the Deck B and wind past the tape leader.

2 Press the CLOCK/TIMER button until “ON TIME” immediately after “REC” appears on the display.

The Timer indicator ( ) lights and the “REC” indicator blinks.

Each time you press the button, the display changes as follows: DAILY =ON TIME =REC =ON TIME* =Clock setting display = Canceled = (back to the beginning)

*: This item should be selected for the REC Timer setting.

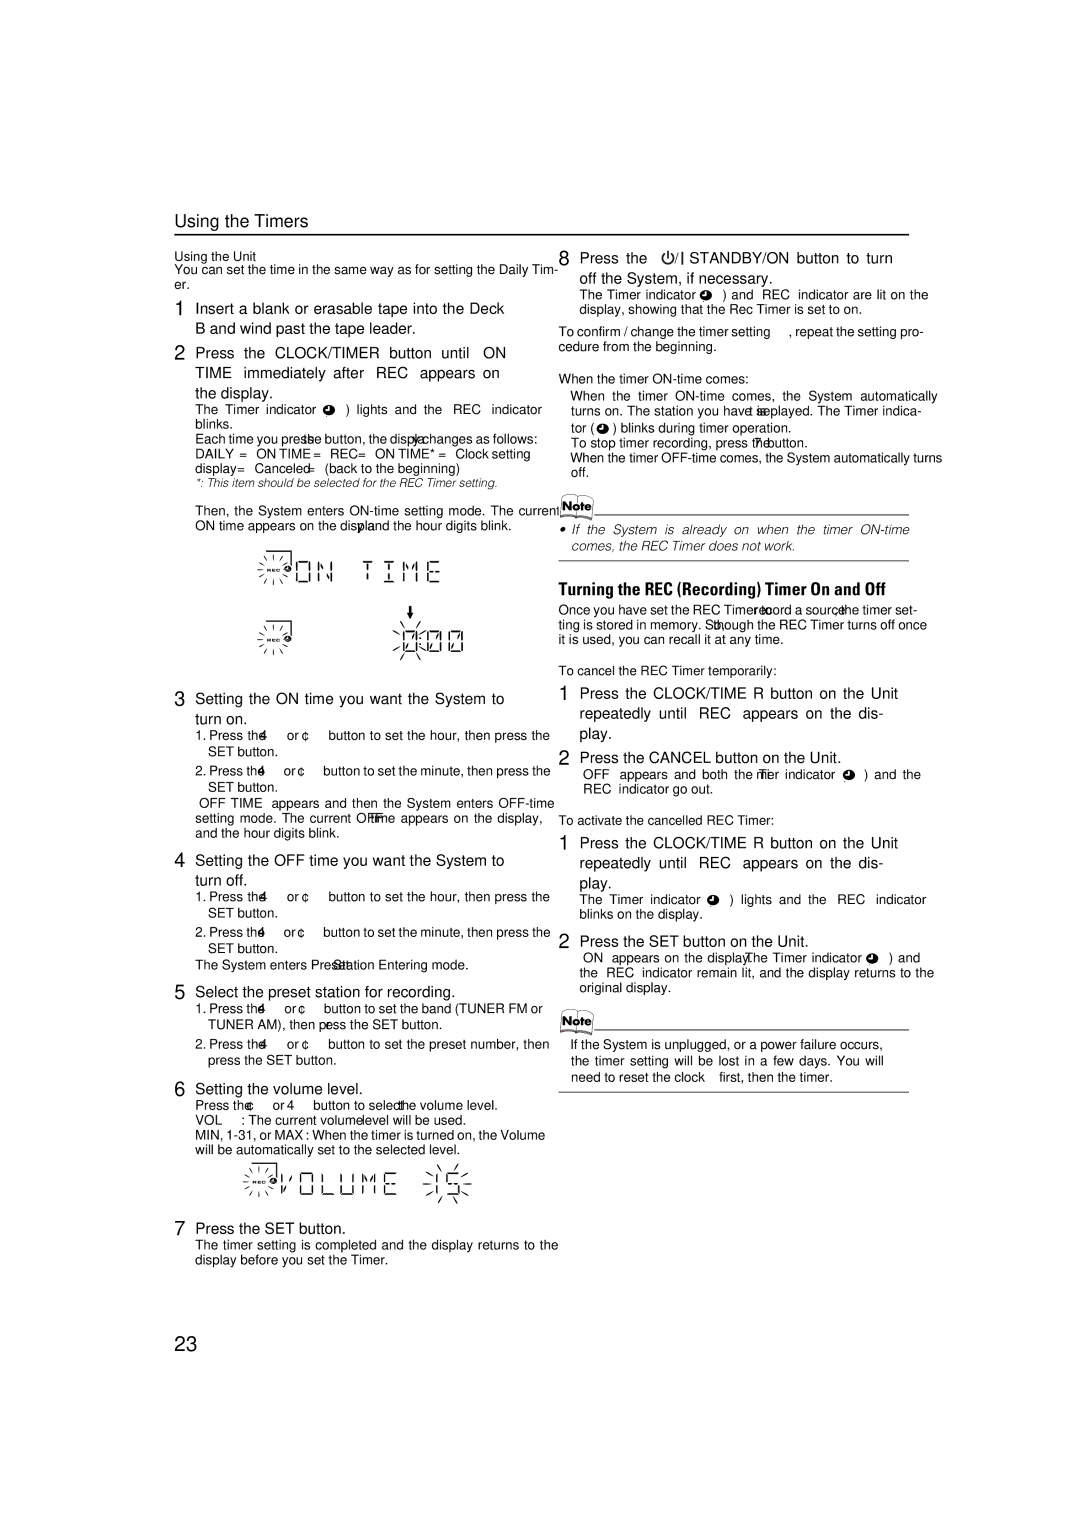
Then, the System enters ON-time setting mode. The current ON time appears on the display and the hour digits blink.

8 Press the STANDBY/ON button to turn off the System, if necessary.

The Timer indicator ( ) and “REC” indicator are lit on the display, showing that the Rec Timer is set to on.

To confirm / change the timer setting, repeat the setting pro- cedure from the beginning.

When the timer ON-time comes:

When the timer ON-time comes, the System automatically turns on. The station you have set is played. The Timer indica-

tor ( ) blinks during timer operation.

To stop timer recording, press the 7 button.

When the timer OFF-time comes, the System automatically turns off.

If the System is already on when the timer ON-time comes, the REC Timer does not work.

3 Setting the ON time you want the System to turn on.

1.Press the 4 or ¢ button to set the hour, then press the SET button.

2.Press the 4or ¢button to set the minute, then press the

SET button.

“OFF TIME” appears and then the System enters OFF-time setting mode. The current OFF time appears on the display, and the hour digits blink.

4 Setting the OFF time you want the System to turn off.

1.Press the 4 or ¢ button to set the hour, then press the SET button.

2.Press the 4or ¢button to set the minute, then press the

SET button.

The System enters Preset Station Entering mode.

5 Select the preset station for recording.

1.Press the 4or ¢button to set the band (TUNER FM or TUNER AM), then press the SET button.

2.Press the 4 or ¢ button to set the preset number, then press the SET button.

6 Setting the volume level.

Press the ¢ or 4 button to select the volume level. VOL – : The current volume level will be used.

MIN, 1-31, or MAX: When the timer is turned on, the Volume will be automatically set to the selected level.

7 Press the SET button.

The timer setting is completed and the display returns to the display before you set the Timer.

Turning the REC (Recording) Timer On and Off

Once you have set the REC Timer to record a source, the timer set- ting is stored in memory. So, though the REC Timer turns off once it is used, you can recall it at any time.

To cancel the REC Timer temporarily:

1 Press the CLOCK/TIMER button on the Unit repeatedly until “REC” appears on the dis- play.

2 Press the CANCEL button on the Unit.

“OFF” appears and both the Timer indicator ( ) and the “REC” indicator go out.

To activate the cancelled REC Timer:

1 Press the CLOCK/TIMER button on the Unit repeatedly until “REC” appears on the dis- play.

The Timer indicator ( ) lights and the “REC” indicator blinks on the display.

2 Press the SET button on the Unit.

“ON” appears on the display. The Timer indicator ( ) and the “REC” indicator remain lit, and the display returns to the original display.

If the System is unplugged, or a power failure occurs, the timer setting will be lost in a few days. You will need to reset the clock first, then the timer.

23

Page 25
Image 25
JVC SP-MXKC4, LVT1343-006A Turning the REC Recording Timer On and Off, Setting the on time you want the System to turn on

0205NYMCREBET, LVT1343-006A, SP-MXKC4 specifications

The JVC SP-MXKC4 is a compact yet powerful audio system from JVC that brings a blend of style, versatility, and superior sound quality to any environment. This system is part of JVC's innovative product line that focuses on delivering impressive audio while maintaining an elegant design.

One of the main features of the JVC SP-MXKC4 is its robust stereo sound output, capable of delivering clear and dynamic audio across various genres. With its built-in amplifier, users can enjoy enhanced sound quality without the need for external components. The system is designed with a range of connectivity options, including USB, AUX, and Bluetooth, allowing users to stream music effortlessly from their smartphones, tablets, or laptops.

The LVT1343-006A component, which is part of the overall system, plays a crucial role in the operational functionality of the JVC SP-MXKC4. This specific part is designed to ensure high reliability and performance, providing the foundation for the audio system's capabilities. Notably, the component aids in efficient power management and system stability, making it an integral part of the overall user experience.

The 0205NYMCREBET feature of the JVC SP-MXKC4 is another standout aspect of the system, emphasizing its commitment to advanced technology and user-friendly operation. This feature allows for seamless integration with various digital formats, making it easy for users to enjoy their favorite music or audio content without any hassle. The system supports multiple audio formats, ensuring versatility in playback options.

In terms of design, the JVC SP-MXKC4 presents a sleek, modern aesthetic that can complement any home or office setting. Its compact size makes it an ideal choice for those with limited space, while still being powerful enough to fill larger rooms with high-fidelity sound.

With its blend of advanced features, reliability, and stylish design, the JVC SP-MXKC4 is an excellent choice for anyone looking to enhance their audio experience without compromising on quality or space. It stands as a testament to JVC's commitment to innovation in the home audio sector, delivering a product that meets the needs of modern consumers. Whether for personal enjoyment or entertaining guests, this audio system is designed to impress.