52![]()
![]()
![]()
![]()
![]()
![]()
![]()
![]()
![]()
![]()
![]()
![]()
![]()
![]()
![]()
![]()
![]()
![]()
![]()
![]()
![]()
![]()
![]()
![]()
![]()
![]()
![]()
![]()


 BASIC
BASIC OP
OP ERATION
 S
S (cont.)
Dubbing
MOVIE PLAYER |
|
|
|
|
|
| |
File Edit Video Printer | Help |
|
|
|
|
| |
COUNTER Non Drop | 00:01:30:10F | ID | 06 | FILE | |||
POWER | ON OFF | MEMO |
|
|
|
| |
PROGRAM PLAYBACK | SCENE |
| STOP | MODE | |||
SCENE | CUT IN | CUT OUT |
| STILL | |||
01 | 00:01:30:12F | 00:03:27:14F |
| PLAY | |||
02 | 00:07:15:21F | 00:10:40:18F |
| SEARCH | |||
03 | 00:15:50:11F | 00:20:33:10F |
| SLOW | |||
|
|
|
|
|
|
| |
|
|
|
|
|
|
| FF |
ELAPSED TIME | 00:10:04:28F |
| REW | ||||
|
| ||||||
|
|
|
|
|
|
| IN/OUT |
Rec On ! ! |
|
|
|
|
|
|
|
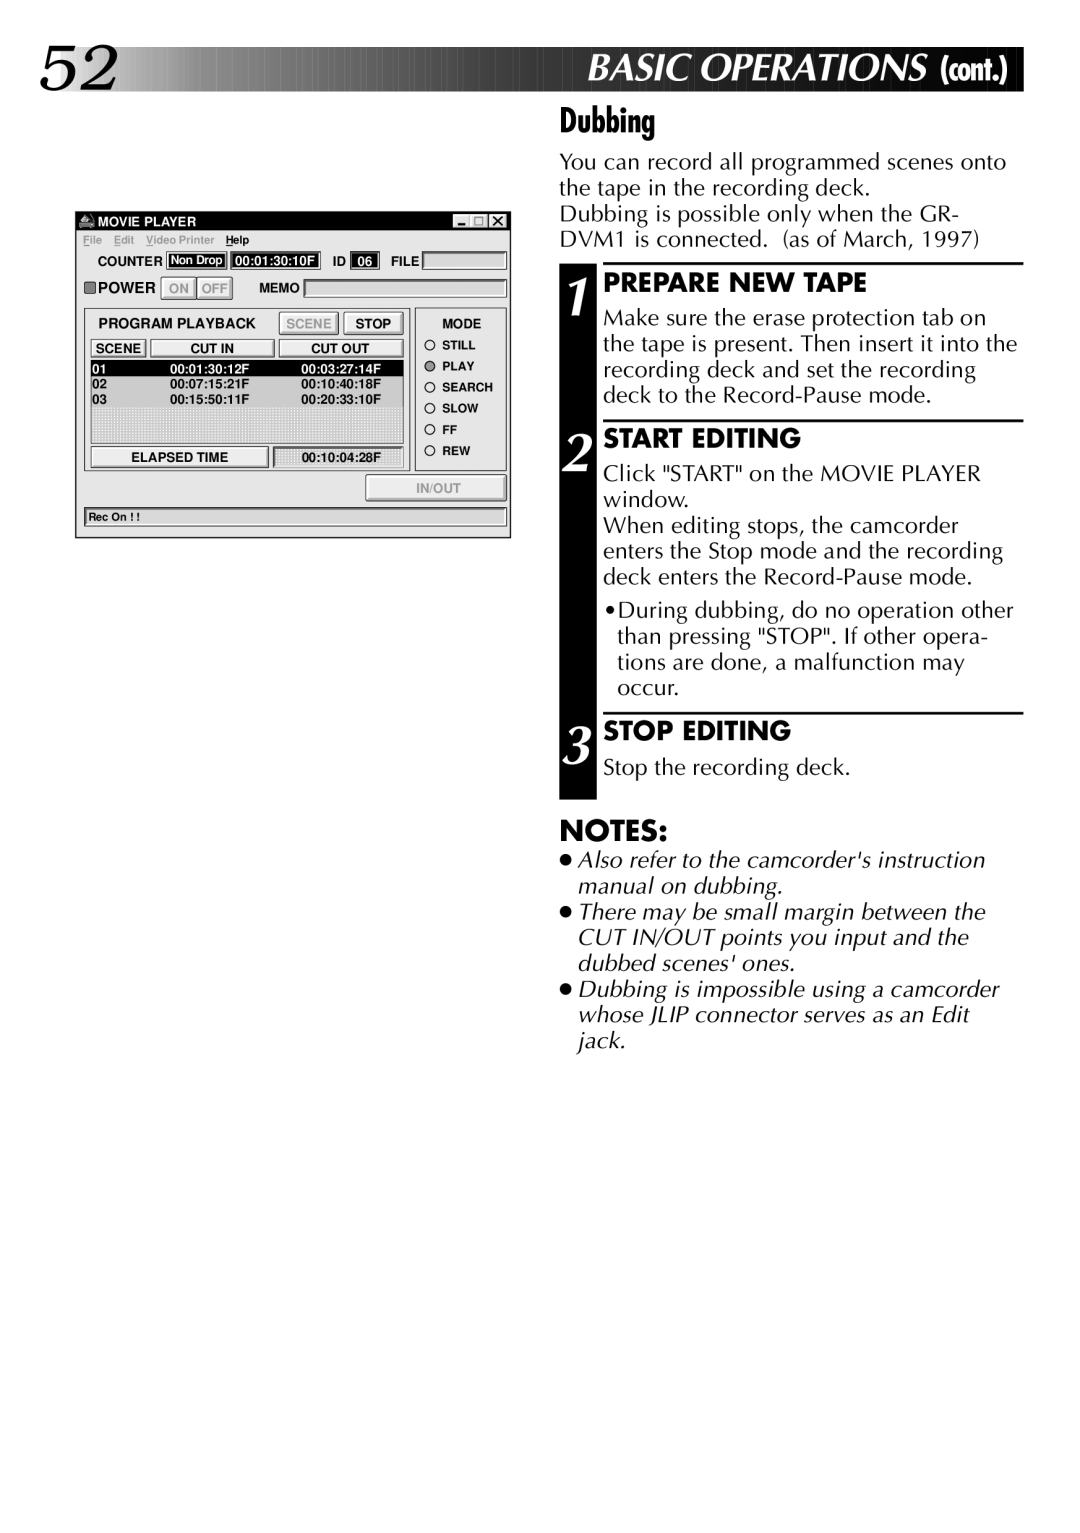
You can record all programmed scenes onto the tape in the recording deck.
Dubbing is possible only when the GR- DVM1 is connected. (as of March, 1997)
1 PREPARE NEW TAPE
Make sure the erase protection tab on the tape is present. Then insert it into the recording deck and set the recording deck to the
2 START EDITING
Click "START" on the MOVIE PLAYER window.
When editing stops, the camcorder enters the Stop mode and the recording deck enters the
•During dubbing, do no operation other than pressing "STOP". If other opera- tions are done, a malfunction may occur.
3 STOP EDITING Stop the recording deck.
NOTES:
●Also refer to the camcorder's instruction manual on dubbing.
●There may be small margin between the CUT IN/OUT points you input and the dubbed scenes' ones.
●Dubbing is impossible using a camcorder whose JLIP connector serves as an Edit jack.
