20![]()
![]()
![]() EN
EN![]()
![]()
![]()
![]()
![]()
![]()


 VIDEO
VIDEO


 RECORDING

 Basic
Basic
 Features
 (cont.)


MODESnapshot
SNAPSHOT | This interesting feature lets you record two types of | |
|
| digital still images that look like photographs onto a tape, |
|
| as well as keeping them in the camcorder’s |
|
| memory. It is a great way to spice up footage of events |
|
| such as parties, weddings and graduations. |
Viewfinder
PP
No display (Full)
SNAPSHOT
Viewfinder
(ex. Pin-Up)
1
SELECT SNAPSHOT MODE
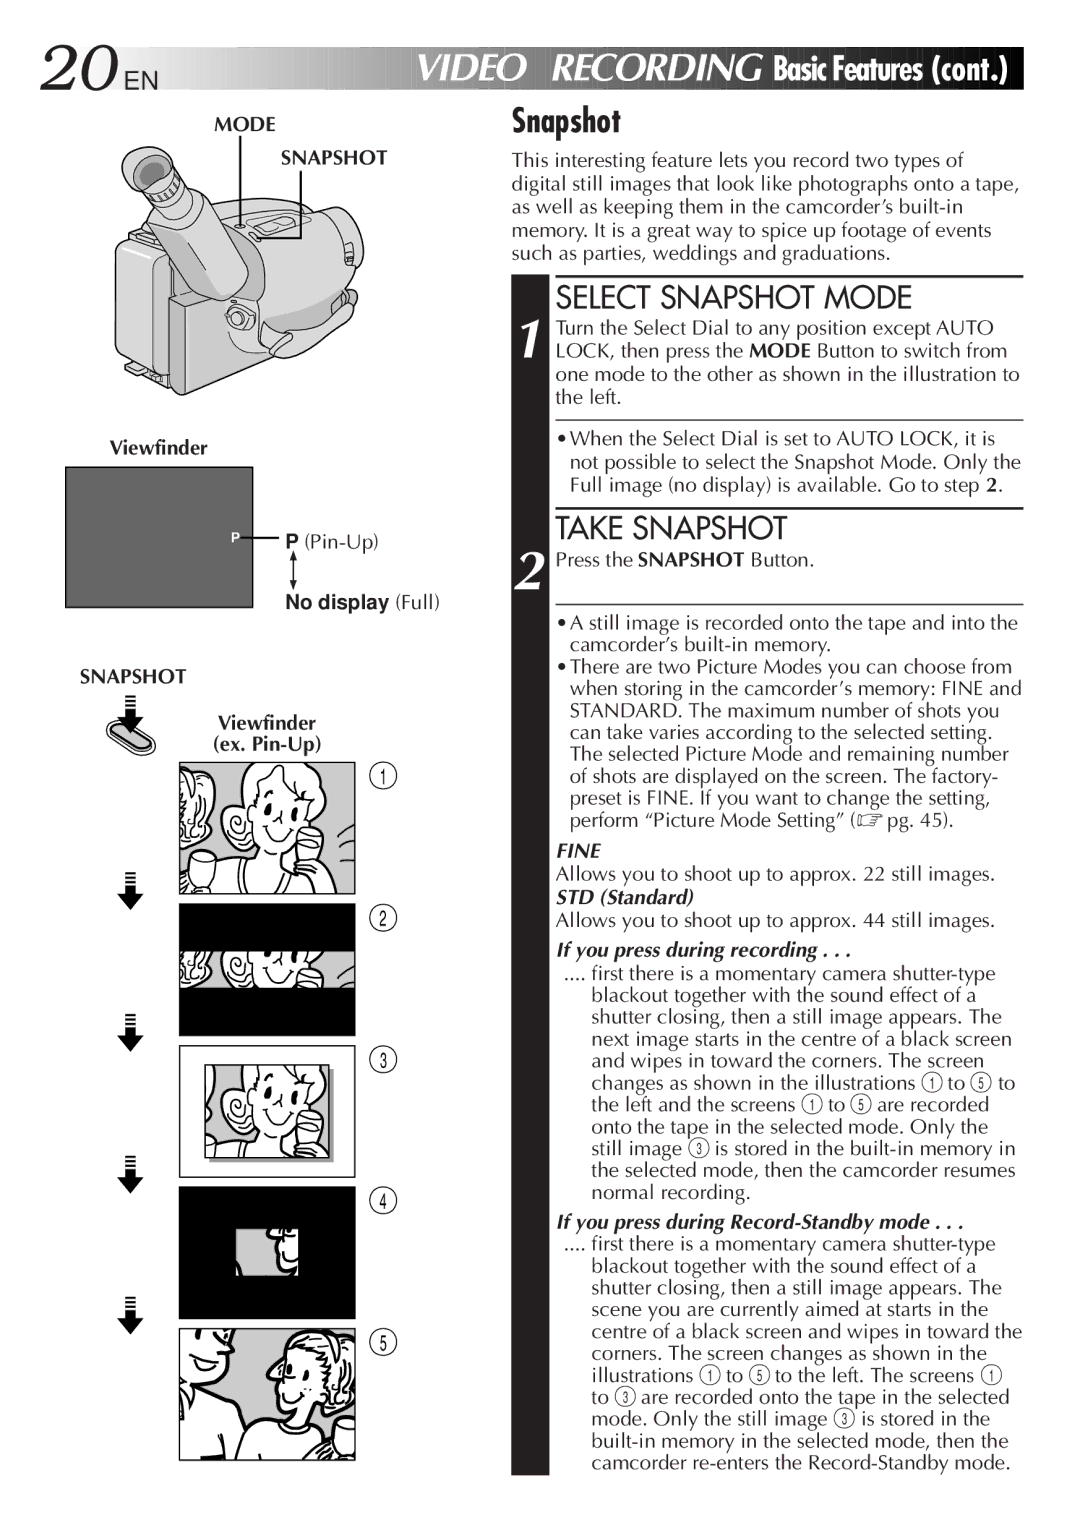
1 Turn the Select Dial to any position except AUTO LOCK, then press the MODE Button to switch from one mode to the other as shown in the illustration to the left.
•When the Select Dial is set to AUTO LOCK, it is not possible to select the Snapshot Mode. Only the Full image (no display) is available. Go to step 2.
TAKE SNAPSHOT
2 Press the SNAPSHOT Button.
•A still image is recorded onto the tape and into the camcorder’s
•There are two Picture Modes you can choose from when storing in the camcorder’s memory: FINE and STANDARD. The maximum number of shots you can take varies according to the selected setting. The selected Picture Mode and remaining number of shots are displayed on the screen. The factory-
preset is FINE. If you want to change the setting, perform “Picture Mode Setting” (☞ pg. 45).
![]() 2
2
3 |
4 |
![]() 5
5
FINE
Allows you to shoot up to approx. 22 still images.
STD (Standard)
Allows you to shoot up to approx. 44 still images.
If you press during recording . . .
.... first there is a momentary camera
blackout together with the sound effect of a shutter closing, then a still image appears. The next image starts in the centre of a black screen and wipes in toward the corners. The screen changes as shown in the illustrations 1 to 5 to the left and the screens 1 to 5 are recorded onto the tape in the selected mode. Only the still image 3 is stored in the
If you press during Record-Standby mode . . .
.... first there is a momentary camera shutter-type
blackout together with the sound effect of a shutter closing, then a still image appears. The scene you are currently aimed at starts in the centre of a black screen and wipes in toward the corners. The screen changes as shown in the illustrations 1 to 5 to the left. The screens 1 to 3 are recorded onto the tape in the selected mode. Only the still image 3 is stored in the
