Basic Settings
Some of the following settings are required after connecting and positioning your speakers in your listening room, while others will make operations easier.
Changing the Source Name
When you have connected an MD recorder to the TAPE/MD jacks on the rear panel: Change the source name shown on the display when you select the MD recorder as the source.
On the front panel ONLY:
When changing the source name from “TAPE” to “MD”:
|
| TAPE/MD |
1. | Press TAPE/MD. |
|
| • Make sure “TAPE” appears on the display. | SOURCE NAME |
2. | Press and hold SOURCE NAME | TAPE/MD |
(the same button as TAPE/MD)
SOURCE NAME
until “MD” appears on the display.
To change the source name from “MD” to “TAPE,” repeat the same procedure above (in step 1, make sure “MD” appears on the display).
Note:
Without changing the source name, you can still use the connected components. However, there may be some inconvenience.
–“TAPE” will appear on the display when you select the MD recorder.
–You cannot use the COMPU LINK remote control system (see page 21) to operate the MD recorder.
Setting Center and Rear Speakers for
the DSP Modes
To obtain the best possible surround sound of the DSP (Digital Signal Processor) modes (see page 15), you have to register the information about the speaker arrangement after all connections are completed.
Center Speaker Setting
Register the center speaker size.
Before you start, remember....
•There is a time limit in doing the following steps. If the setting is canceled before you finish, start from step 1 again.
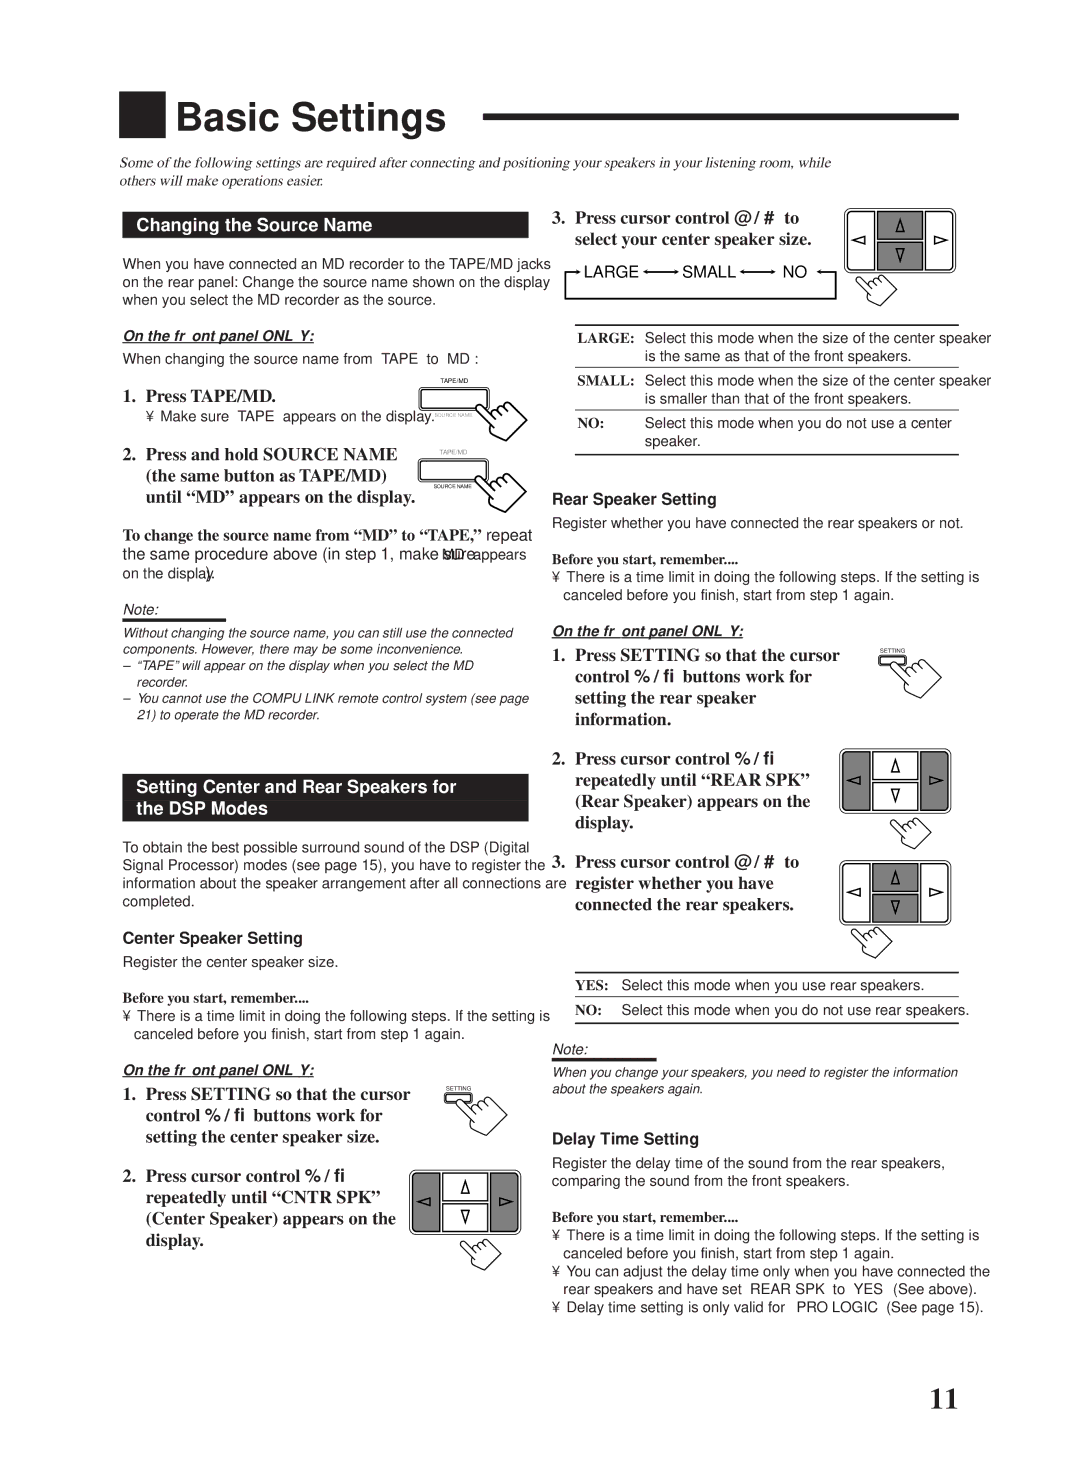
3. Press cursor control @/ #to select your center speaker size.

 LARGE
LARGE 
 SMALL
SMALL 
 NO
NO 

LARGE: Select this mode when the size of the center speaker is the same as that of the front speakers.
SMALL: Select this mode when the size of the center speaker
is smaller than that of the front speakers.
NO: Select this mode when you do not use a center speaker.
Rear Speaker Setting
Register whether you have connected the rear speakers or not.
Before you start, remember....
•There is a time limit in doing the following steps. If the setting is canceled before you finish, start from step 1 again.
On the front panel ONLY:
1. Press SETTING so that the cursor | SETTING |
| |
control % / Þbuttons work for |
|
setting the rear speaker |
|
information. |
|
2. Press cursor control %/ Þ repeatedly until “REAR SPK” (Rear Speaker) appears on the display.
3. Press cursor control @/ #to register whether you have connected the rear speakers.
YES: Select this mode when you use rear speakers.
NO: Select this mode when you do not use rear speakers.
Note:
On the front panel ONLY:
1. Press SETTING so that the cursor control %/ Þbuttons work for setting the center speaker size.
2. Press cursor control % / Þ repeatedly until “CNTR SPK” (Center Speaker) appears on the display.
SETTING
When you change your speakers, you need to register the information
about the speakers again.
Delay Time Setting
Register the delay time of the sound from the rear speakers, comparing the sound from the front speakers.
Before you start, remember....
•There is a time limit in doing the following steps. If the setting is canceled before you finish, start from step 1 again.
•You can adjust the delay time only when you have connected the rear speakers and have set “REAR SPK” to “YES’’ (See above).
•Delay time setting is only valid for ‘‘PRO LOGIC” (See page 15).
11