MICROPHONE MIXING DURING RECORDING

By connecting a microphone, microphone mixing during record- ing is possible by following the recording procedure. Adjust the microphone input level by setting the record-pause mode and observing the peak level indicators.

·When the record-pause mode is set and the INPUT LEVEL control is set to MIN, sounds are output only from the micro- phone, and it can be used as a public address system.

RECORDING LEVEL ADJUSTMENT

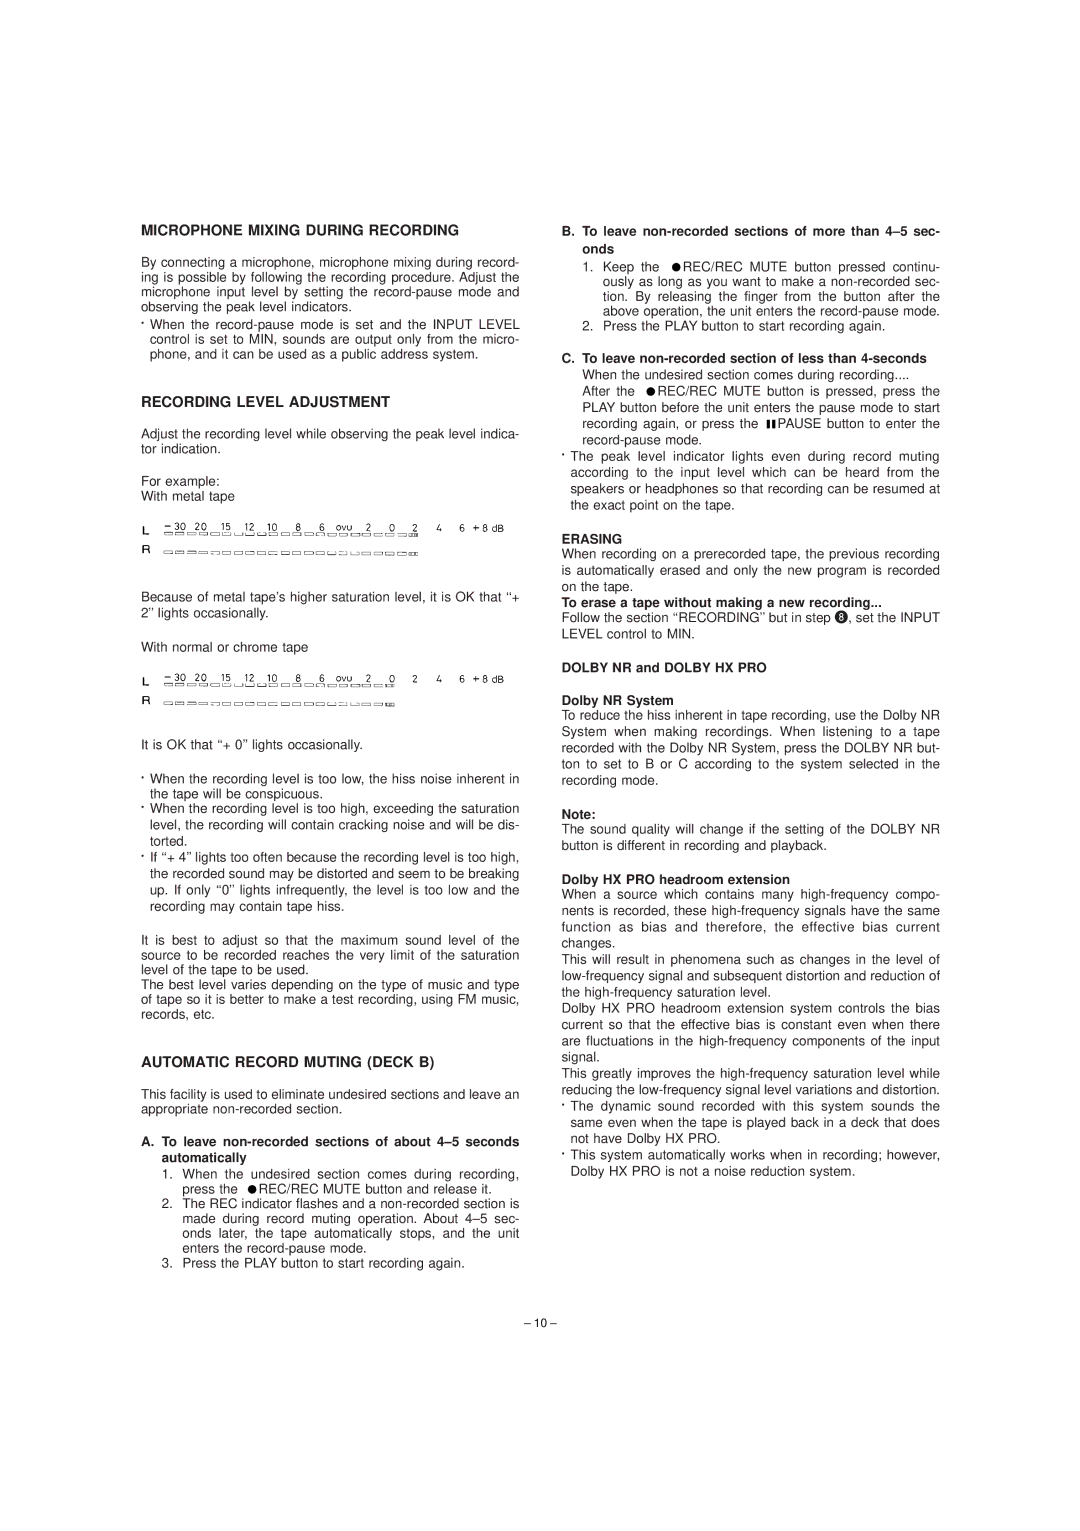
Adjust the recording level while observing the peak level indica- tor indication.

For example:

With metal tape

Because of metal tape's higher saturation level, it is OK that ``+ 2'' lights occasionally.

With normal or chrome tape

It is OK that ``+ 0'' lights occasionally.

·When the recording level is too low, the hiss noise inherent in the tape will be conspicuous.

·When the recording level is too high, exceeding the saturation level, the recording will contain cracking noise and will be dis- torted.

·If ``+ 4'' lights too often because the recording level is too high, the recorded sound may be distorted and seem to be breaking up. If only ``0'' lights infrequently, the level is too low and the recording may contain tape hiss.

It is best to adjust so that the maximum sound level of the source to be recorded reaches the very limit of the saturation level of the tape to be used.

The best level varies depending on the type of music and type of tape so it is better to make a test recording, using FM music, records, etc.

AUTOMATIC RECORD MUTING (DECK B)

This facility is used to eliminate undesired sections and leave an appropriate non-recorded section.

A. To leave non-recorded sections of about 4±5 seconds automatically

1.When the undesired section comes during recording, press the REC/REC MUTE button and release it.

2.The REC indicator flashes and a non-recorded section is made during record muting operation. About 4±5 sec- onds later, the tape automatically stops, and the unit enters the record-pause mode.

3.Press the PLAY button to start recording again.

B.To leave non-recorded sections of more than 4±5 sec- onds

1.Keep the REC/REC MUTE button pressed continu- ously as long as you want to make a non-recorded sec- tion. By releasing the finger from the button after the above operation, the unit enters the record-pause mode.

2.Press the PLAY button to start recording again.

C.To leave non-recorded section of less than 4-seconds When the undesired section comes during recording....

After the REC/REC MUTE button is pressed, press the PLAY button before the unit enters the pause mode to start

recording again, or press the PAUSE button to enter the record-pause mode.

·The peak level indicator lights even during record muting according to the input level which can be heard from the speakers or headphones so that recording can be resumed at the exact point on the tape.

ERASING

When recording on a prerecorded tape, the previous recording is automatically erased and only the new program is recorded on the tape.

To erase a tape without making a new recording...

Follow the section ``RECORDING'' but in step 8, set the INPUT LEVEL control to MIN.

DOLBY NR and DOLBY HX PRO

Dolby NR System

To reduce the hiss inherent in tape recording, use the Dolby NR System when making recordings. When listening to a tape recorded with the Dolby NR System, press the DOLBY NR but- ton to set to B or C according to the system selected in the recording mode.

Note:

The sound quality will change if the setting of the DOLBY NR button is different in recording and playback.

Dolby HX PRO headroom extension

When a source which contains many high-frequency compo- nents is recorded, these high-frequency signals have the same function as bias and therefore, the effective bias current changes.

This will result in phenomena such as changes in the level of low-frequency signal and subsequent distortion and reduction of the high-frequency saturation level.

Dolby HX PRO headroom extension system controls the bias current so that the effective bias is constant even when there are fluctuations in the high-frequency components of the input signal.

This greatly improves the high-frequency saturation level while reducing the low-frequency signal level variations and distortion.

·The dynamic sound recorded with this system sounds the same even when the tape is played back in a deck that does not have Dolby HX PRO.

·This system automatically works when in recording; however, Dolby HX PRO is not a noise reduction system.

± 10 ±

Page 10
Image 10
JVC TD-W354 To leave non-recorded sections of more than 4±5 sec- onds, To erase a tape without making a new recording

TD-W354 specifications

The JVC TD-W354 is a well-regarded cassette deck known for its robust performance and user-friendly features, making it a notable choice for audiophiles and casual listeners alike. This dual cassette deck combines classic analog technology with modern conveniences, offering an impressive range of options for tape enthusiasts.

One of the standout features of the TD-W354 is its dual cassette mechanism, enabling users to play and record from both decks. This dual functionality allows for straightforward compilation of tape mixes and easy copying of cassettes, enhancing convenience for those who appreciate the charm of magnetic tape formats. The device supports both Type I (normal) and Type II (high bias) tapes, broadening its compatibility across different cassette types.

In terms of technology, the TD-W354 boasts a Precision Auto Stop feature, which automatically halts playback when the tape reaches its end. This prevents potential wear and damage to the tapes, prolonging their life and ensuring the integrity of the recordings. The unit also implements a Dolby NR (Noise Reduction) system, which can significantly reduce unwanted noise during playback, providing a cleaner, more dynamic sound experience.

Another important aspect of the JVC TD-W354 is its ease of use. The front panel includes straightforward controls that allow users to navigate the device with minimal hassle. With features like a large LCD display, users can easily monitor track information and playback status. Auto-reverse functionality further adds to the convenience, allowing continuous playback without the need to manually flip the tape.

The build quality of the JVC TD-W354 is another highlight, featuring a sturdy and aesthetically pleasing design that fits well in any audio setup. It offers analog audio outputs for connecting to amplifiers or other audio equipment, ensuring compatibility with a wide range of home theater or stereo systems.

Overall, the JVC TD-W354 represents a blend of nostalgia and functionality, making it a valuable piece of equipment for those looking to dive into the world of cassette tapes. With its reliable performance, user-friendly features, and robust construction, the TD-W354 continues to be a respected choice in the realm of cassette decks, appealing to both vintage enthusiasts and new listeners alike.