References

Maintenance

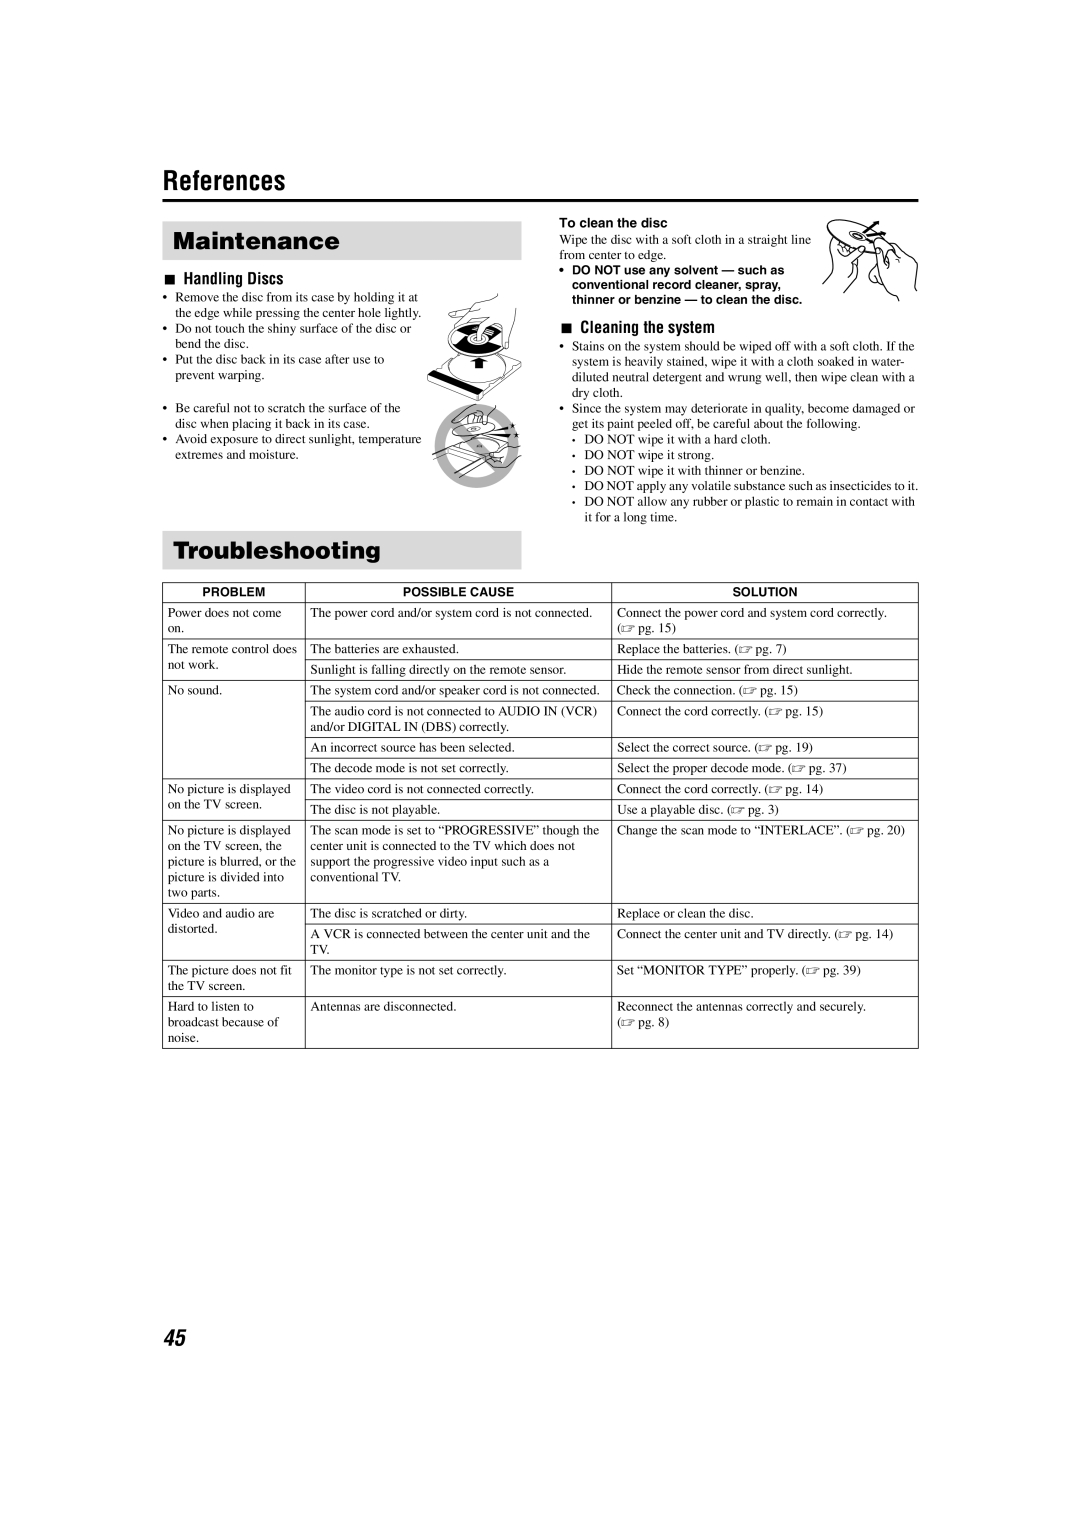
7Handling Discs

Remove the disc from its case by holding it at the edge while pressing the center hole lightly.

Do not touch the shiny surface of the disc or bend the disc.

Put the disc back in its case after use to prevent warping.

Be careful not to scratch the surface of the disc when placing it back in its case.

Avoid exposure to direct sunlight, temperature extremes and moisture.

To clean the disc

Wipe the disc with a soft cloth in a straight line from center to edge.

DO NOT use any solvent — such as conventional record cleaner, spray, thinner or benzine — to clean the disc.

7Cleaning the system

Stains on the system should be wiped off with a soft cloth. If the system is heavily stained, wipe it with a cloth soaked in water- diluted neutral detergent and wrung well, then wipe clean with a dry cloth.

Since the system may deteriorate in quality, become damaged or get its paint peeled off, be careful about the following.

DO NOT wipe it with a hard cloth.

DO NOT wipe it strong.

DO NOT wipe it with thinner or benzine.

DO NOT apply any volatile substance such as insecticides to it.

DO NOT allow any rubber or plastic to remain in contact with it for a long time.

Troubleshooting

PROBLEM

POSSIBLE CAUSE

SOLUTION


Power does not come

The power cord and/or system cord is not connected.

Connect the power cord and system cord correctly.

on.


(A pg. 15)


The remote control does

The batteries are exhausted.

Replace the batteries. (A pg. 7)

not work.


Sunlight is falling directly on the remote sensor.

Hide the remote sensor from direct sunlight.


No sound.

The system cord and/or speaker cord is not connected.

Check the connection. (A pg. 15)


The audio cord is not connected to AUDIO IN (VCR)

Connect the cord correctly. (A pg. 15)


and/or DIGITAL IN (DBS) correctly.


An incorrect source has been selected.

Select the correct source. (A pg. 19)


The decode mode is not set correctly.

Select the proper decode mode. (A pg. 37)


No picture is displayed

The video cord is not connected correctly.

Connect the cord correctly. (A pg. 14)

on the TV screen.


The disc is not playable.

Use a playable disc. (A pg. 3)


No picture is displayed

The scan mode is set to “PROGRESSIVE” though the

Change the scan mode to “INTERLACE”. (A pg. 20)

on the TV screen, the

center unit is connected to the TV which does not


picture is blurred, or the

support the progressive video input such as a


picture is divided into

conventional TV.


two parts.


Video and audio are

The disc is scratched or dirty.

Replace or clean the disc.

distorted.


A VCR is connected between the center unit and the

Connect the center unit and TV directly. (A pg. 14)


TV.


The picture does not fit

The monitor type is not set correctly.

Set “MONITOR TYPE” properly. (A pg. 39)

the TV screen.


Hard to listen to

Antennas are disconnected.

Reconnect the antennas correctly and securely.

broadcast because of


(A pg. 8)

noise.


45

Page 48
Image 48
JVC TH-M603, TH-M505, TH-M606, TH-M303, TH-M501 References, Maintenance, Troubleshooting, Handling Discs, Cleaning the system

TH-M603, TH-M303, TH-M501, TH-M606, TH-M301 specifications

The JVC TH series of home theater systems, including the TH-M505, TH-M301, TH-M606, TH-M501, and TH-M303, presents an impressive blend of technology, design, and sound quality that caters to modern home entertainment needs. Each model offers unique characteristics while sharing core features that enhance the overall viewing and listening experience.

The JVC TH-M505 stands out with its robust 5.1 channel surround sound system, designed to immerse listeners in a coherent surround sound experience. It includes powerful satellite speakers and a subwoofer, delivering a total output of 600 watts. A key feature is its compatibility with various audio formats, including Dolby Digital and DTS, ensuring high-quality sound reproduction for movies, music, and games.

In contrast, the TH-M301 is a compact yet powerful system catering to users who prefer a smaller footprint without sacrificing audio quality. It supports 2.1 channel sound, making it perfect for smaller rooms. The elegant design blends seamlessly into any modern decor while providing wireless connectivity options for streaming music from smartphones and tablets.

The TH-M606 is fortified with advanced technologies, including JVC's proprietary Sound Boost, which enhances dialogue clarity during movies. Its 5.1 channel system is paired with an intuitive setup process, allowing users to quickly configure their audio settings. With multiple HDMI inputs, it easily connects to various devices, enabling versatile usage ranging from gaming consoles to Blu-ray players.

Meanwhile, the JVC TH-M501 emphasizes versatility and ease of use. This system features 4K pass-through capabilities, making it compatible with the latest video formats. Users can enjoy their favorite content in stunning high definition, supported by its dynamic sound performance. The system incorporates an FM tuner and has Bluetooth functionality, enabling music streaming from mobile devices.

Lastly, the TH-M303 offers exceptional value with its user-friendly interface and multiple playback options. It supports USB and auxiliary inputs, giving users diverse ways to enjoy their media. The compact, stylish design makes it an ideal choice for those looking to enhance their TV audio without a bulky setup.

Overall, the JVC TH series combines technological advancements and practical design, catering to a variety of home entertainment preferences, ensuring that every viewer experiences rich sound and engaging audio experiences from their favorite media.