4.Wheel,Crank,andHeadsetBearings:Onceayearyoushouldhaveyourdealerinspect,lubricate,andadjustyour bike.Ifyouridemanymiles,orfrequentlyrideinoffroadormuddyconditions,haveyourbikecheckedmoreoften.
Brakes
ThebrakesonyournewK2Bikeshouldhavebeencompletelyadjustedbyyourdealerwhennew.Duetocablestretchandpadwearduringuse, the brakes should be adjusted periodically. Don’t wait until the hand levers bottom out on the handlebars.It is safest to take your bike to an Authorized K2 Bike dealer for brake adjustment. Your authorized dealer has the training, experience, and proper tools to do the job. The following instructions are provided for the owners having sufficient knowledge and proper tools to do the job.
1. | Loosenthebarreladjustinglocknutandturntheadjustercounterclockwiseuntilthebrakepadsareapproximately |
| 1.5mmfromtherimsurface. Thentightentheadjustingbarrellocknuttokeeptheadjusterinplace. |
2. | If the adjuster is unscrewed all the way and you still have more than 1.5 mm of |
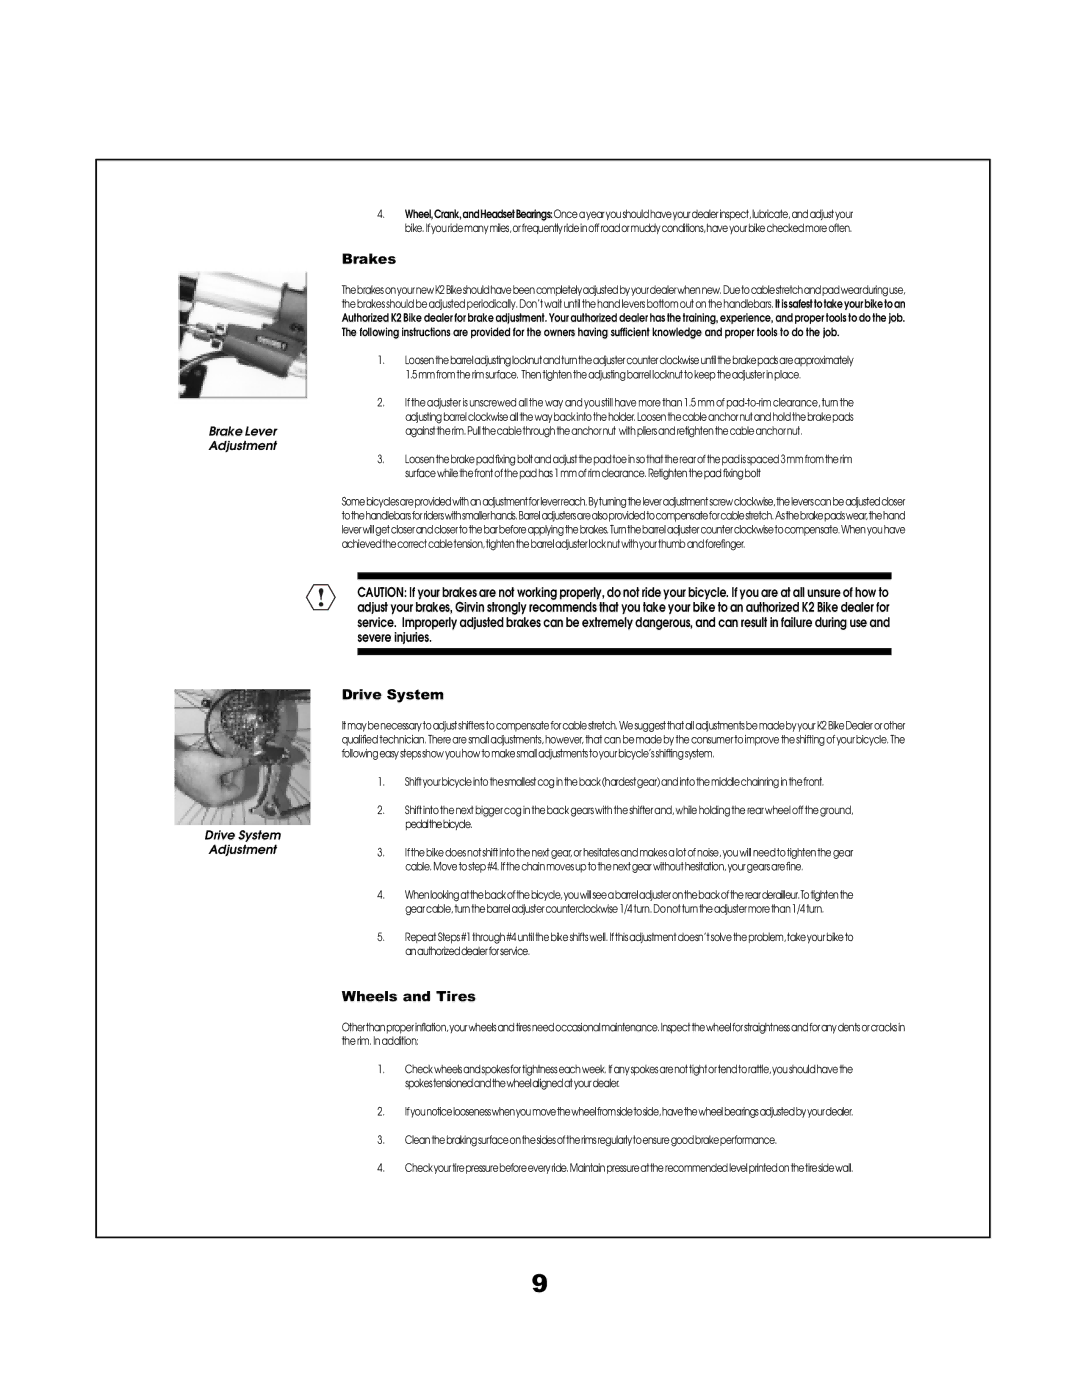
Brake Lever | adjustingbarrelclockwiseallthewaybackintotheholder.Loosenthecableanchornutandholdthebrakepads |
againsttherim.Pullthecablethroughtheanchornut withpliersandretightenthecableanchornut. | |
Adjustment |
|
3. | Loosenthebrakepadfixingboltandadjustthepadtoeinsothattherearofthepadisspaced3mmfromtherim |
| surfacewhilethefrontofthepadhas1mmofrimclearance.Retightenthepadfixingbolt |
Somebicyclesareprovidedwithanadjustmentforleverreach.Byturningtheleveradjustmentscrewclockwise,theleverscanbeadjustedcloser tothehandlebarsforriderswithsmallerhands.Barreladjustersarealsoprovidedtocompensateforcablestretch.Asthebrakepadswear,thehand leverwillgetcloserandclosertothebarbeforeapplyingthebrakes.Turnthebarreladjustercounterclockwisetocompensate.Whenyouhave achievedthecorrectcabletension,tightenthebarreladjusterlocknutwithyourthumbandforefinger.
Drive System Adjustment
!CAUTION: If your brakes are not working properly, do not ride your bicycle. If you are at all unsure of how to adjust your brakes, Girvin strongly recommends that you take your bike to an authorized K2 Bike dealer for service. Improperly adjusted brakes can be extremely dangerous, and can result in failure during use and severe injuries.
Drive System
Itmaybenecessarytoadjustshifterstocompensateforcablestretch.WesuggestthatalladjustmentsbemadebyyourK2BikeDealerorother qualified technician. Thereare small adjustments, however, that can be made by the consumer to improve the shifting of your bicycle. The followingeasystepsshowyouhowtomakesmalladjustmentstoyourbicycle’sshiftingsystem.
1.Shiftyourbicycleintothesmallestcogintheback(hardestgear)andintothemiddlechainringinthefront.
2.Shift into the next bigger cog in the back gears with the shifter and, while holding the rear wheel off the ground, pedalthebicycle.
3.Ifthebikedoesnotshiftintothenextgear,orhesitatesandmakesalotofnoise,youwillneedtotightenthegear cable.Movetostep#4.Ifthechainmovesuptothenextgearwithouthesitation,yourgearsarefine.
4.Whenlookingatthebackofthebicycle,youwillseeabarreladjusteronthebackoftherearderailleur.Totightenthe gearcable,turnthebarreladjustercounterclockwise1/4turn.Donotturntheadjustermorethan1/4turn.
5.RepeatSteps#1through#4untilthebikeshiftswell.Ifthisadjustmentdoesn’tsolvetheproblem,takeyourbiketo anauthorizeddealerforservice.
Wheels and Tires
Otherthanproperinflation,yourwheelsandtiresneedoccasionalmaintenance.Inspectthewheelforstraightnessandforanydentsorcracksin therim. In addition:
1.Checkwheelsandspokesfortightnesseachweek.Ifanyspokesarenottightortendtorattle,youshouldhavethe spokestensionedandthewheelalignedatyourdealer.
2.Ifyounoticeloosenesswhenyoumovethewheelfromsidetoside,havethewheelbearingsadjustedbyyourdealer.
3.Cleanthebrakingsurfaceonthesidesoftherimsregularlytoensuregoodbrakeperformance.
4.Checkyourtirepressurebeforeeveryride.Maintainpressureattherecommendedlevelprintedonthetiresidewall.
9