KMH100 specifications
The Kambrook KMH100 is a versatile kitchen appliance designed to simplify food preparation while enhancing cooking efficiency. This innovative hand mixer combines convenience with performance, making it an essential tool for both novice cooks and seasoned chefs.One of the standout features of the Kambrook KMH100 is its powerful motor, which enables smooth and consistent mixing. With multiple speed settings, users can easily adjust the mixing intensity to suit a variety of tasks, from gently folding ingredients to whipping creams and egg whites. The mixer includes a turbo boost function for those moments when extra power is required, ensuring that even the toughest of doughs can be tackled with ease.
The KMH100 boasts a compact design that allows for easy storage, making it ideal for those with limited kitchen space. Despite its small footprint, this hand mixer does not compromise on performance. The ergonomic handle provides a comfortable grip, allowing for prolonged use without discomfort. This thoughtful design caters to users who may have varying levels of experience in the kitchen.
Incorporating a range of attachments, the Kambrook KMH100 enhances its versatility. The stainless steel beaters are durable and easy to clean, while the dough hooks make it simple to work with heavier mixtures. Additionally, the mixer comes equipped with a whisk attachment, which is perfect for creating light and fluffy mixtures. This comprehensive set of tools ensures that users have everything they need to tackle a wide range of recipes.
Safety is also a priority with the KMH100, which features an integrated safety lock. This function prevents the mixer from operating unless the attachments are securely in place, providing peace of mind during use. Moreover, the appliance is designed for easy maintenance, with a simple eject button for quick removal of attachments.
In summary, the Kambrook KMH100 hand mixer is a reliable and efficient kitchen companion that offers a balance of power, versatility, and ease of use. Its thoughtful design, range of attachments, and safety features make it a must-have tool for anyone looking to elevate their cooking experience. Whether you're whipping up a simple batter or experimenting with more complex recipes, the KMH100 is equipped to meet your culinary needs.

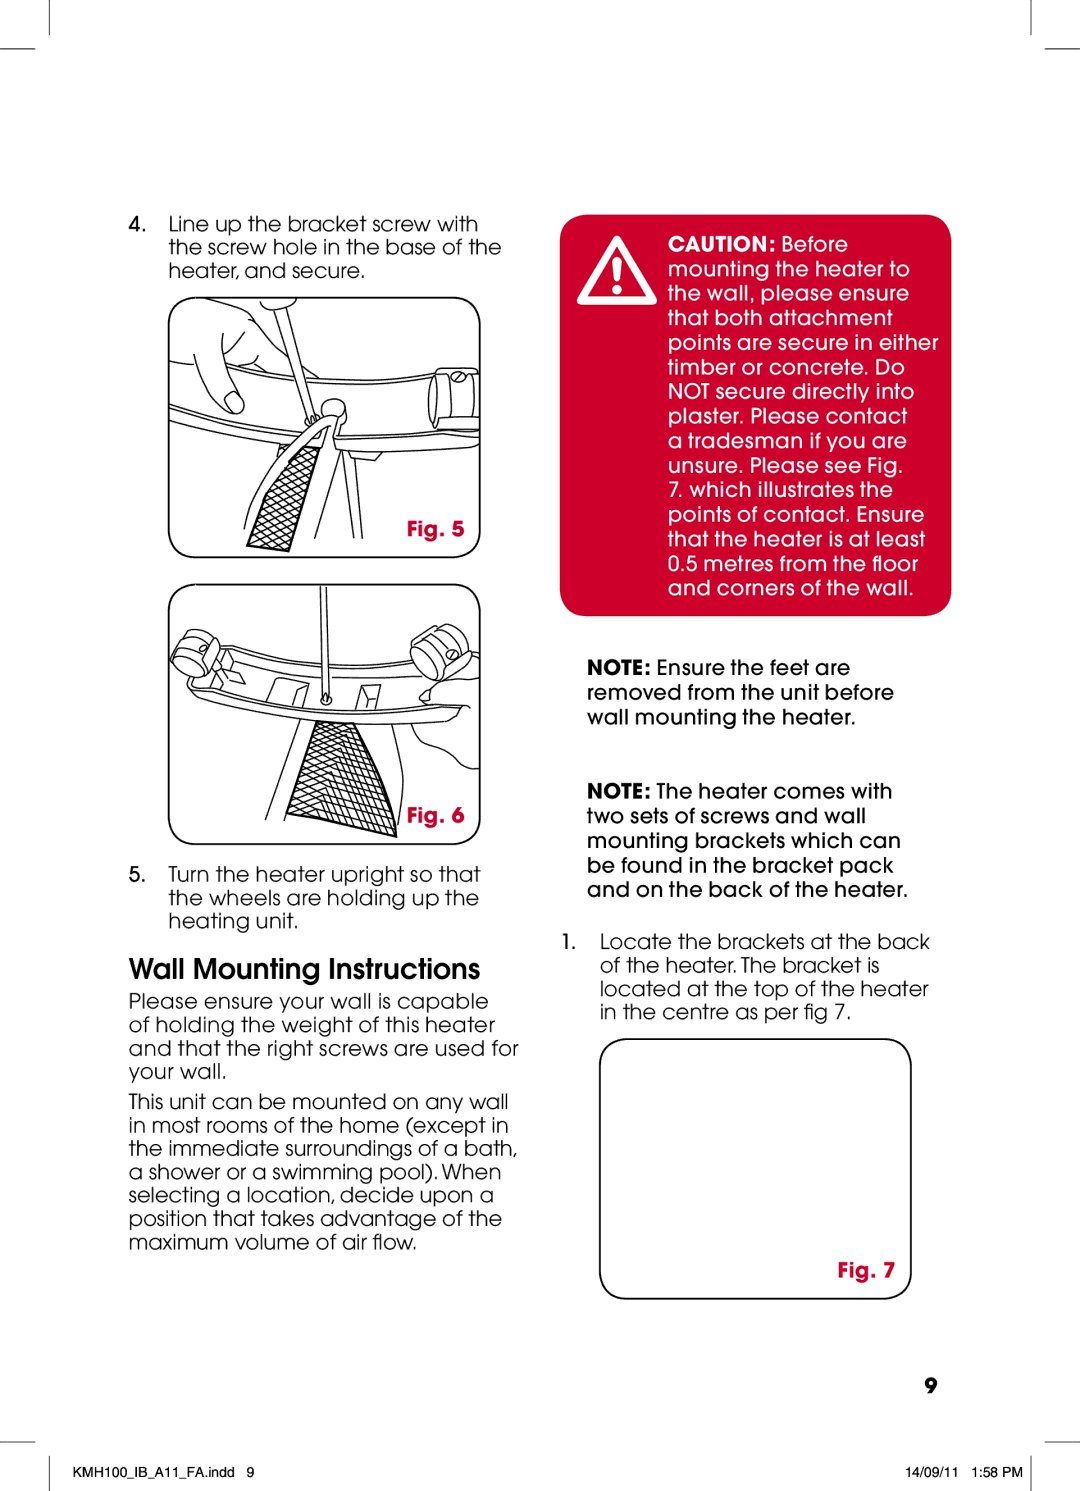
 Fig. 6